Lately we are getting a lot of queries regarding managing domain, adding domain to control panel and process to install WordPress. Today we are going to show how to manage domain, adding domain to cp and process to Install WordPress.
N.B: Before you get confused and start scratching you head, be acknowledged that we do the following on behalf of you. You just need to open a support ticket and ask us do what you require from the following. Support tickets will be answered on or within 24 hours.
- Adding or Changing Nameservers
- Adding Multiple Domains to Control Panel
- Installing WordPress
- Activating SSL
- Opening Email Accounts
- Deleting WordPress
Without wasting any time let’s just hop into the tutorial.
How to change Nameservers?
The first thing you should do right after purchasing the hosting package is changing the nameserver. Login to your account.
Login url – https://clients.nrhosting.com/login/login
Input your username (your email) and your password and you will see a screen as shown below.
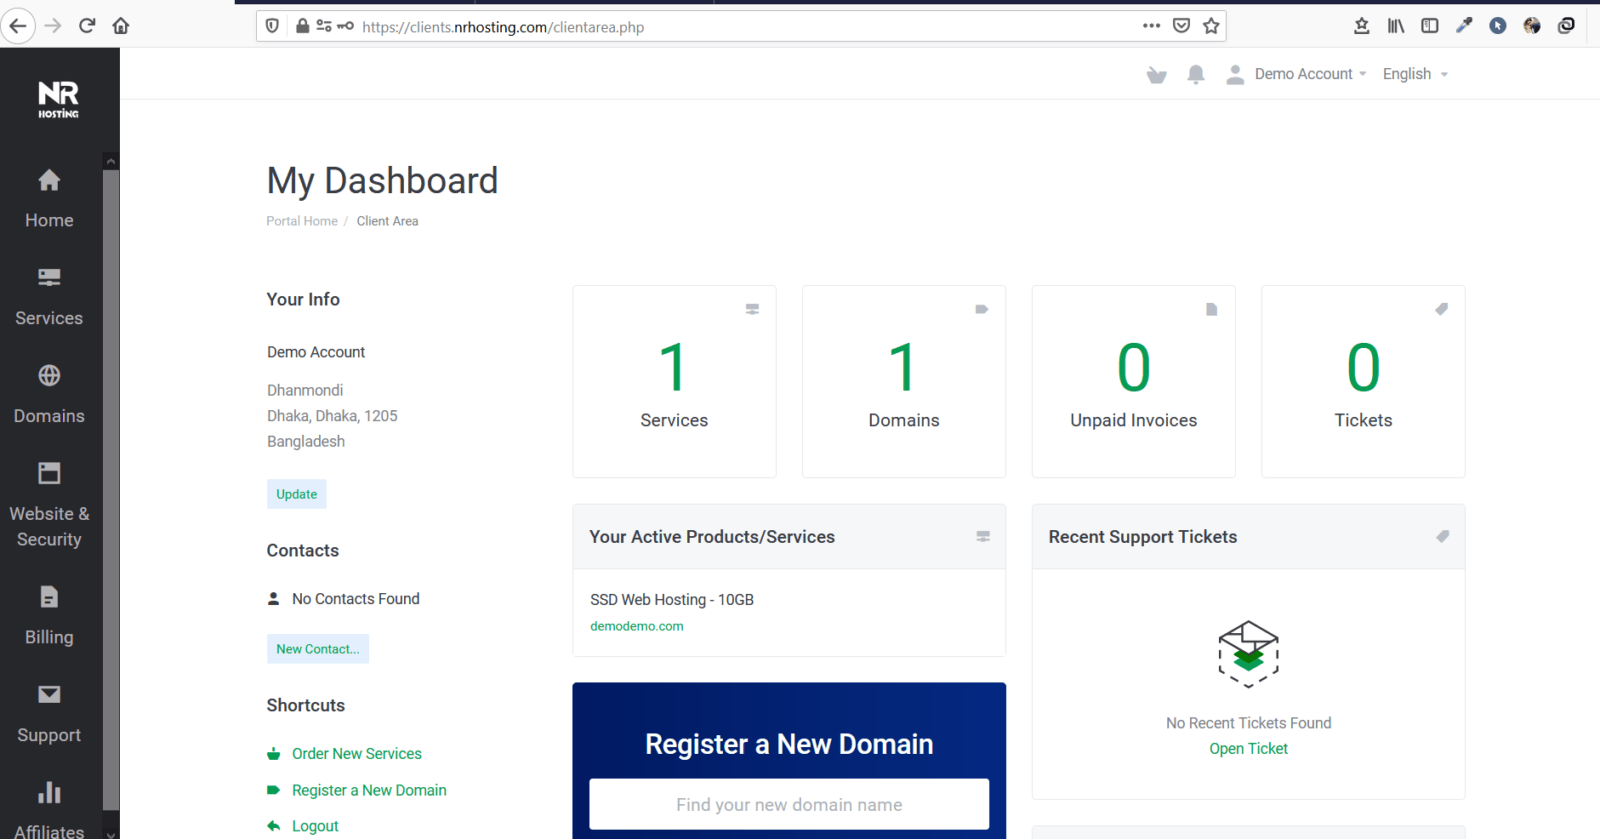
Next, click on the Domain Section as shown below.
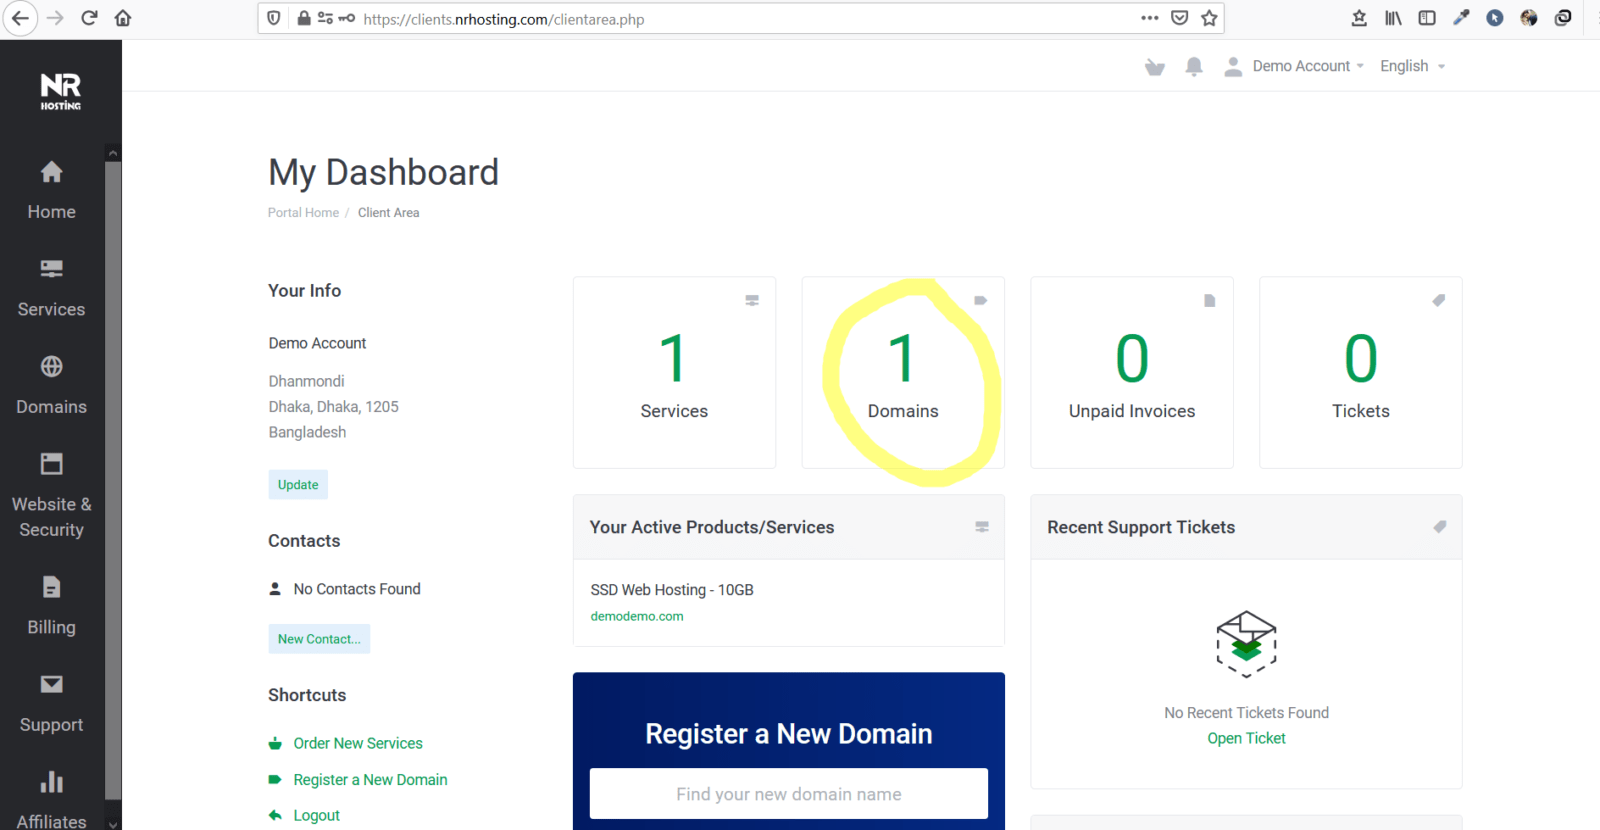
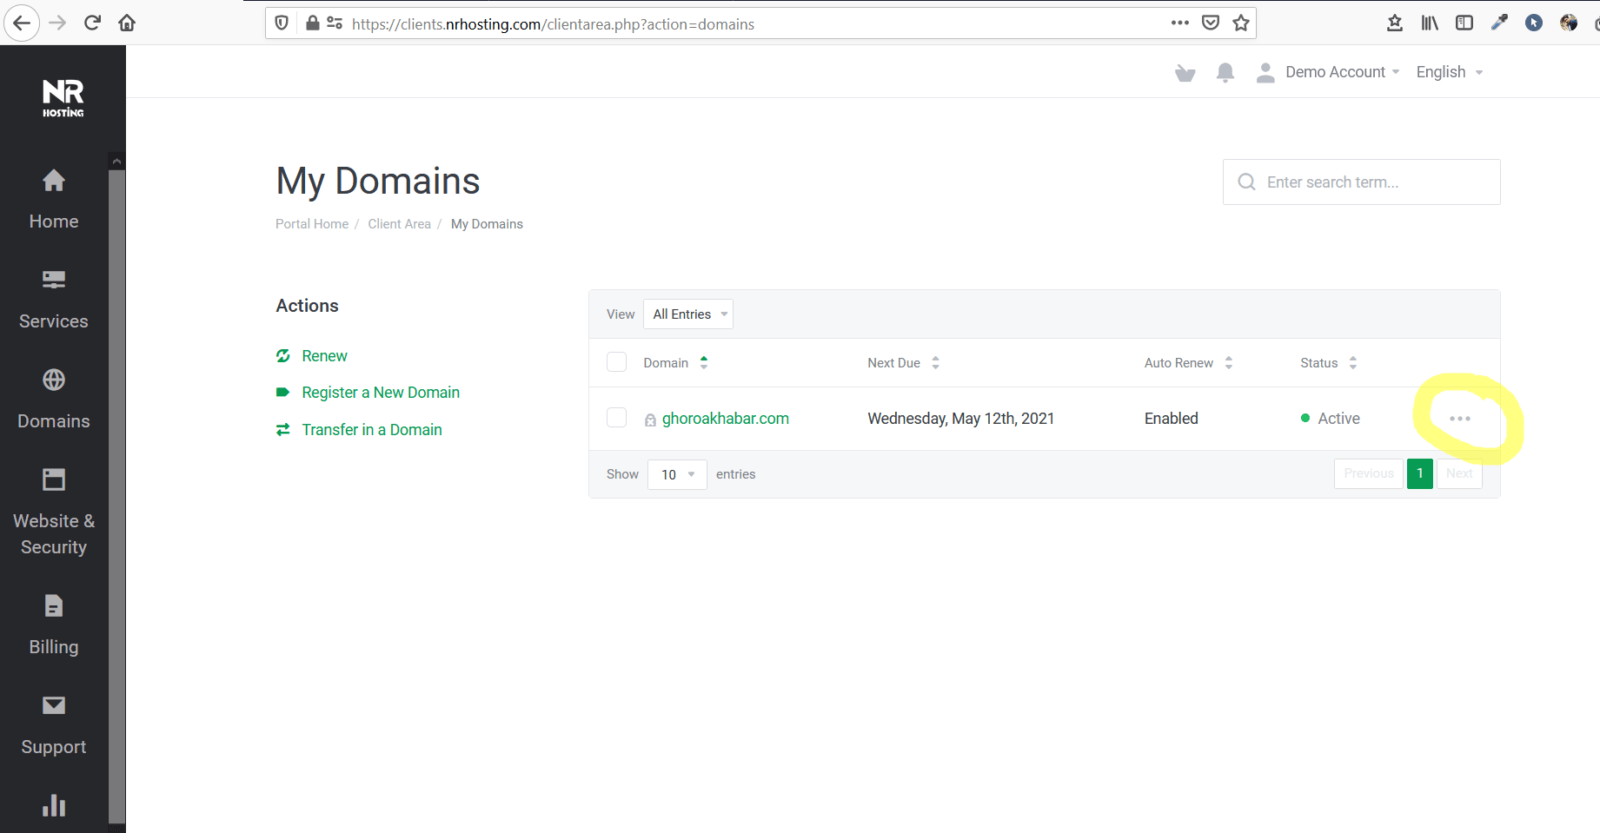
Once you click on the domain section a scree as shown below will appear.
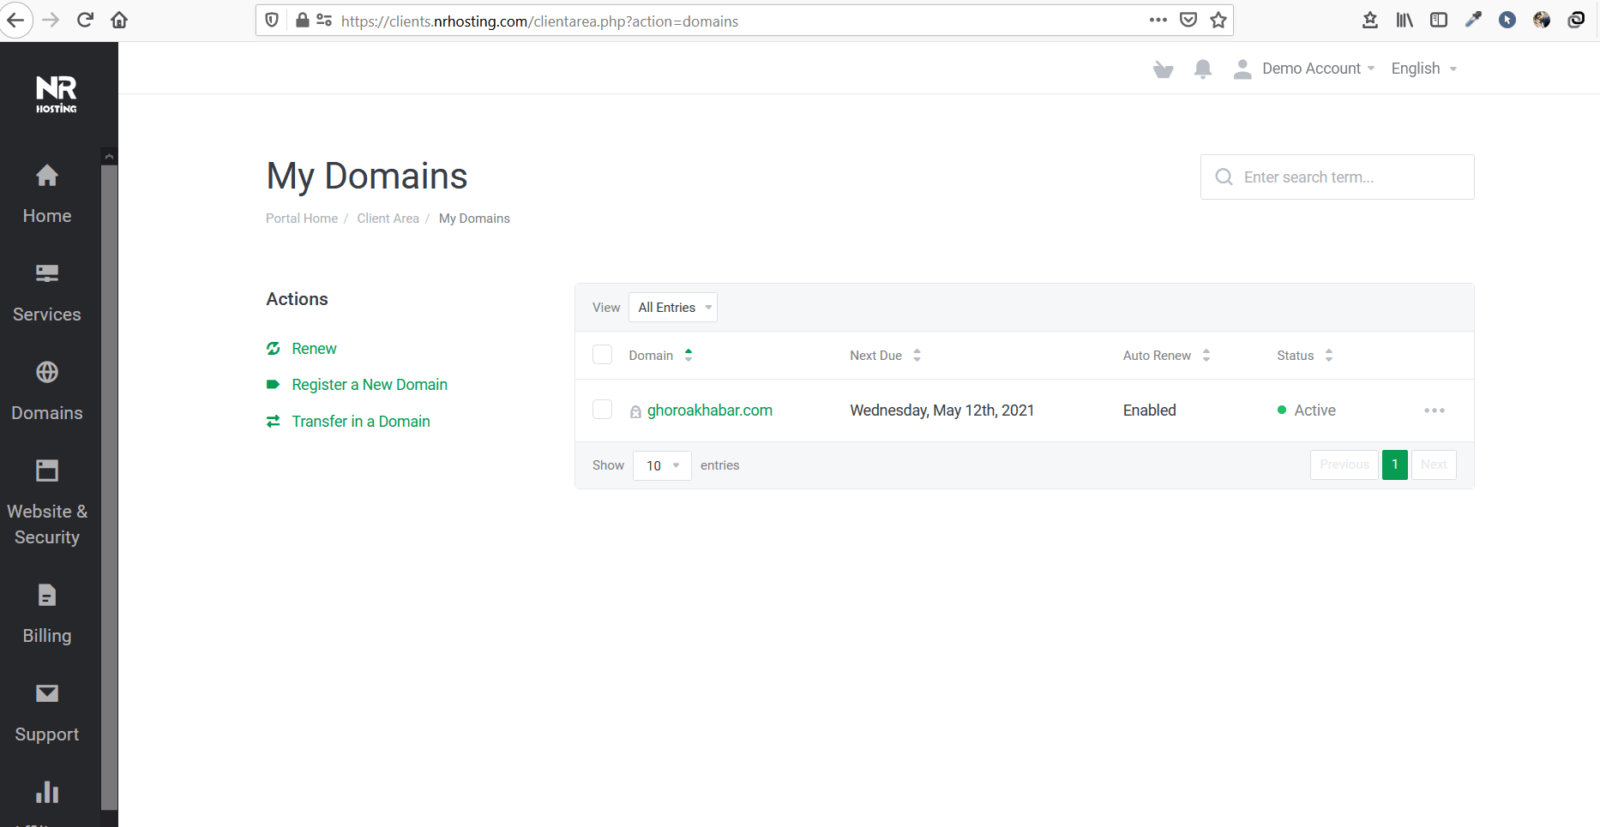
Then click on the 3 dots right after where it is written active as shown in the image below.
Next, once you click on the dots a window as shown below will appear.
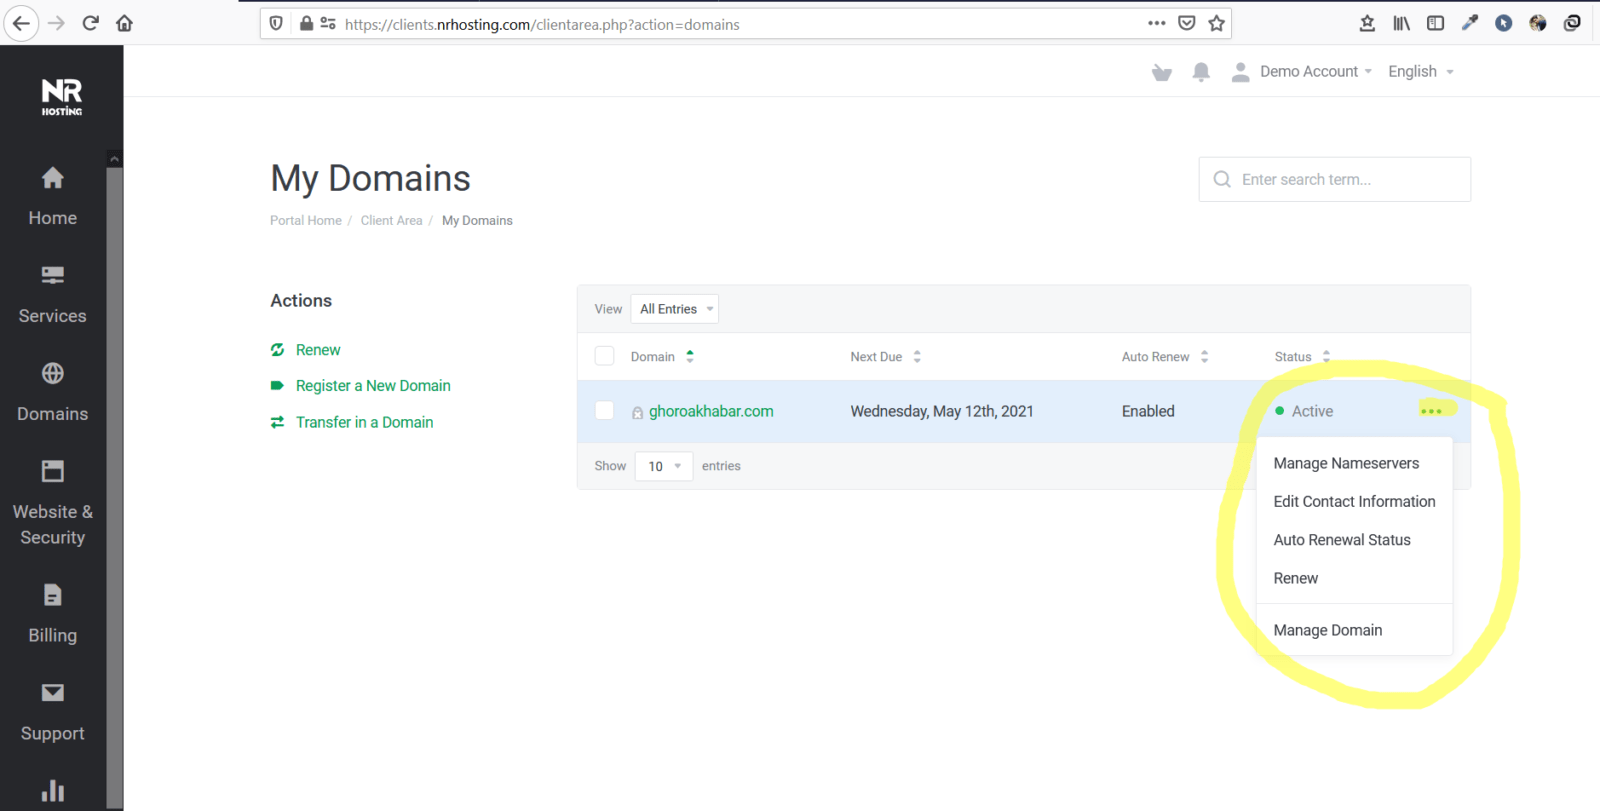
Now click on Manage Nameservers and a screen as below will appear.

Then click on the “Use custom nameservers.” A screen will appear as below.
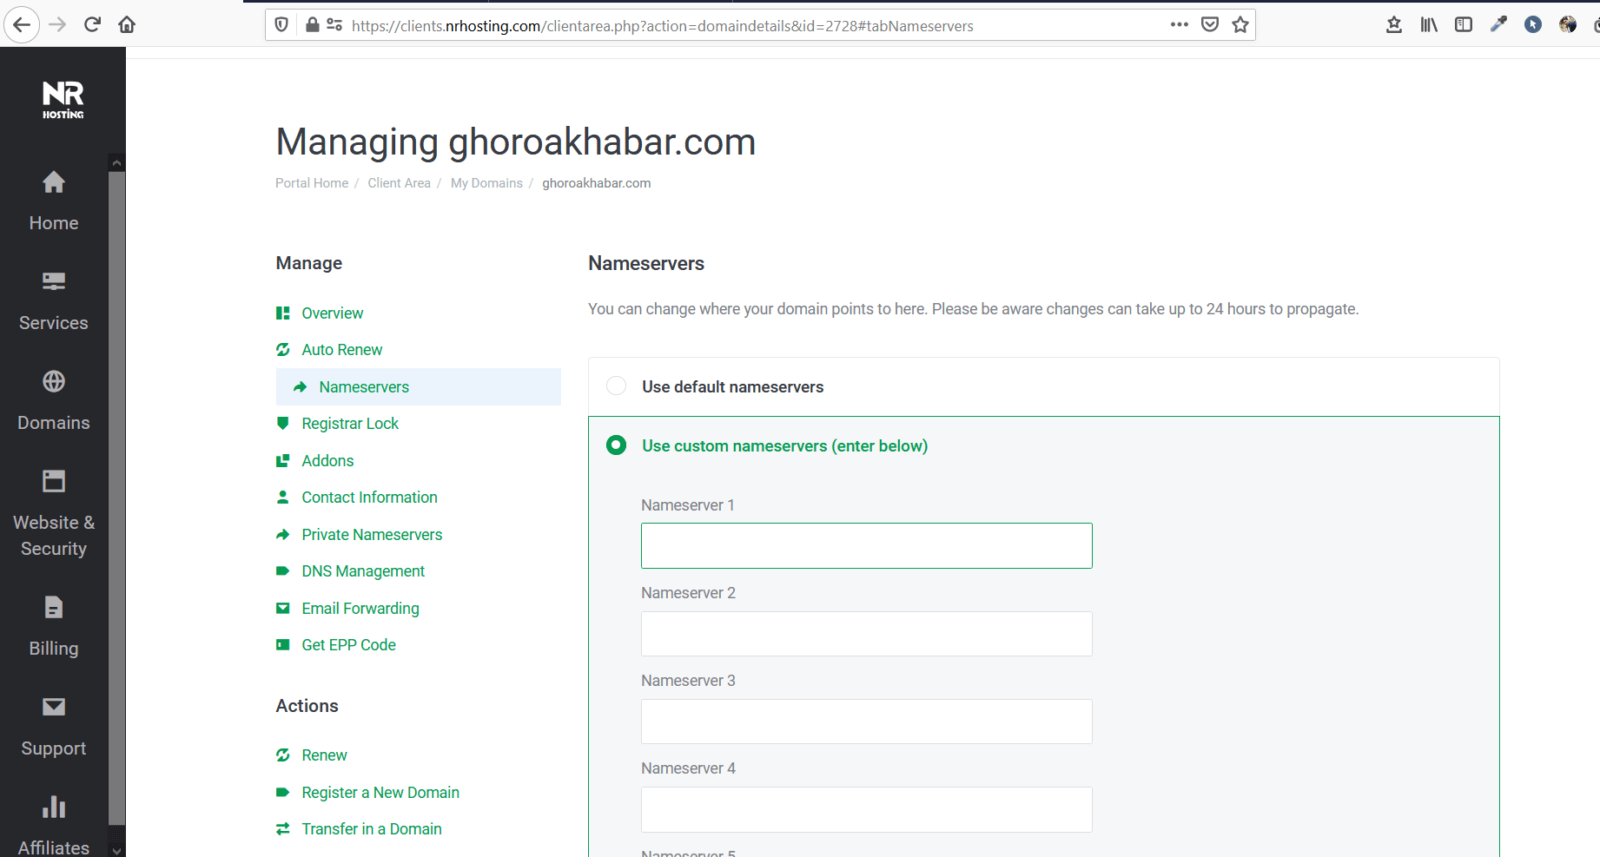
Our Shared Hosting Nameservers are : ns1.stackdns.com, ns2.stackdns.com, ns3.stackdns.com and ns4.stackdns.com.
Fill up the blanks with our nameservers and hit Change Nameservers.

N.B: Once you have changed the nameservers it may take upto 72 hours for Domain Propagation. Don’t just hop into installing WordPress right after changing Nameservers.
If you have your domain in another domain provider then change the nameservres from there. To check wether you nameservers have changed or not, clcik on the following link and input your domain name and hit “Check.”
Whois – https://www.nrhosting.com/whois-lookup/
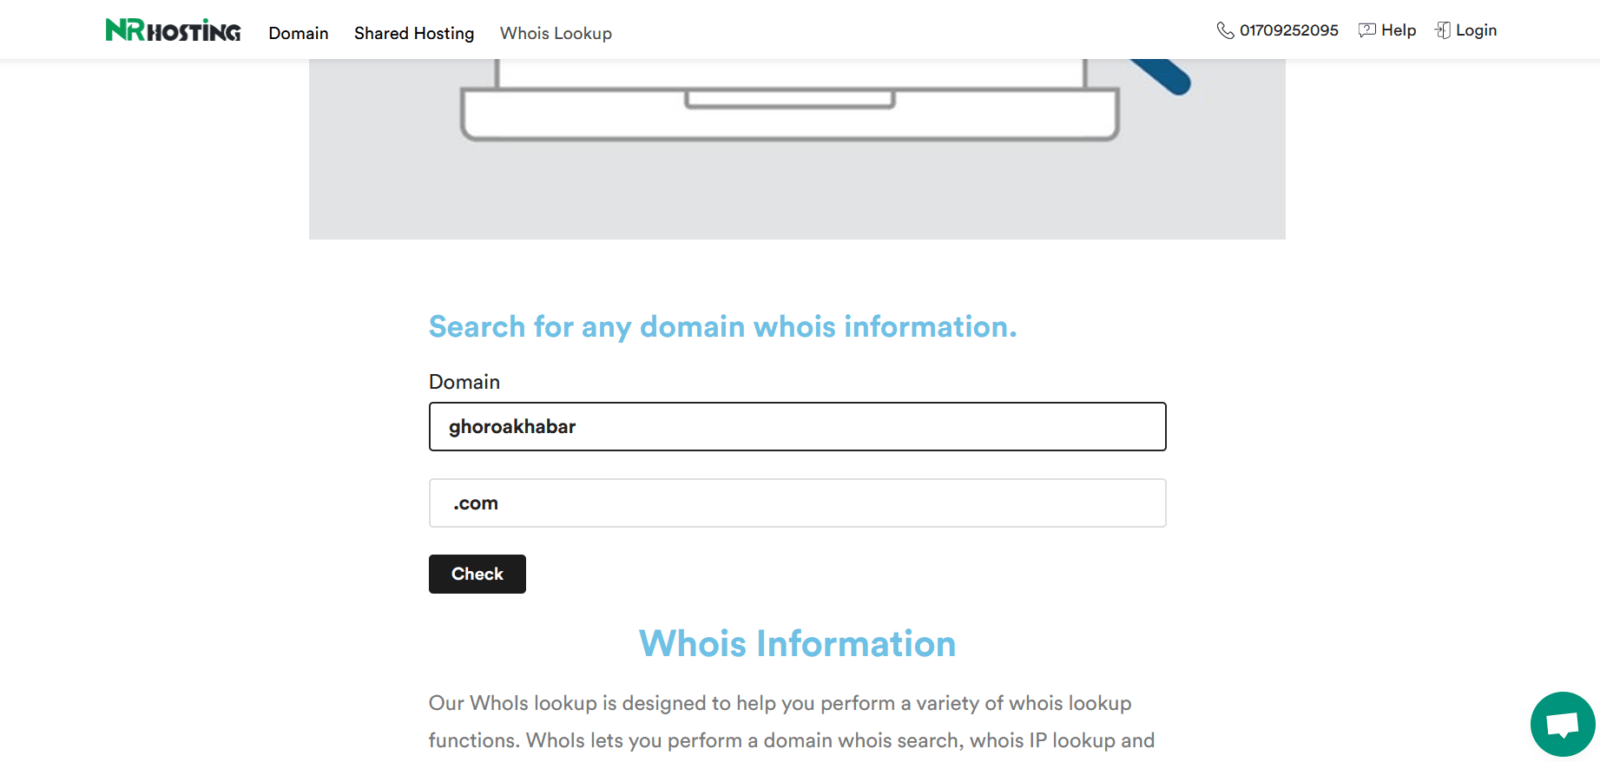
If you see a screen as shown below then all is good.
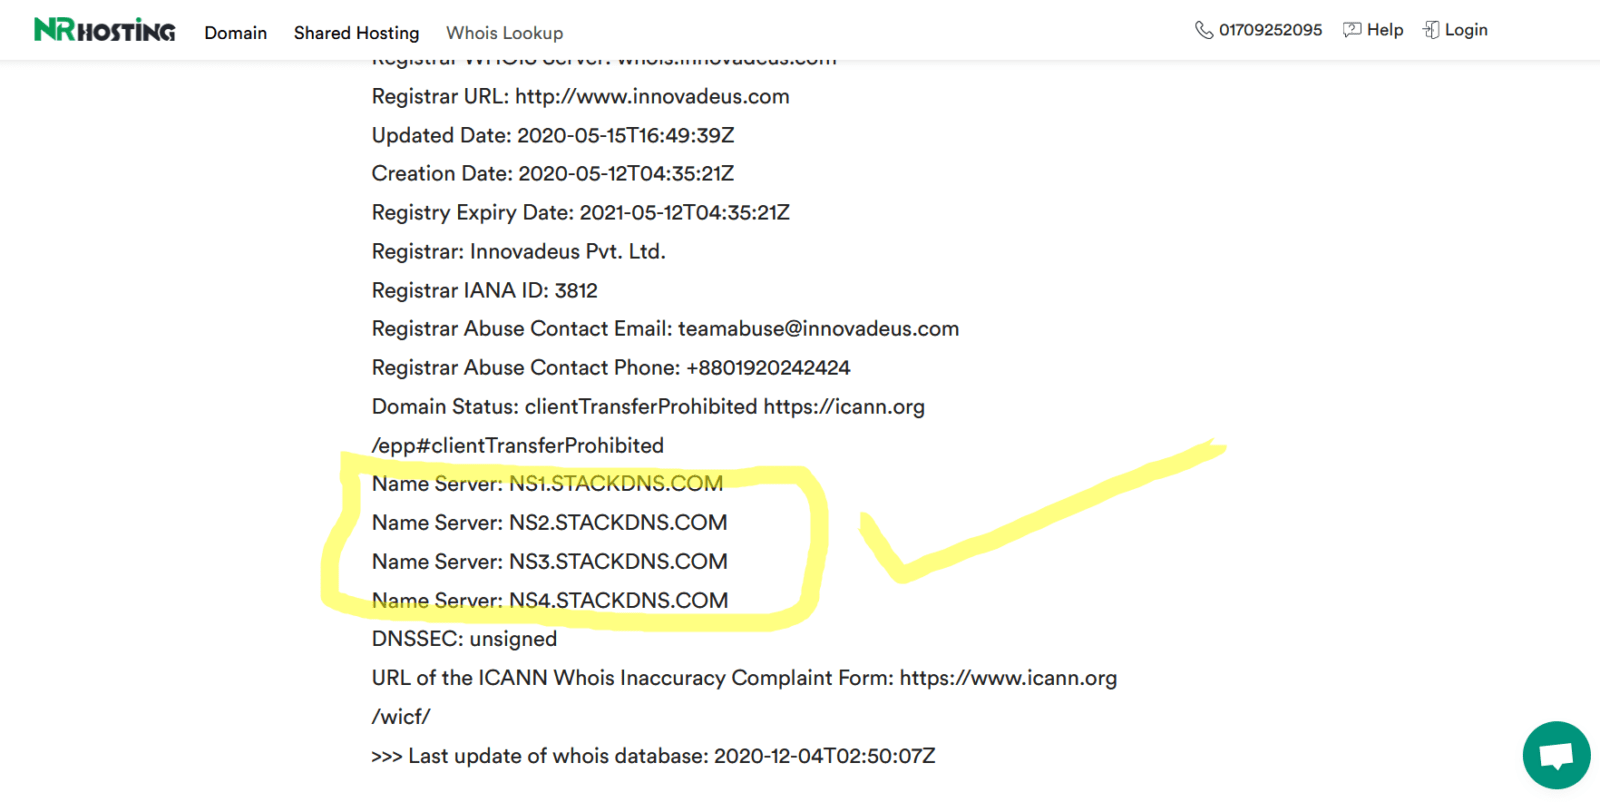
Manging domain part is over and now comes the Control Panel Segment.
How to add multiple domains to Control Panel?
To login to control Panel click on the following link.
Control Panel Login Url – https://login.nrhosting.com/login?r=%2F/login?r=%2F
A screen will appear as shown below.
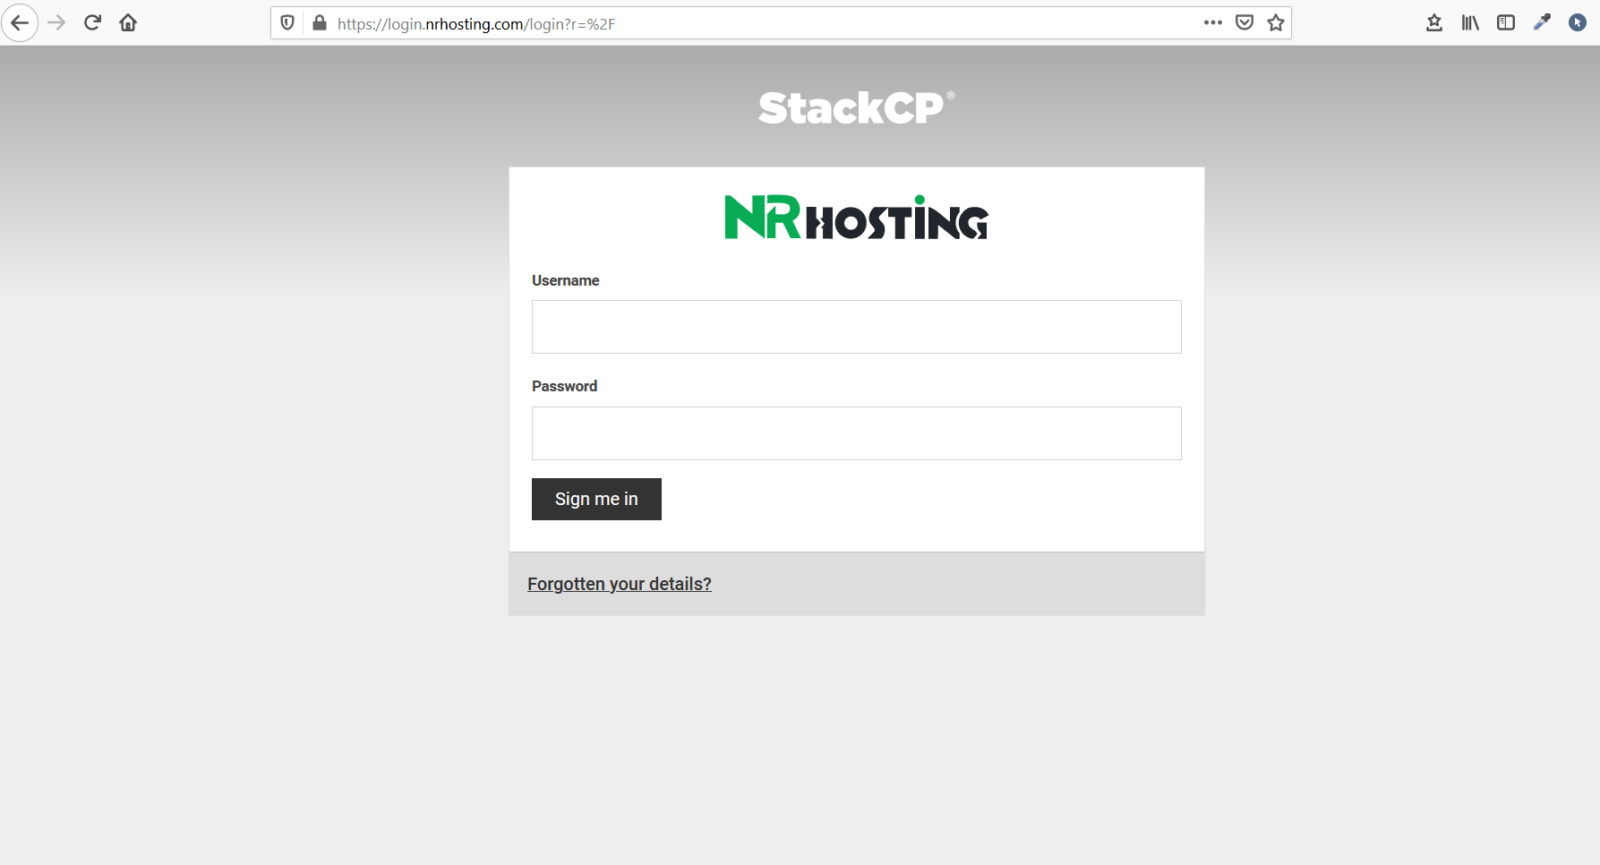
Next, type the username and password and hit “Sign me in” and a screen similar to below will come.
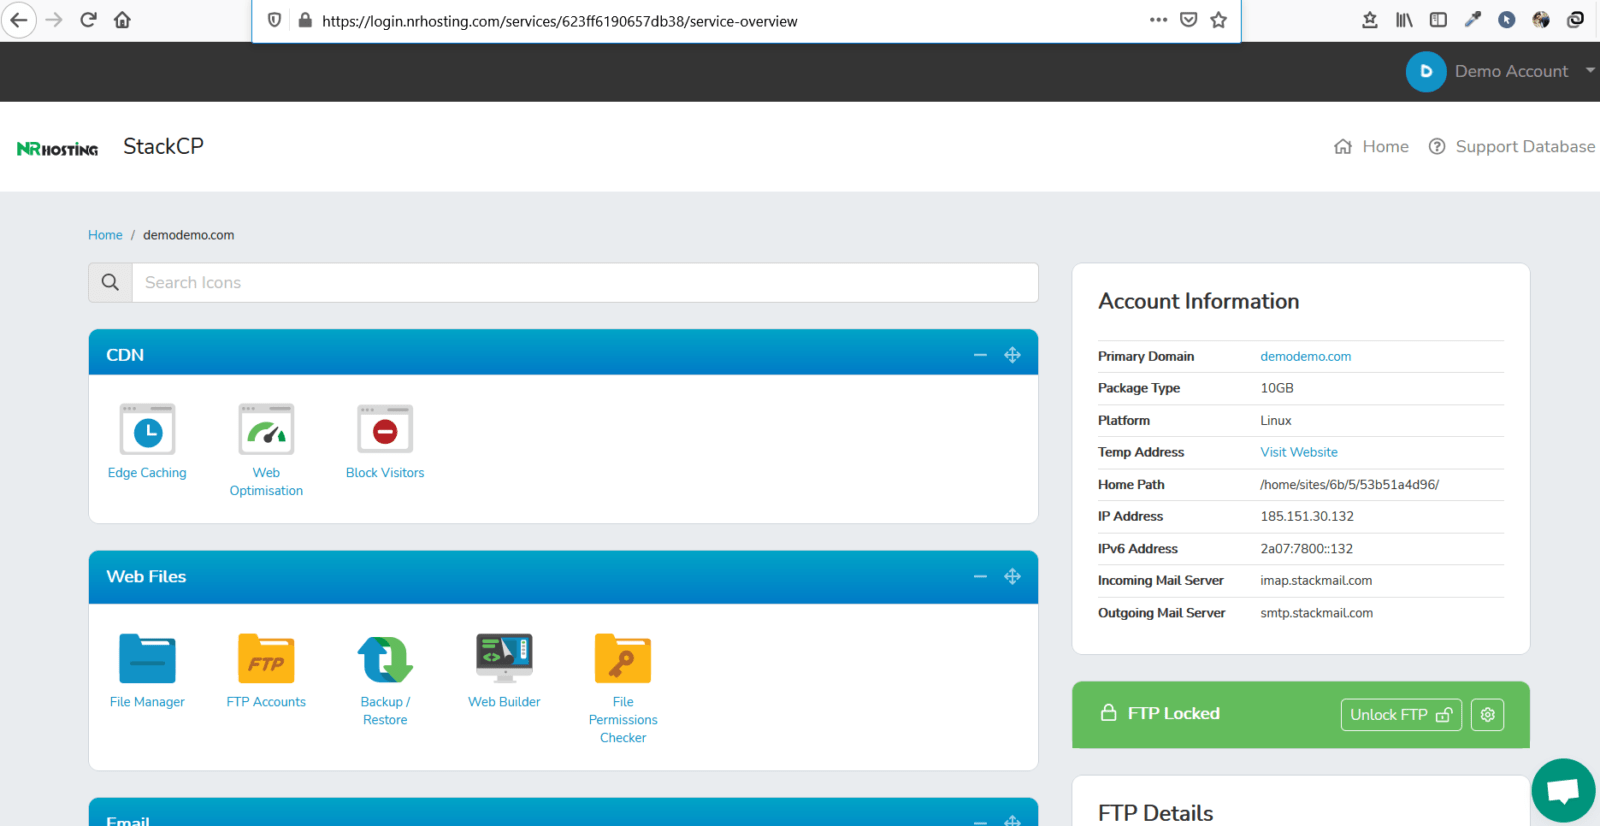
Now let’s see how to add a second domain and more.
N.B: The following steps are for adding multiple domains. Not for the first domain.The fisr domain is automatically added.
Go to the segment where it says Domains.
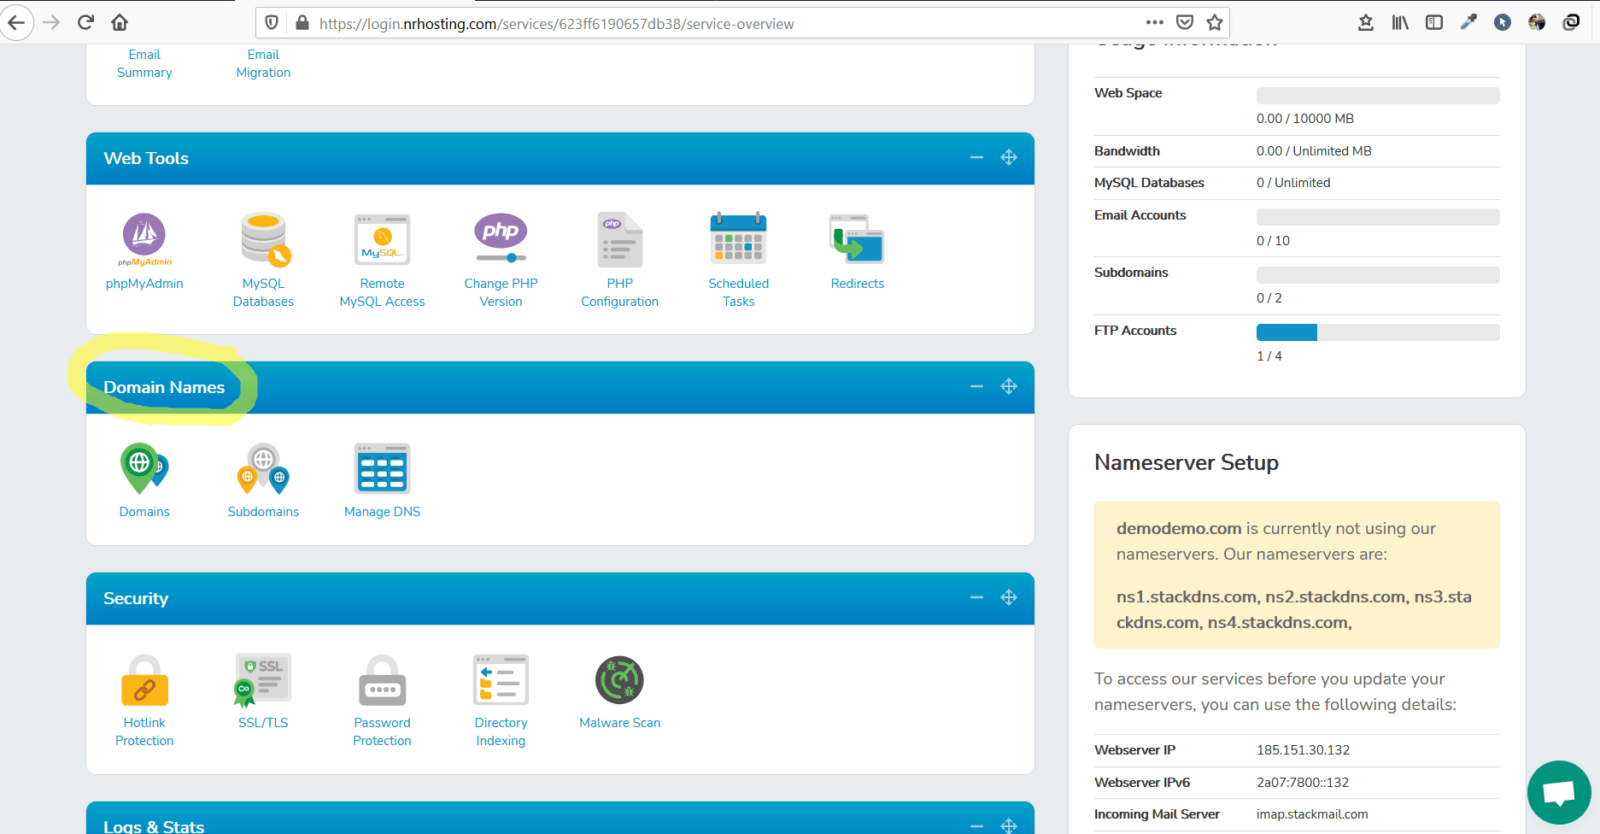
Click on Domains.
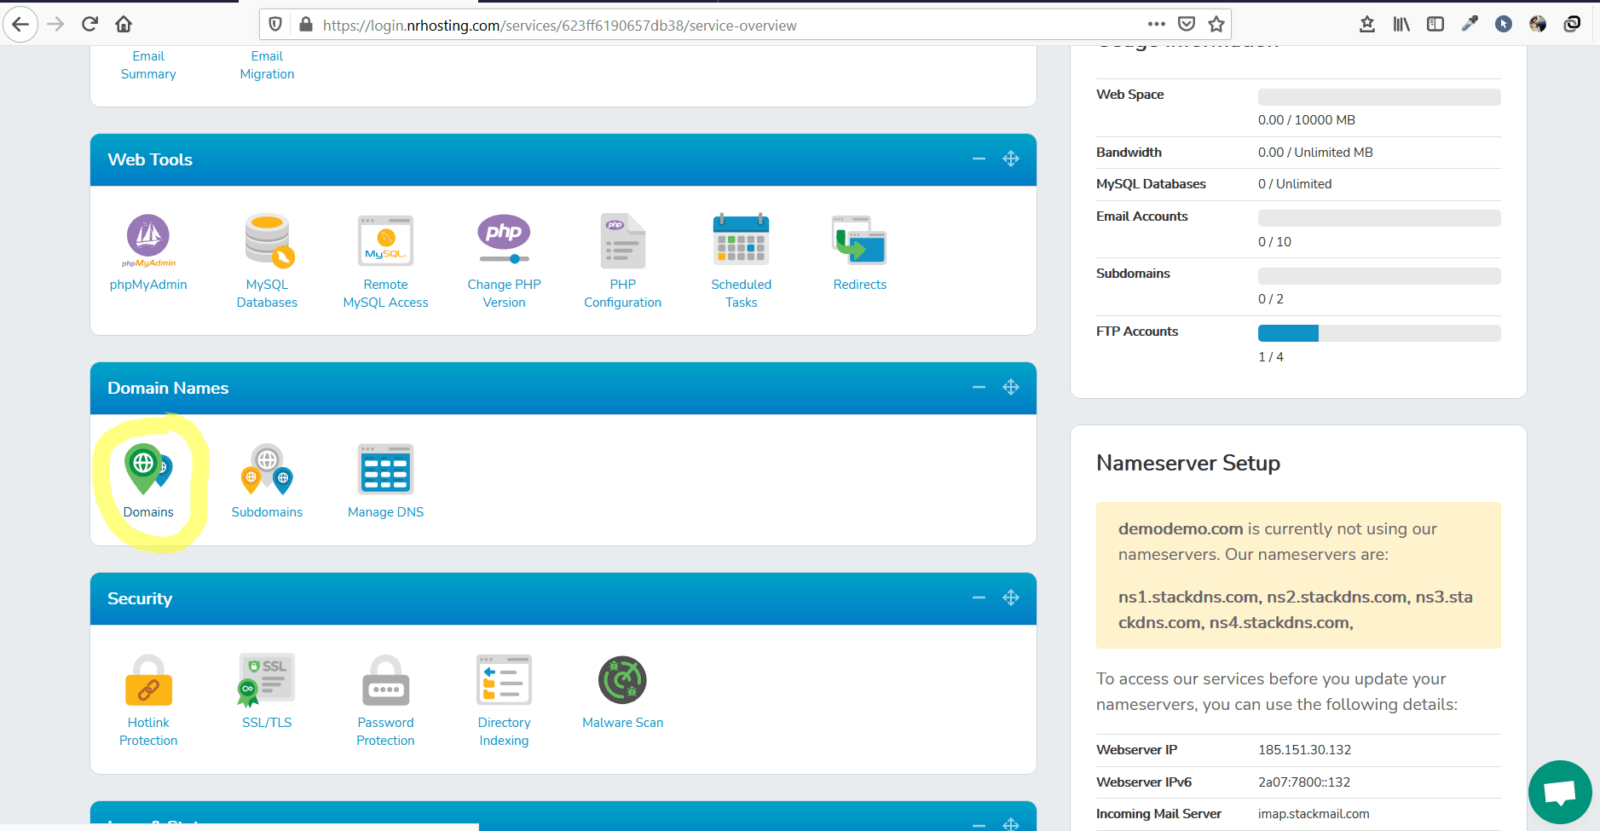
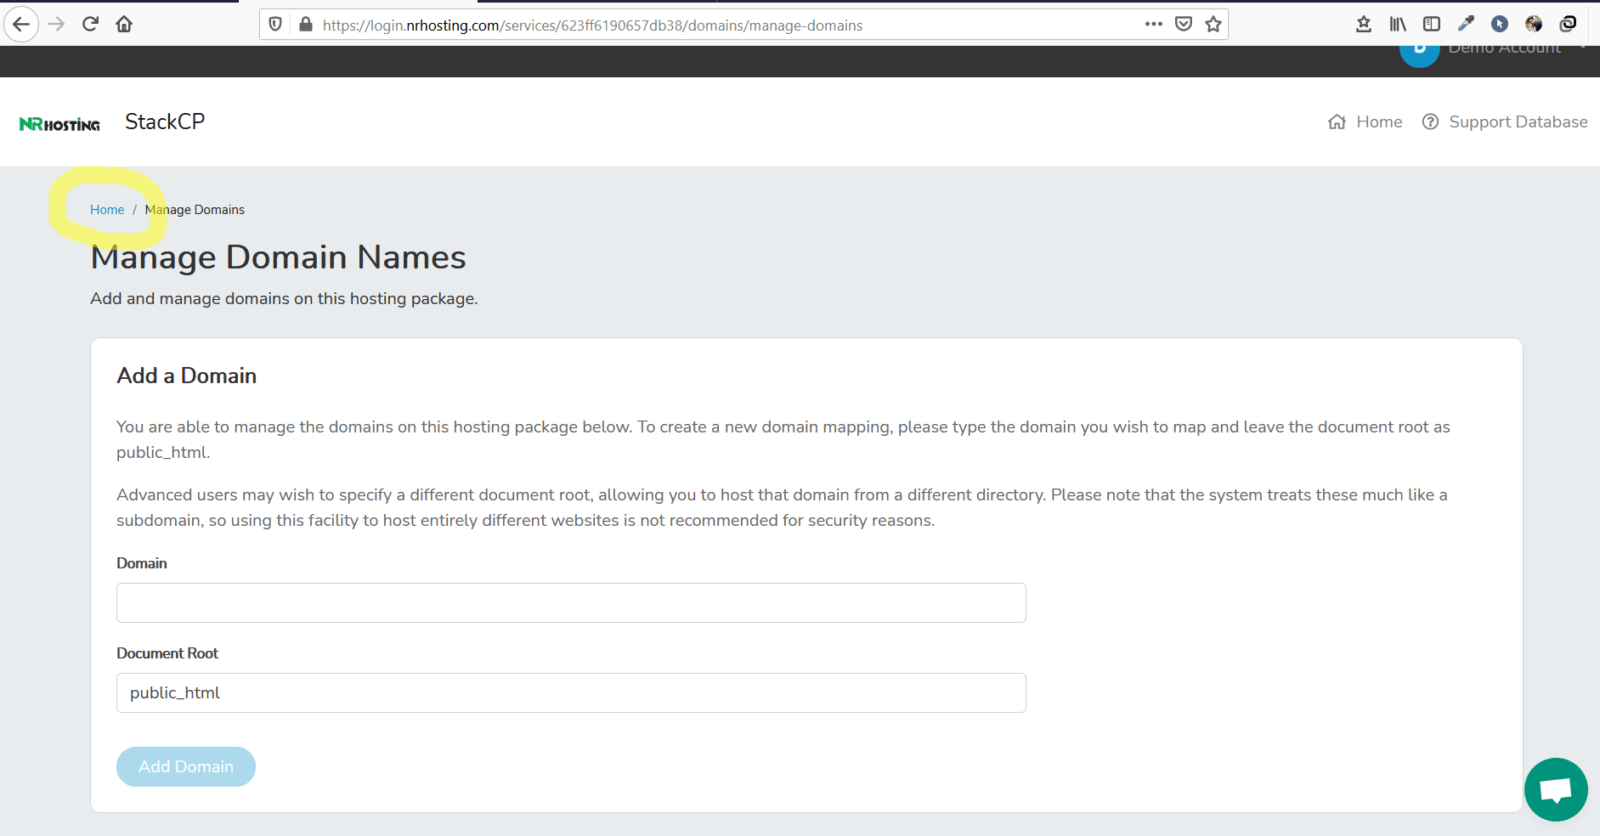
Once you click on Domains a scrren such as below will appear.
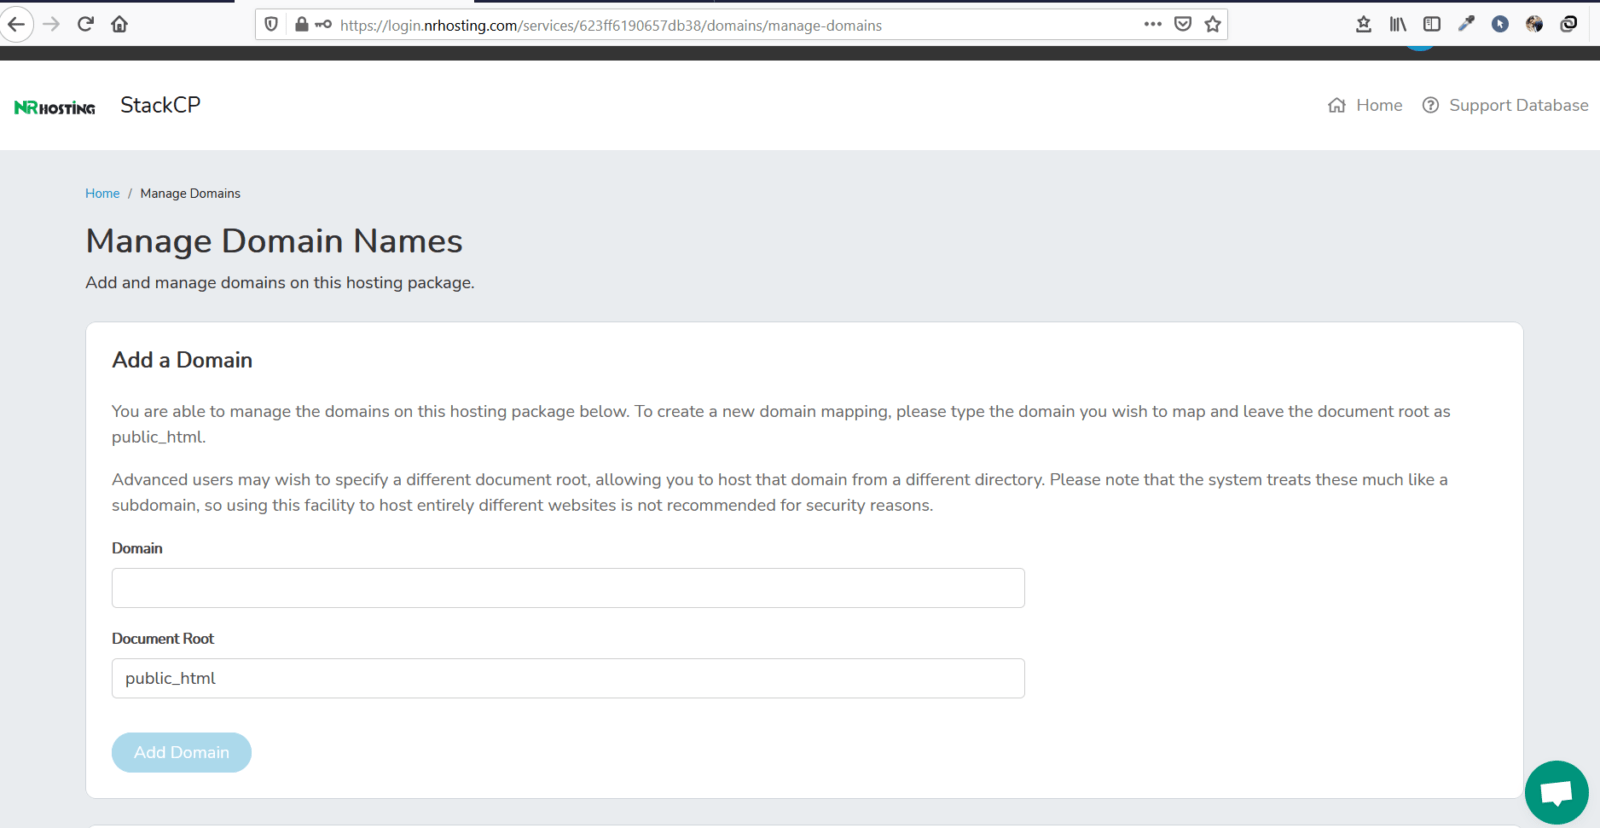
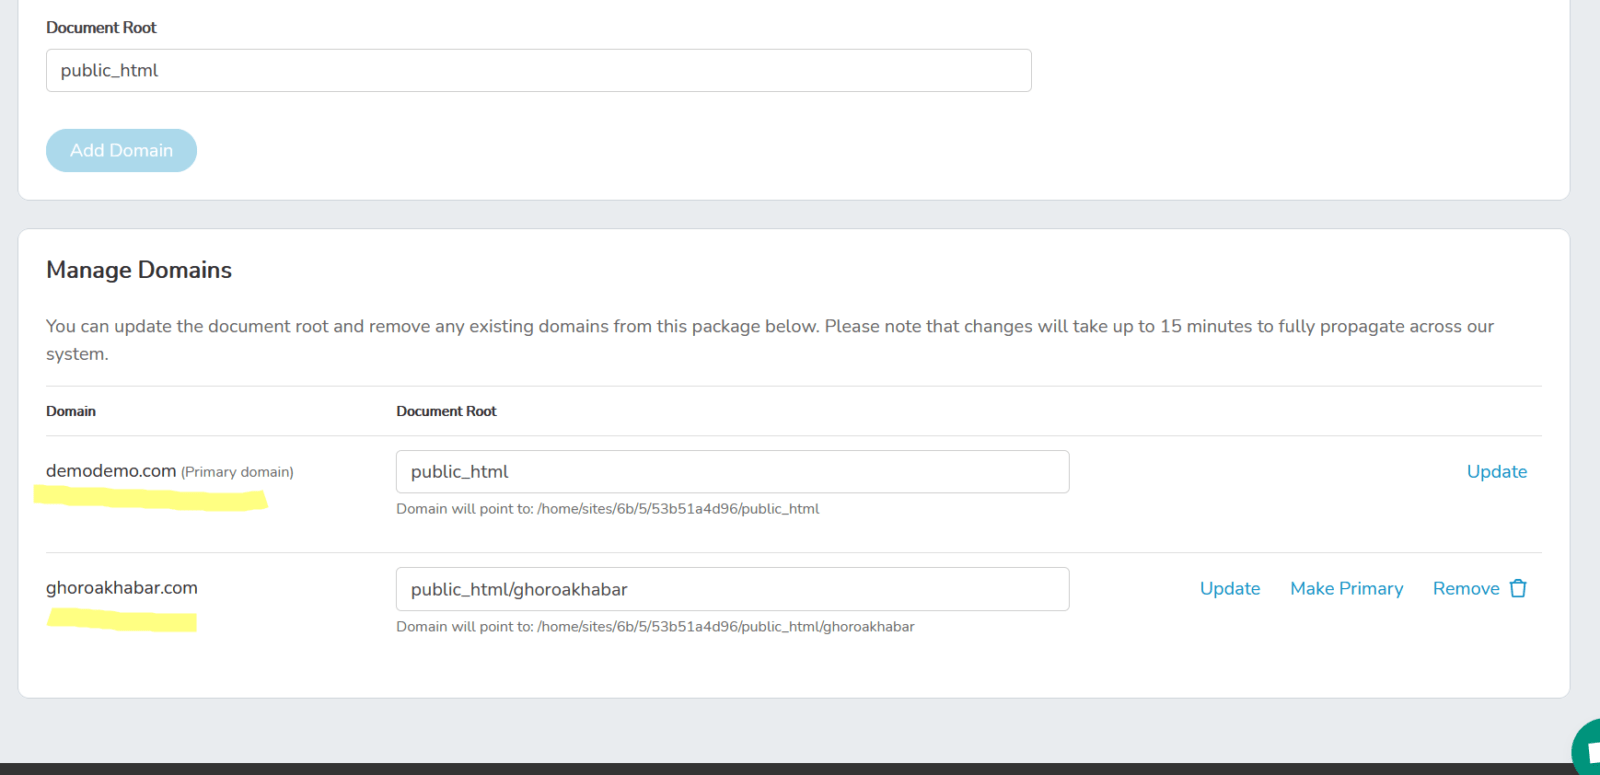
Now add the domain name and in the document root write the name of the domain without TLD as sjown below.
For instance if the domain is ghoroakhabar.com, the document root will be public_html/ghoroakhabar
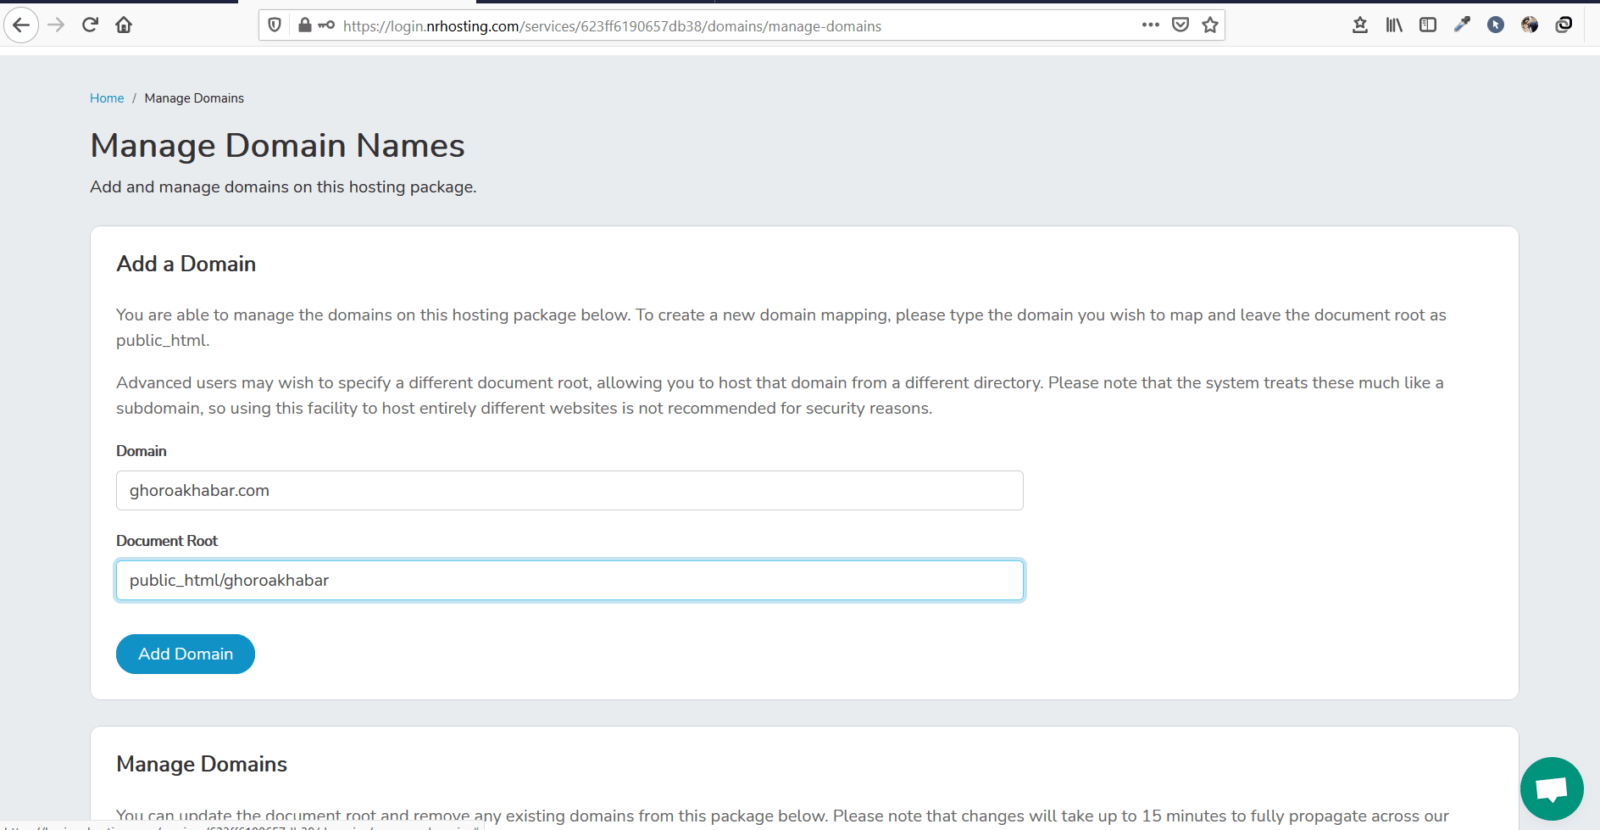
Now hit the Add Domain Button and the following screen will appear.
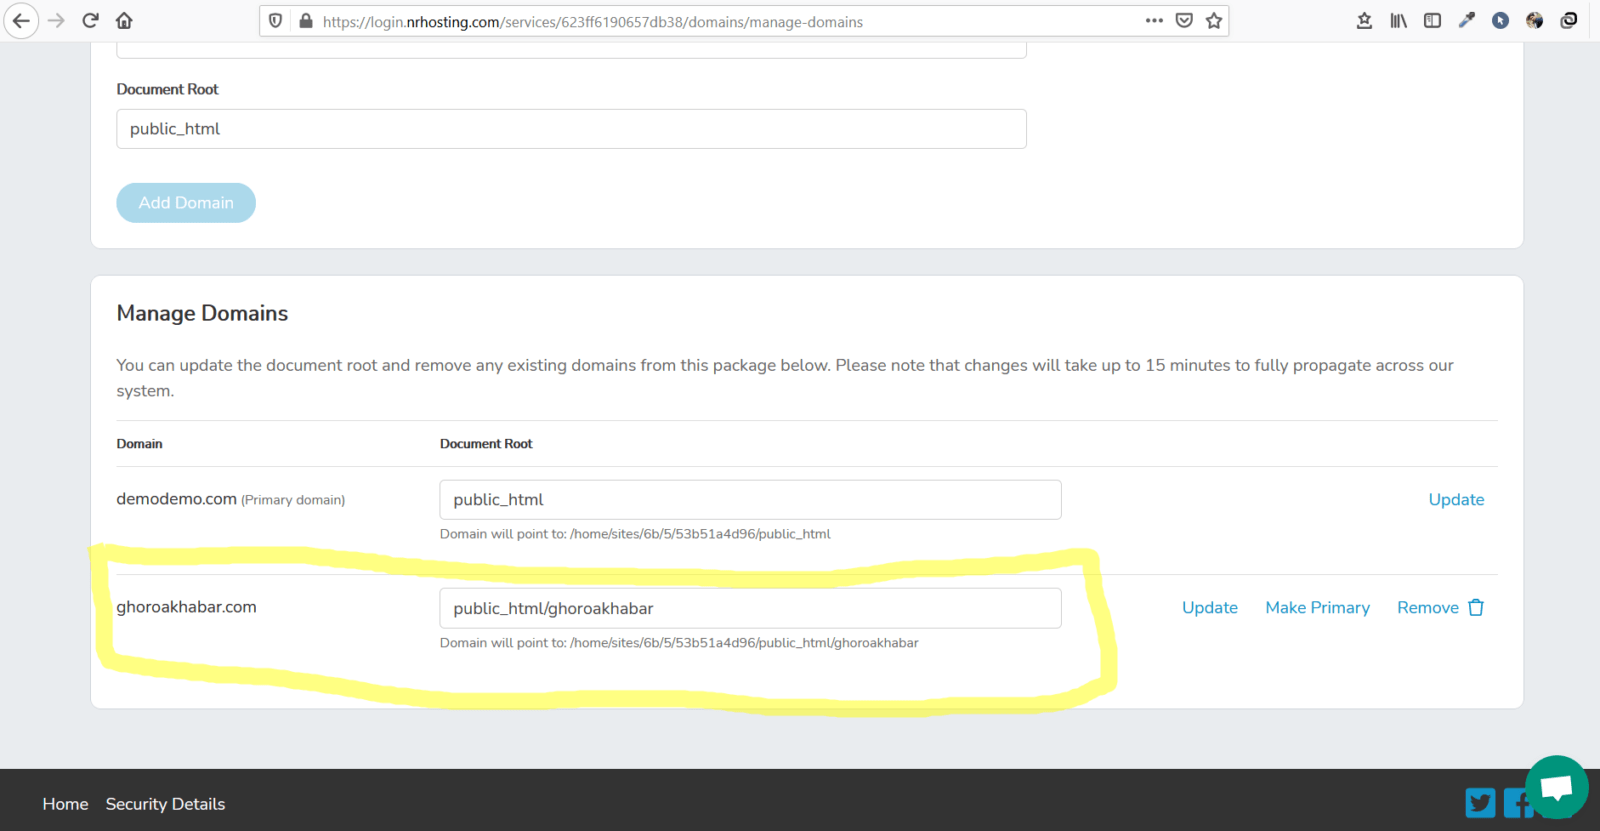
Domain is now added. Now Hit the home as shown below.
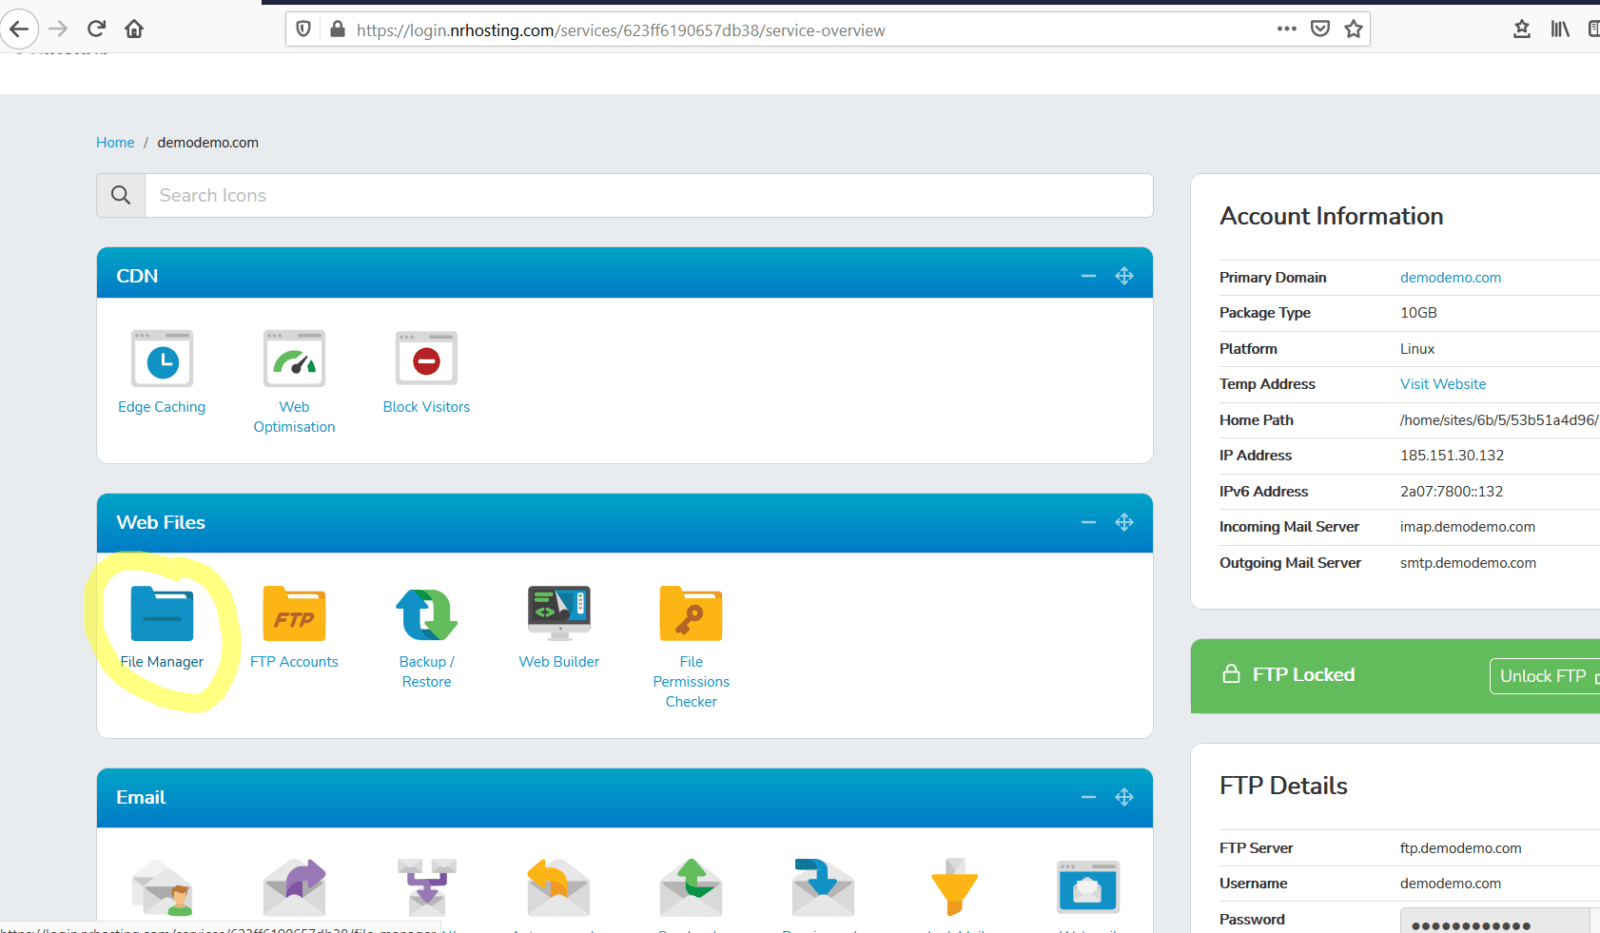
A screen such as below will appear.
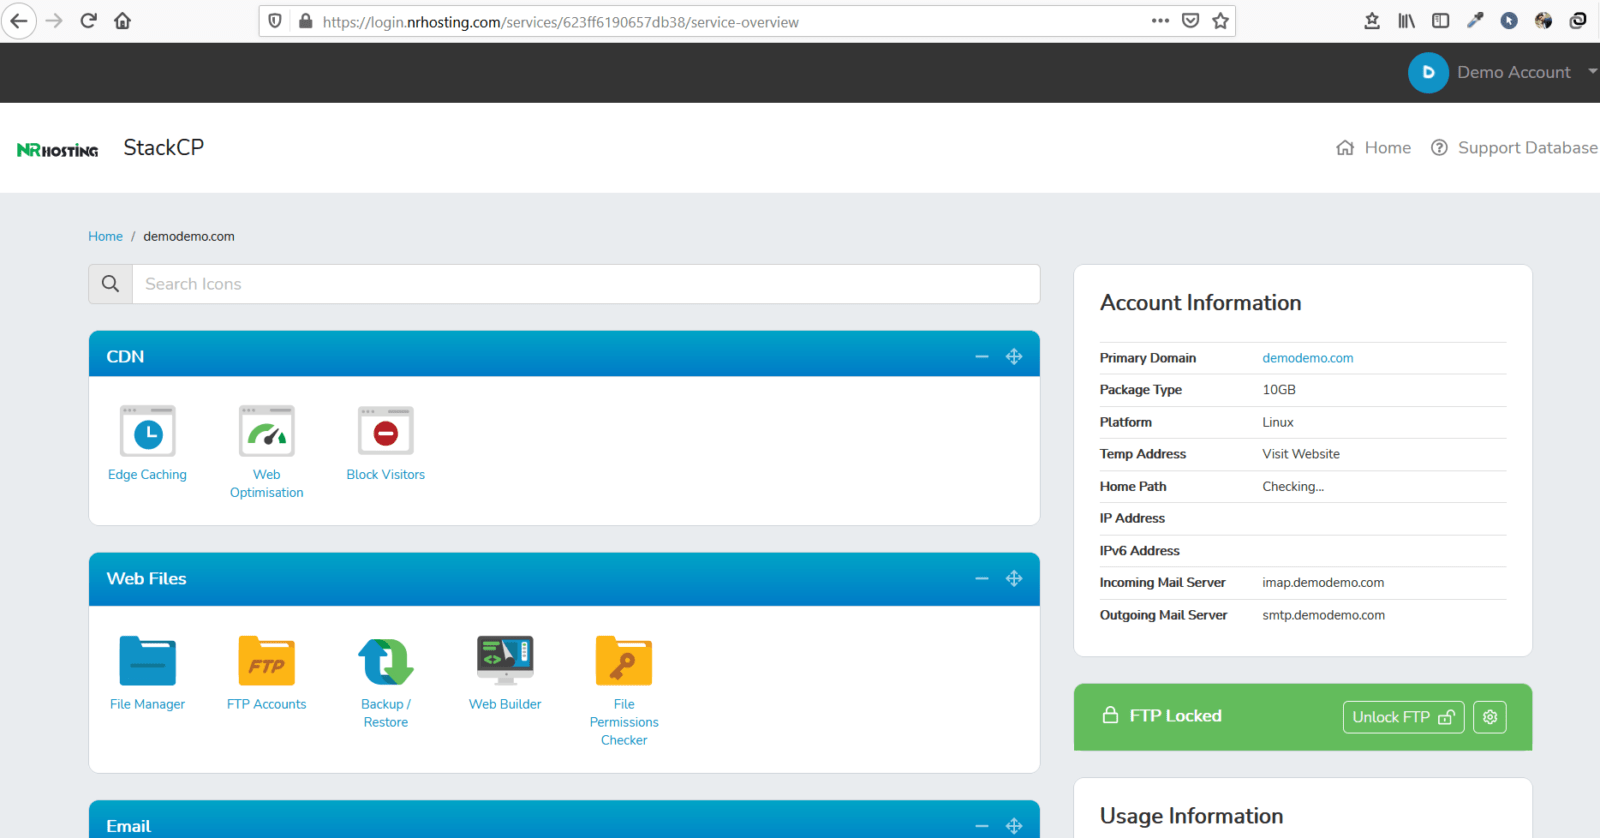
Next, Click on the File Manger Folder.
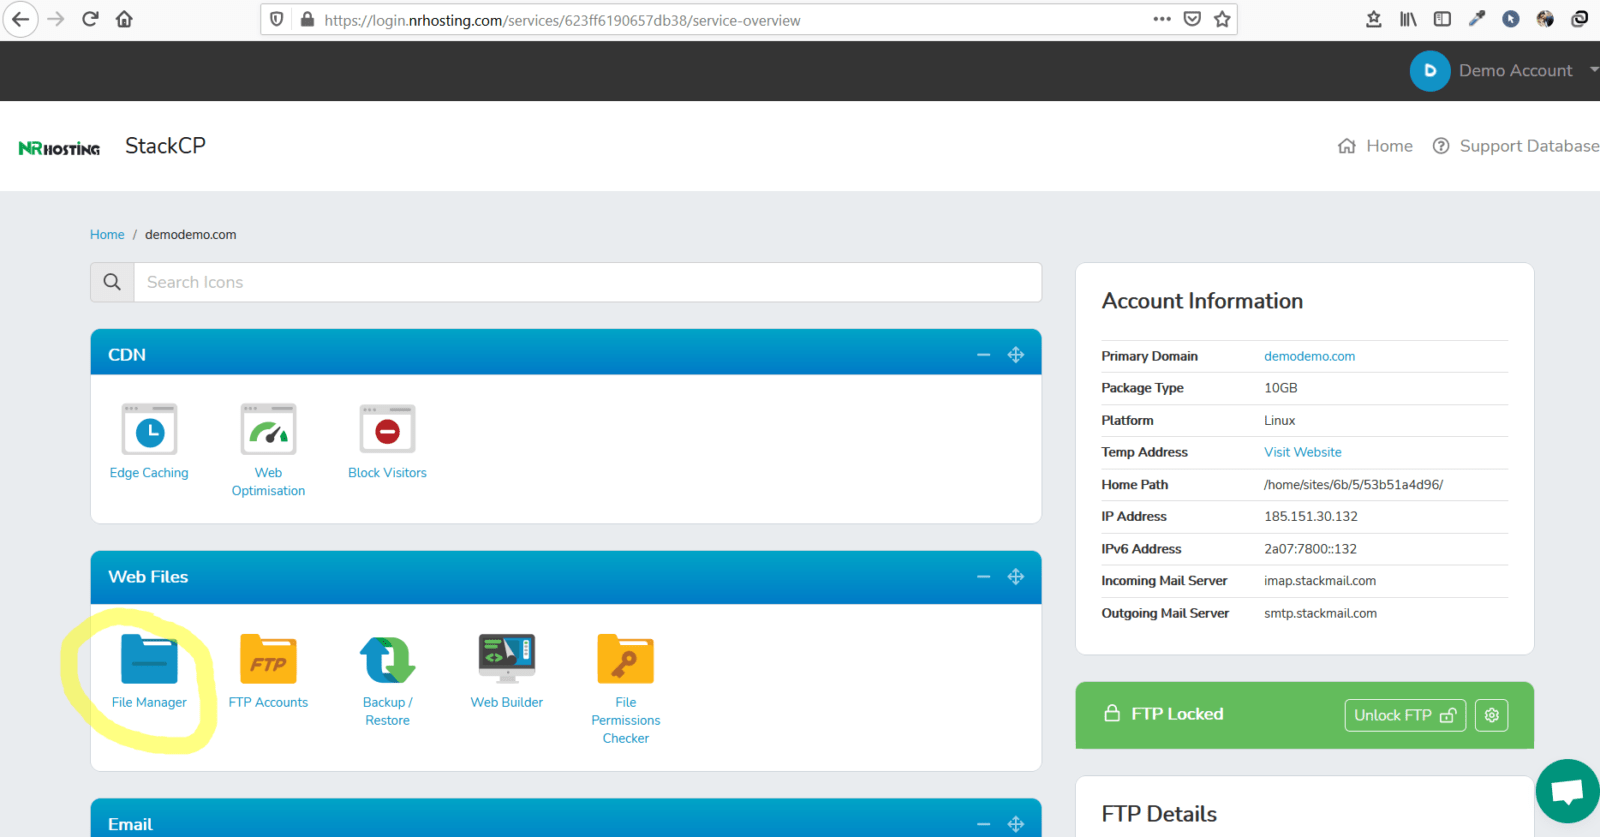
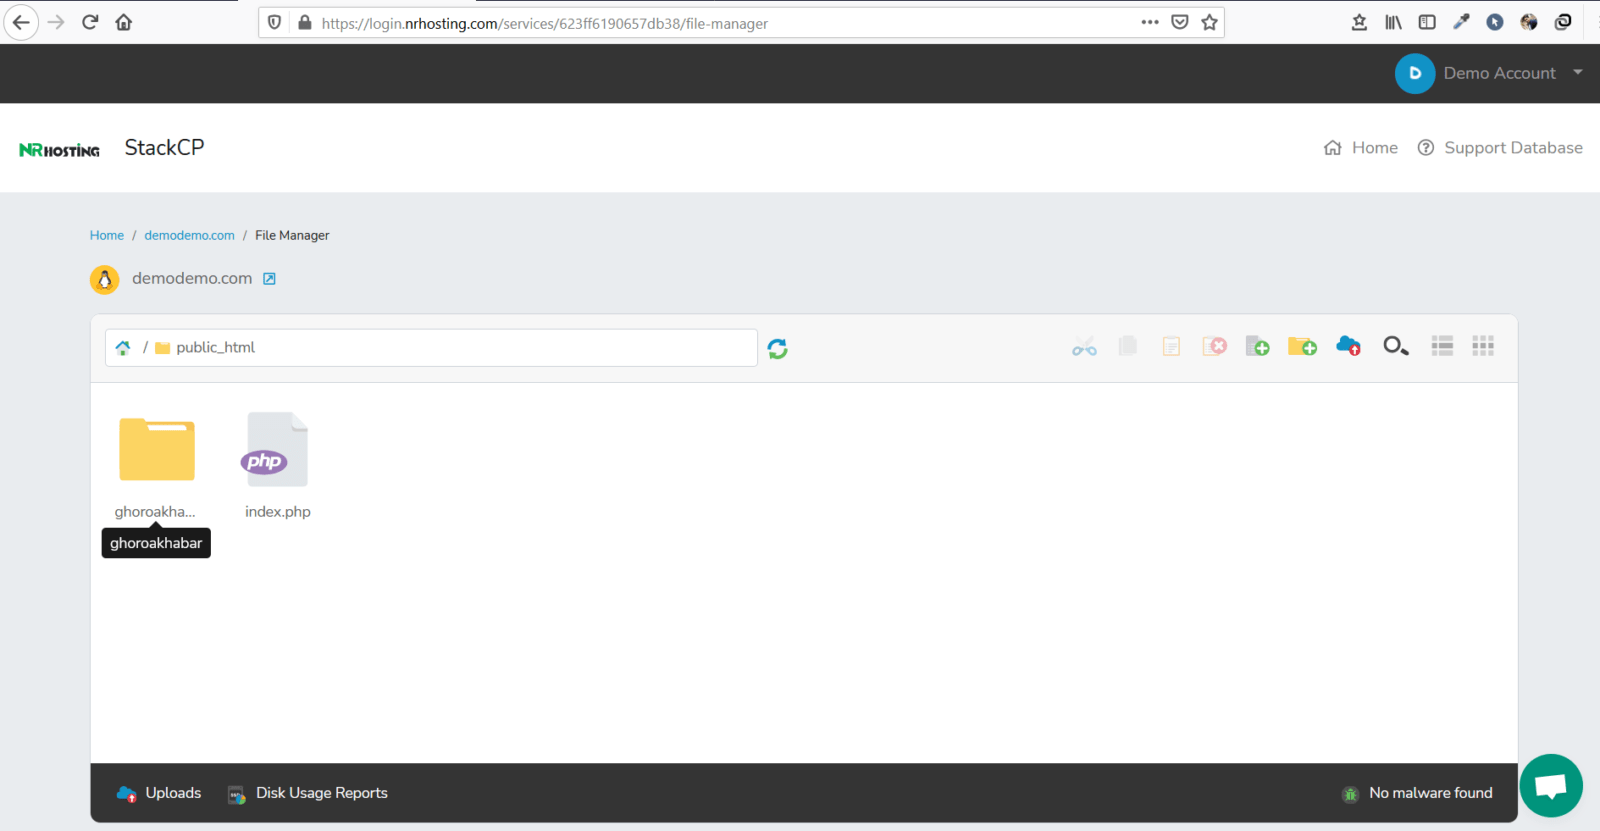
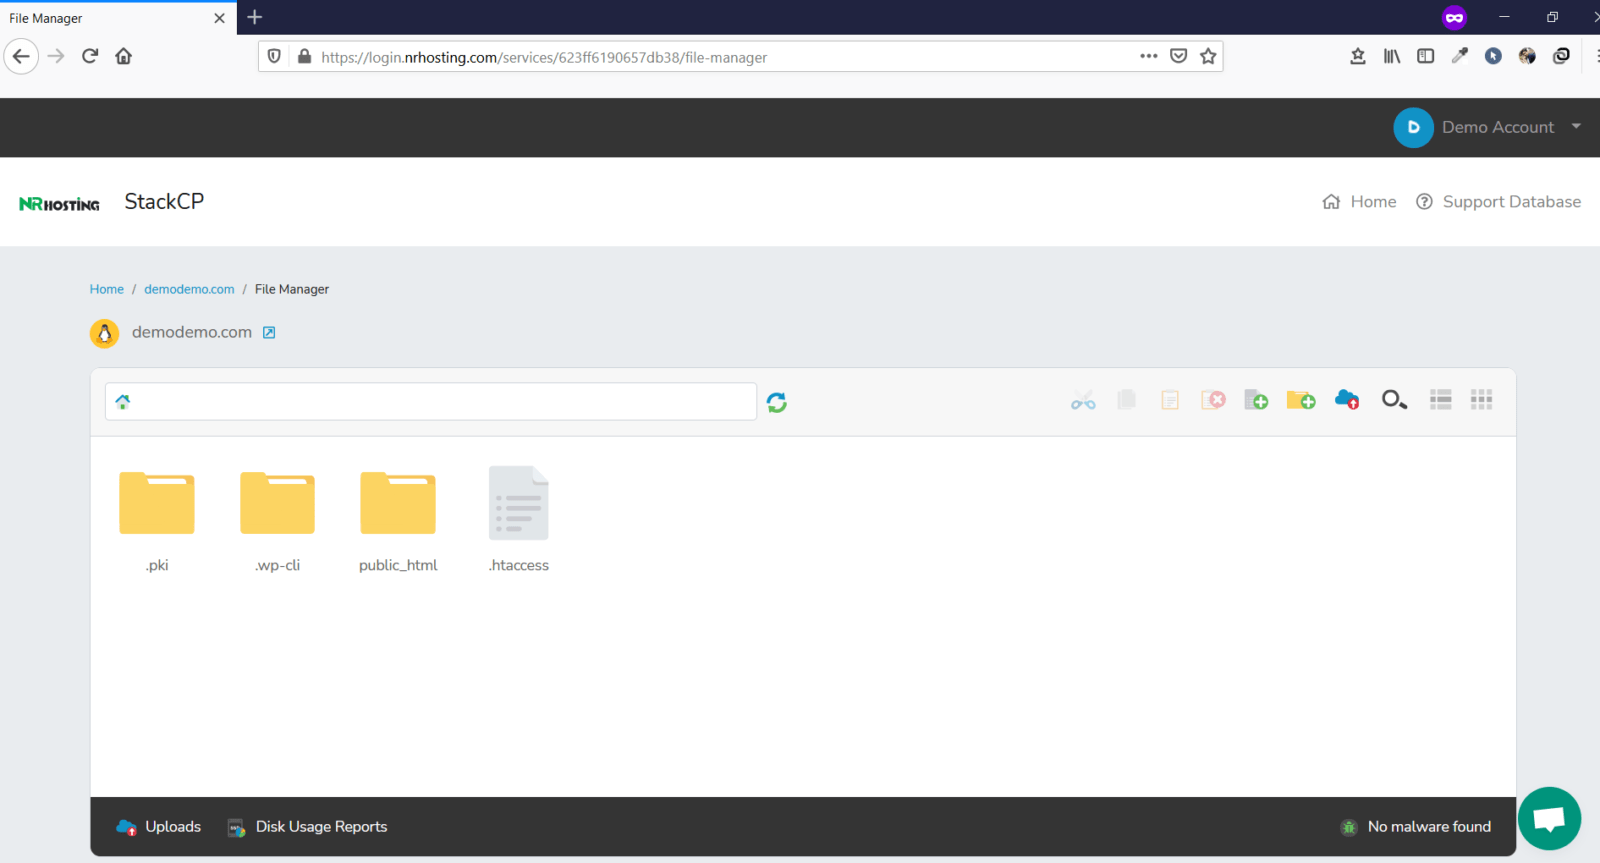
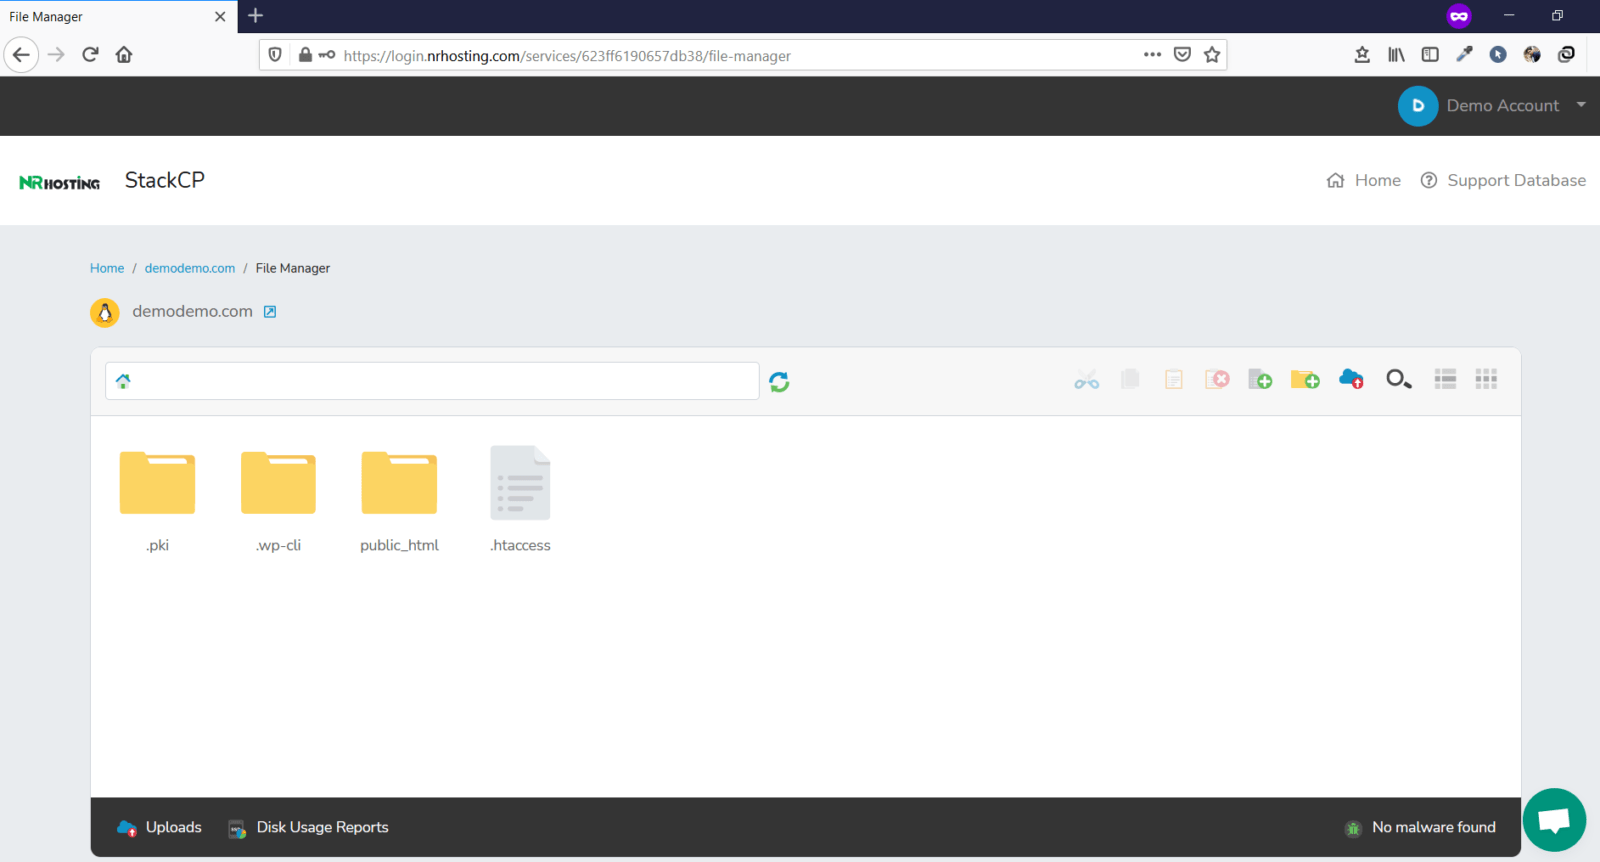
Once you click on the file manager the following screen wiil be there.
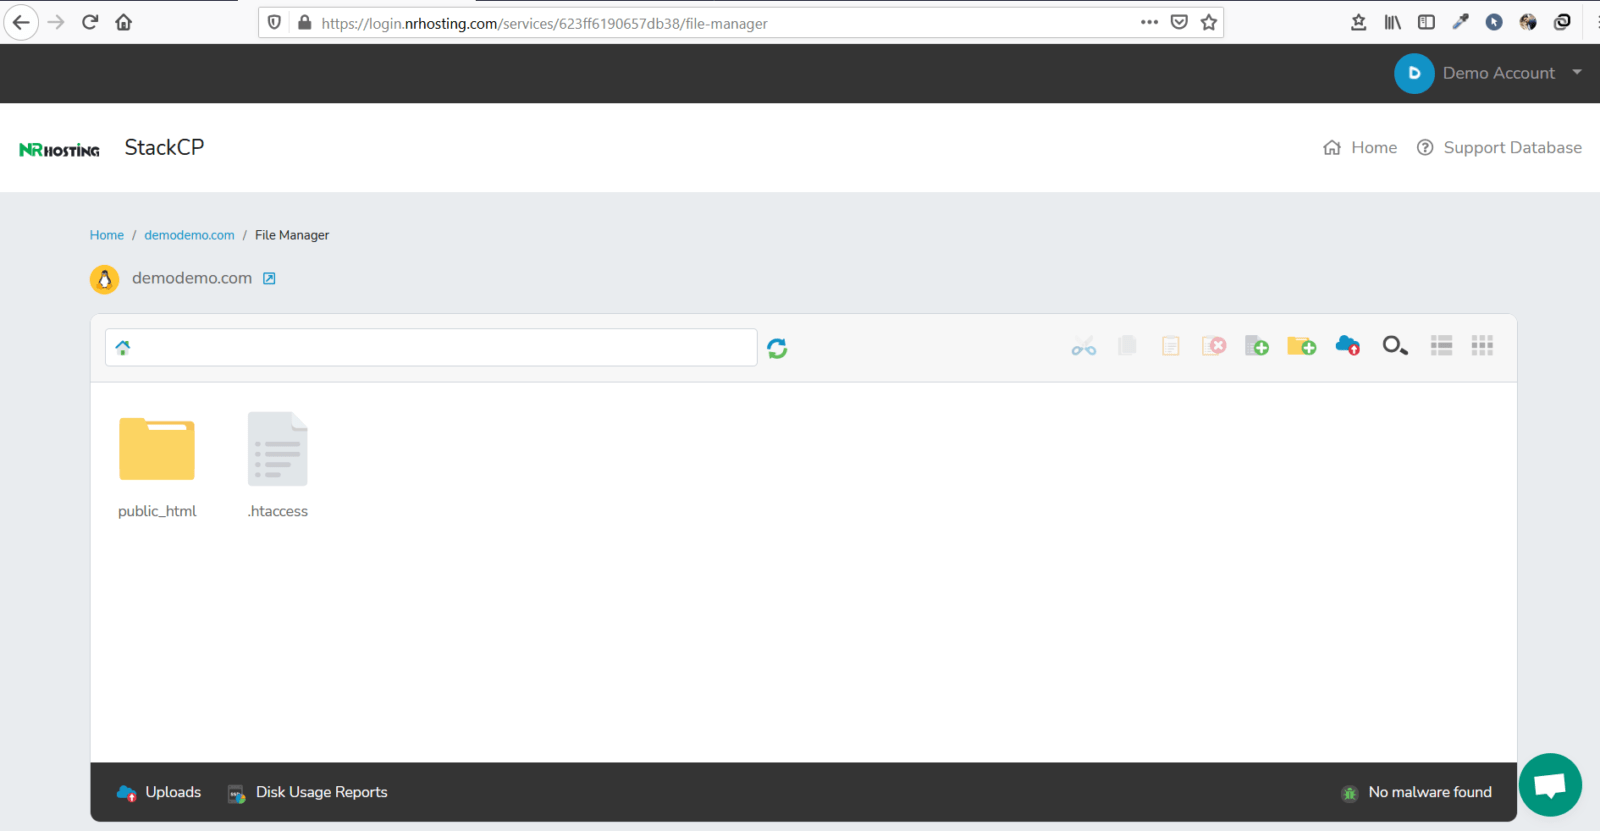
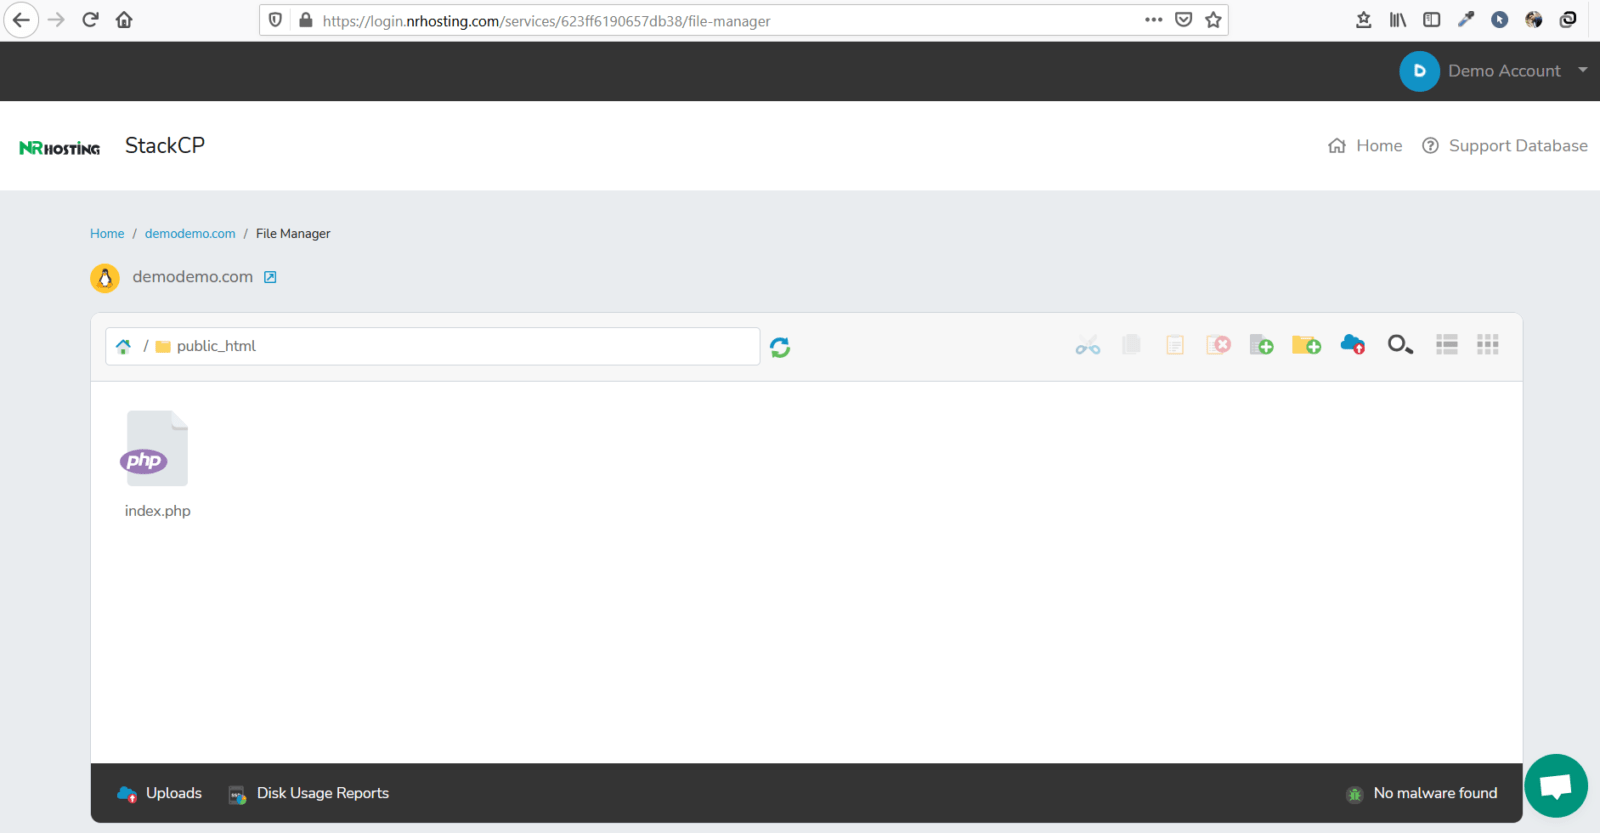
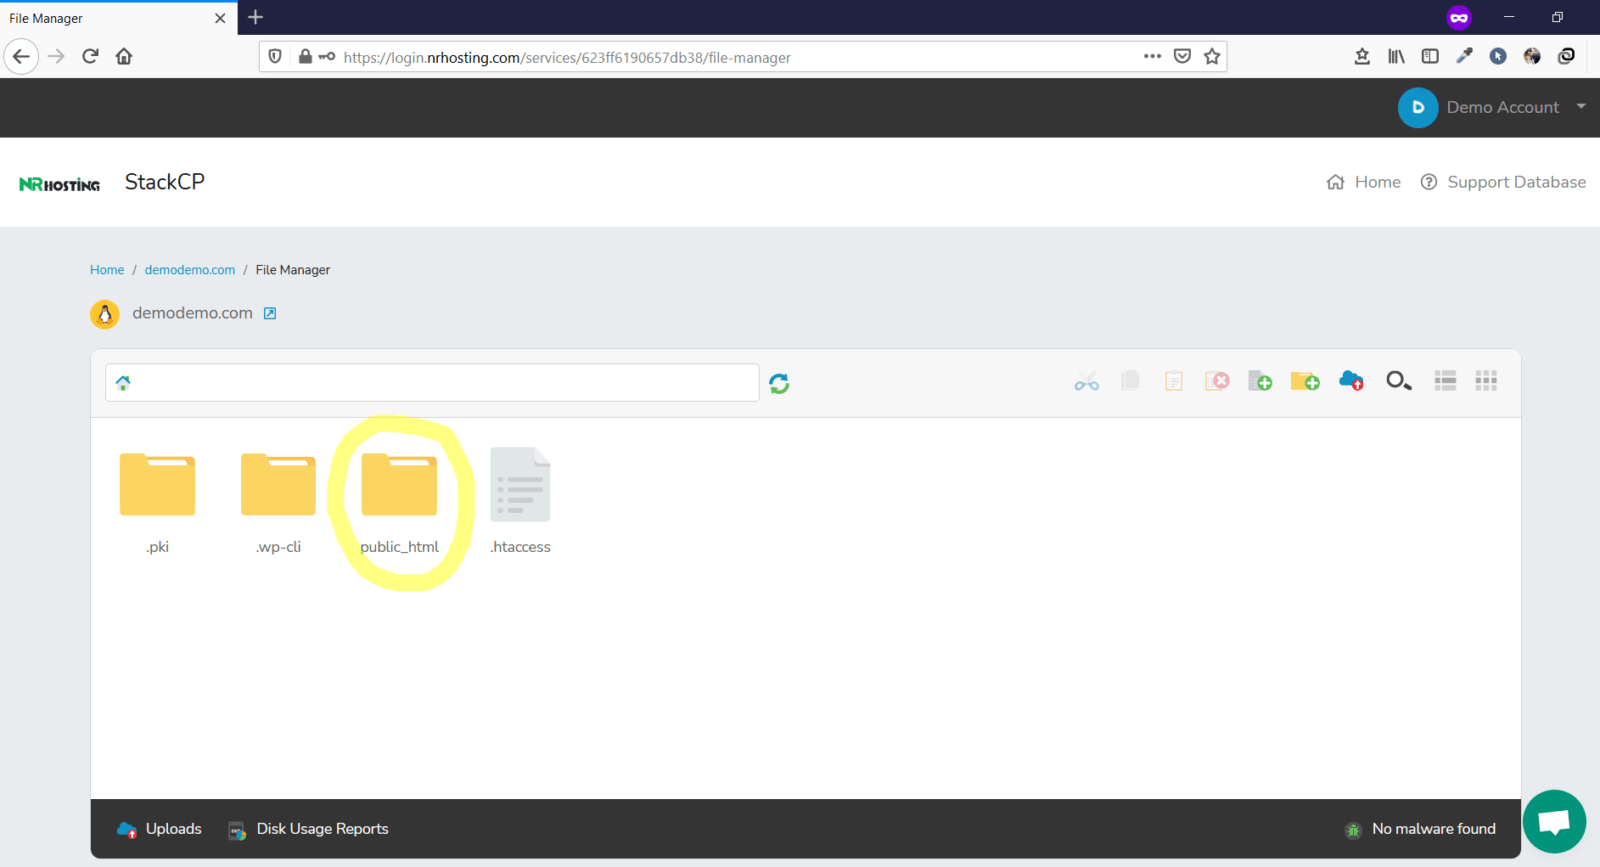
Next, clcik the public_html folder.
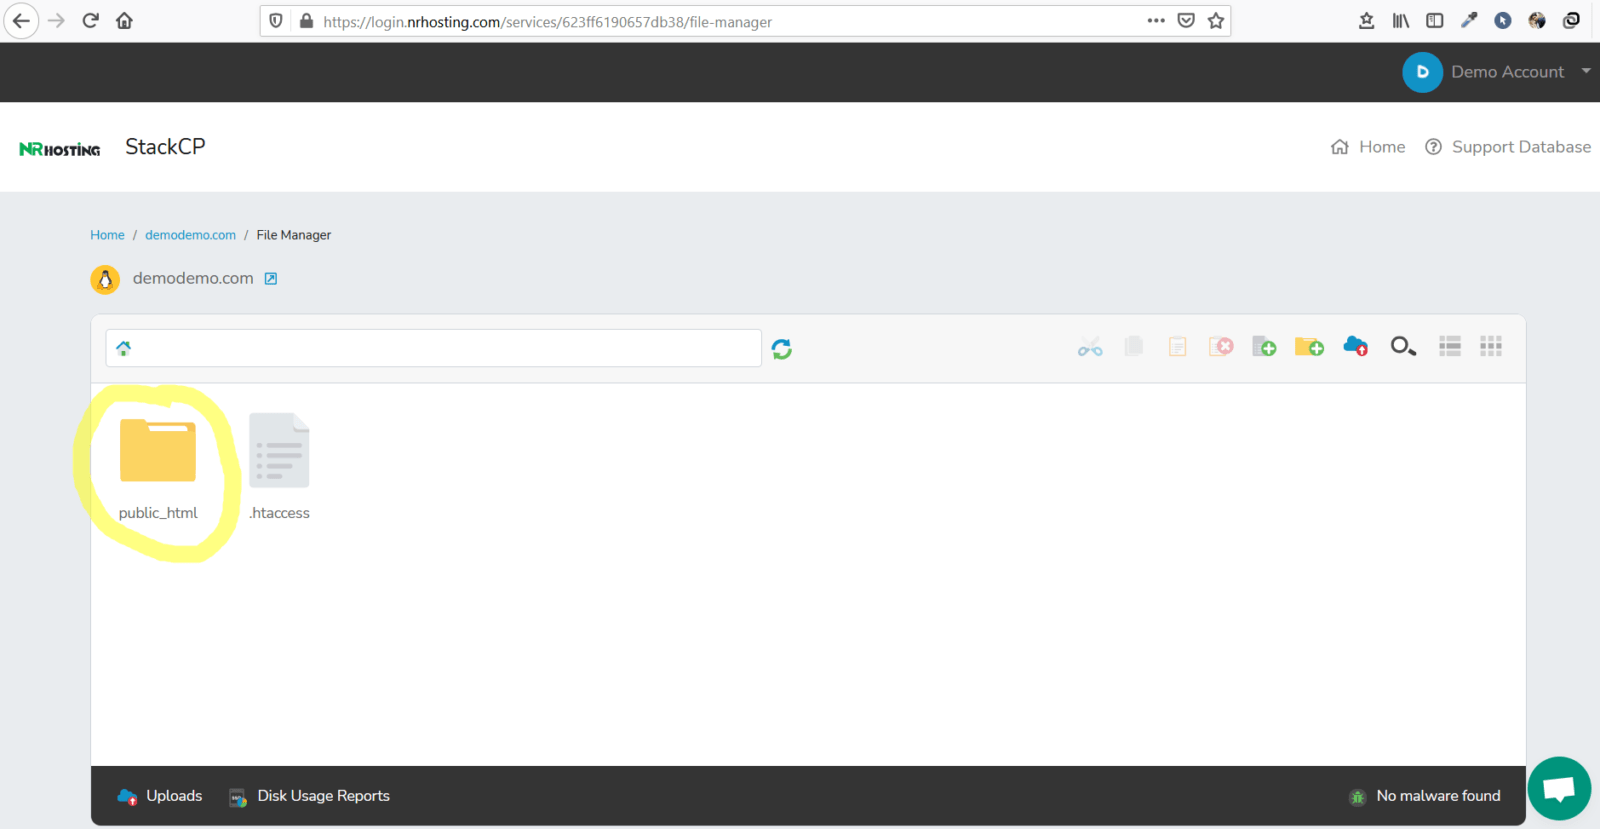
The following screen will appear.
I hope you remember the document root directory that we changed few minutes back.
public_html/ghoroakhabar
Now create a folder and name it ghoroakhabar. To do so first clcik on the folder sign as shown below.
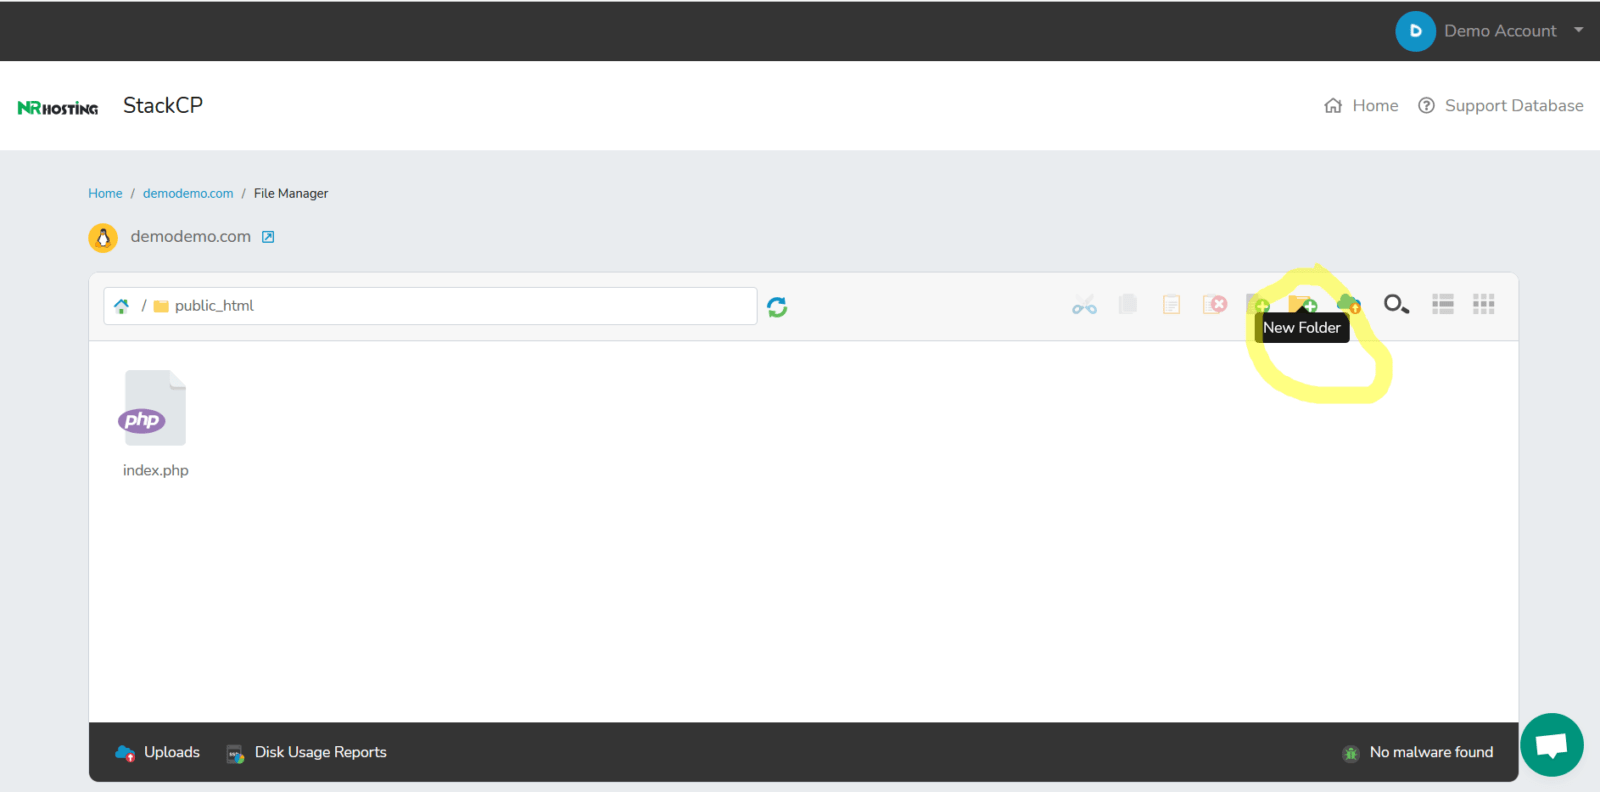
A folder will be creating option will pop up and name the folder as ghoroakhabar.
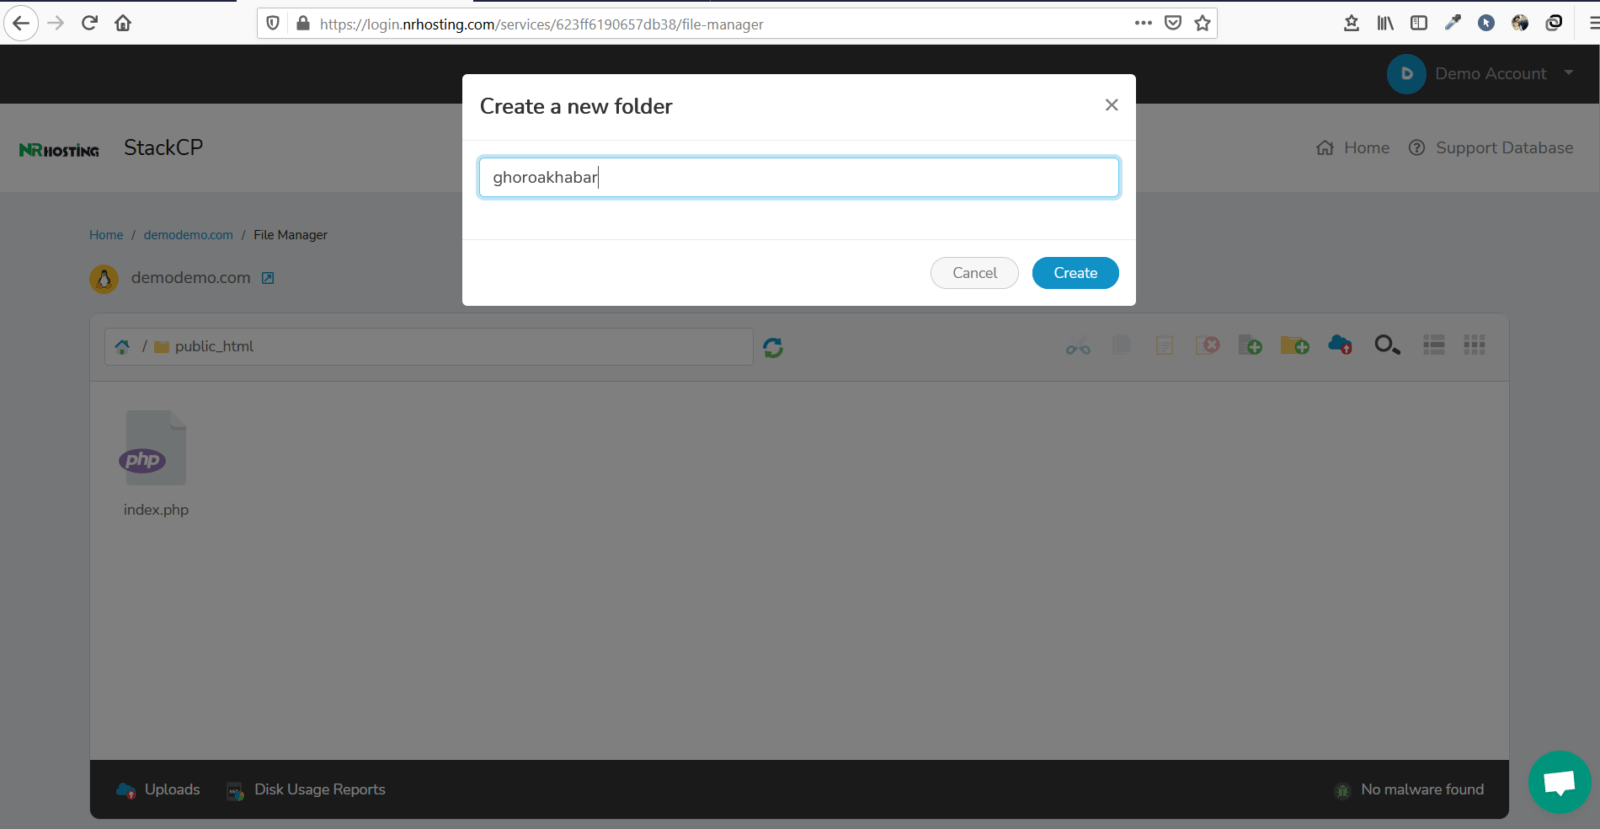
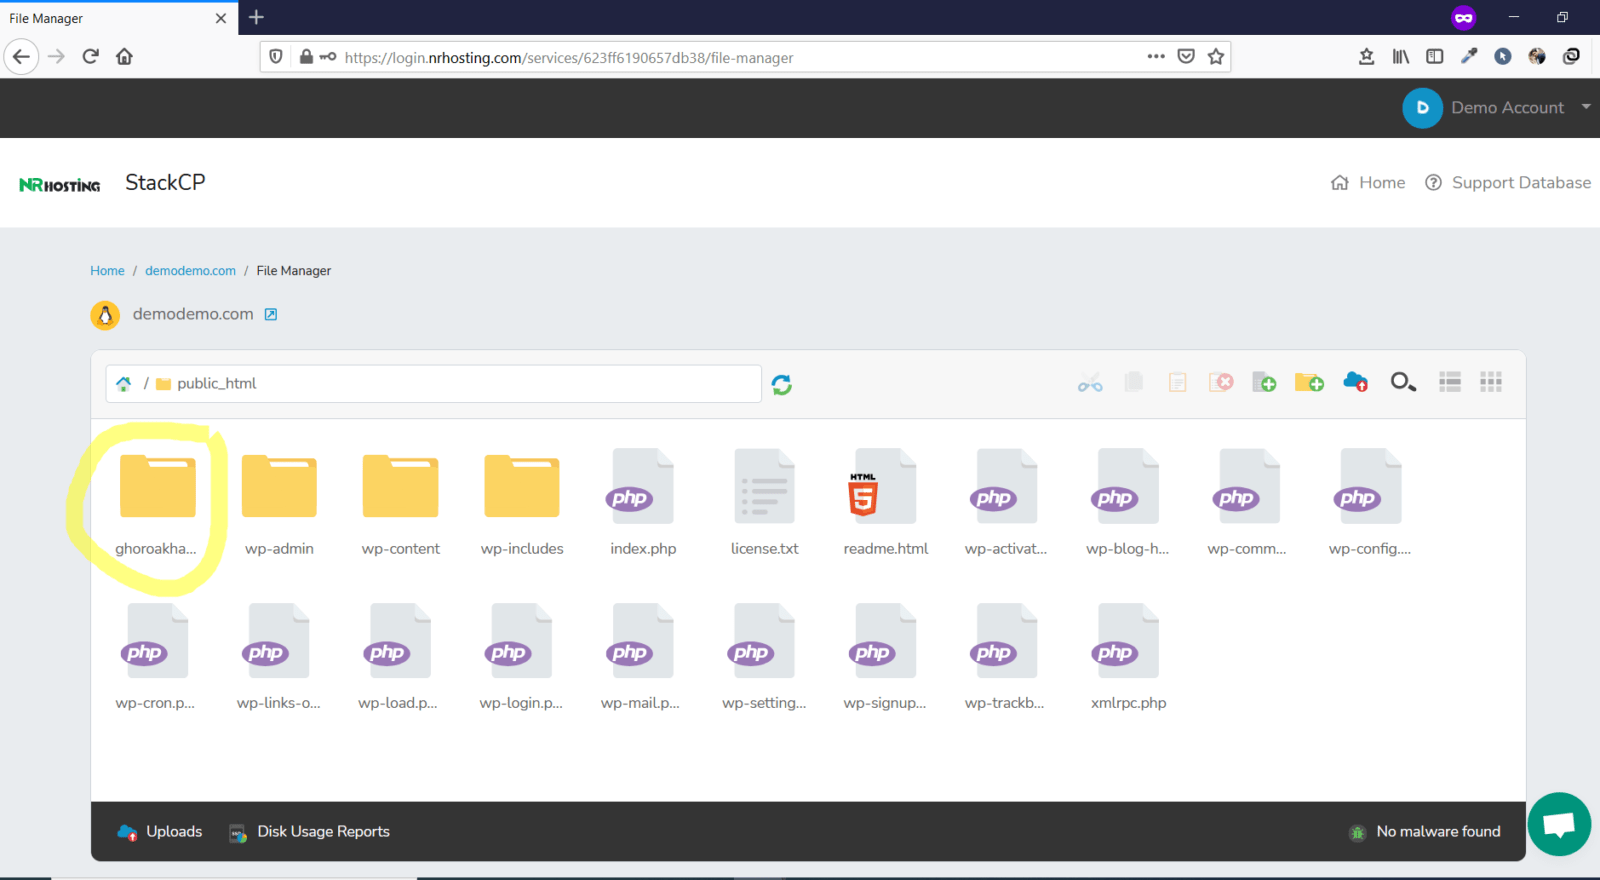
Hit the create button and the following screen will appear.
How to add a subdomain?
Adding subdomain is similar to adding multiple domains.
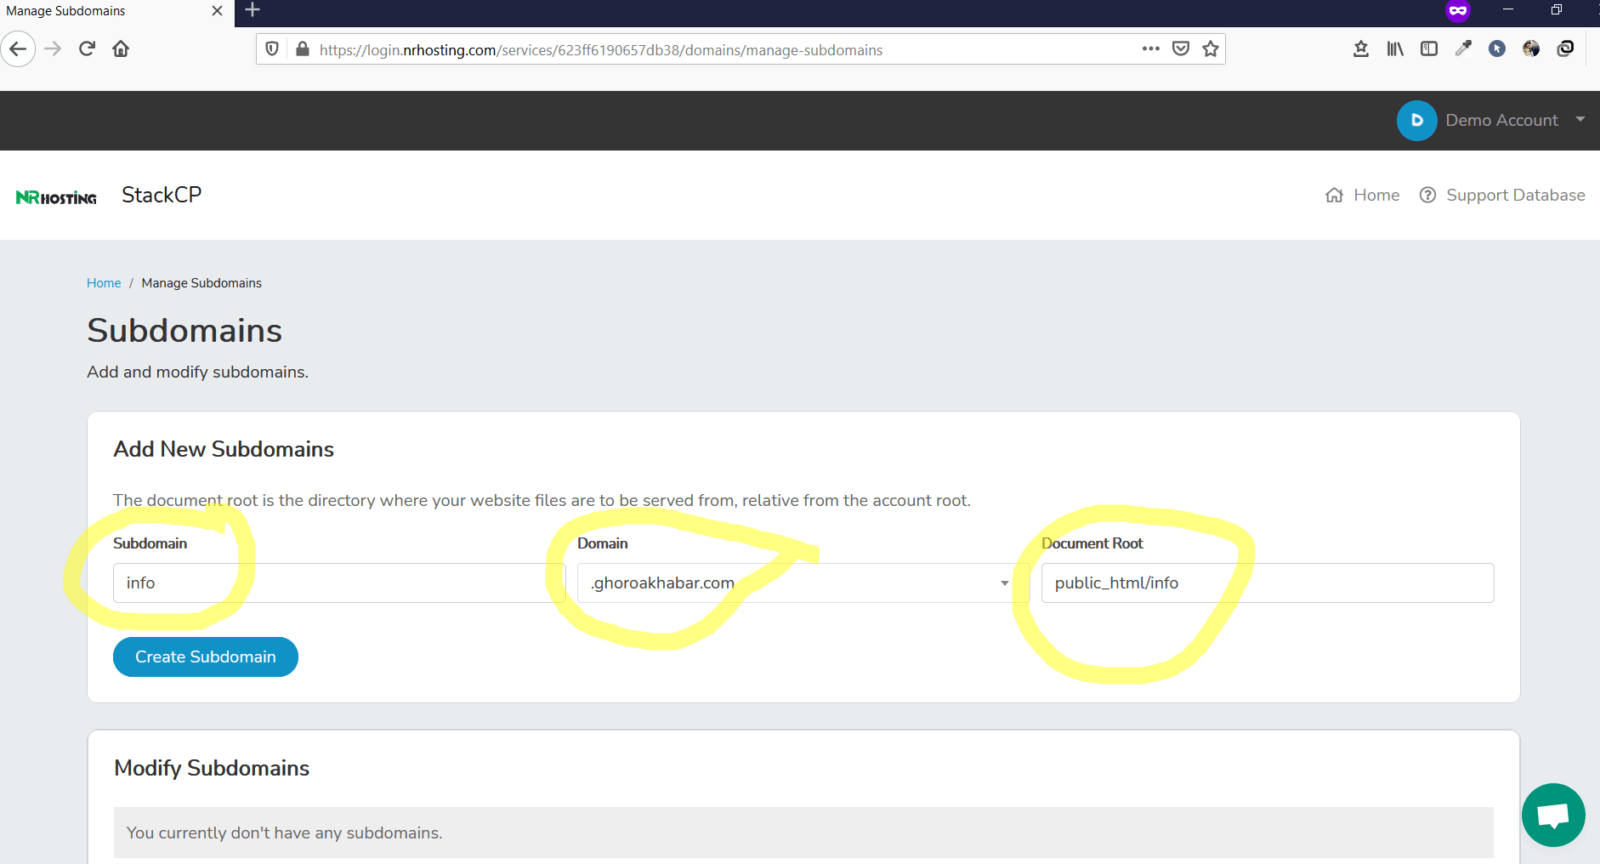
Once you login to control panel, find the domain segment and then hit the subdomains link as shown below.

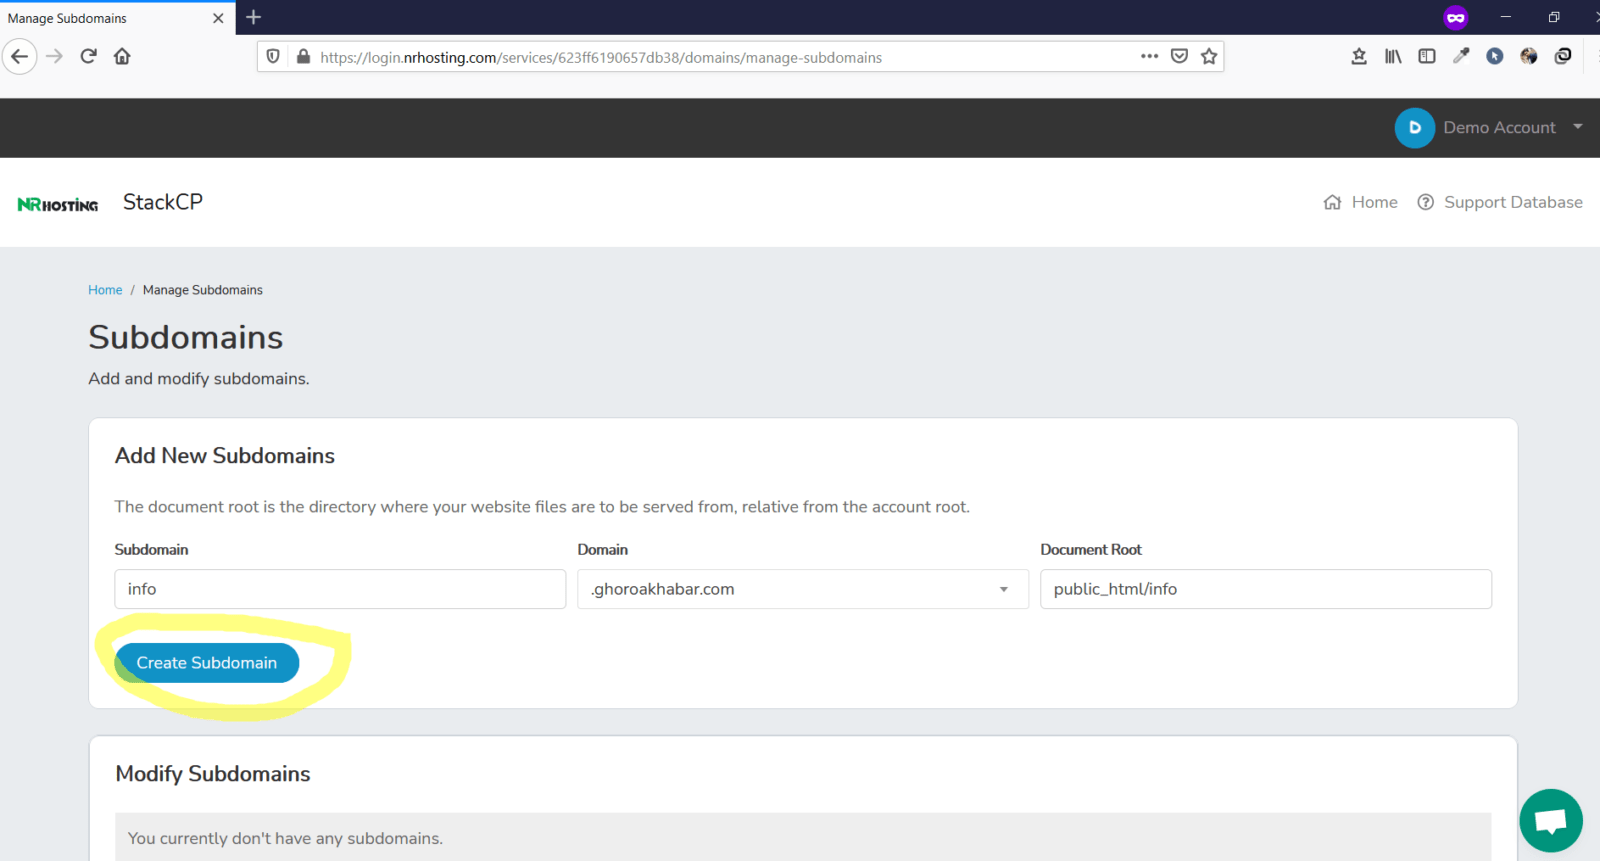
Just as you have done for addon domain, similarly do the same here. For instance in this case our subdomain will be info.ghoroakhabar.com. See carefully how we create it. Also see the the document root.
Next hit the create subdomain button.
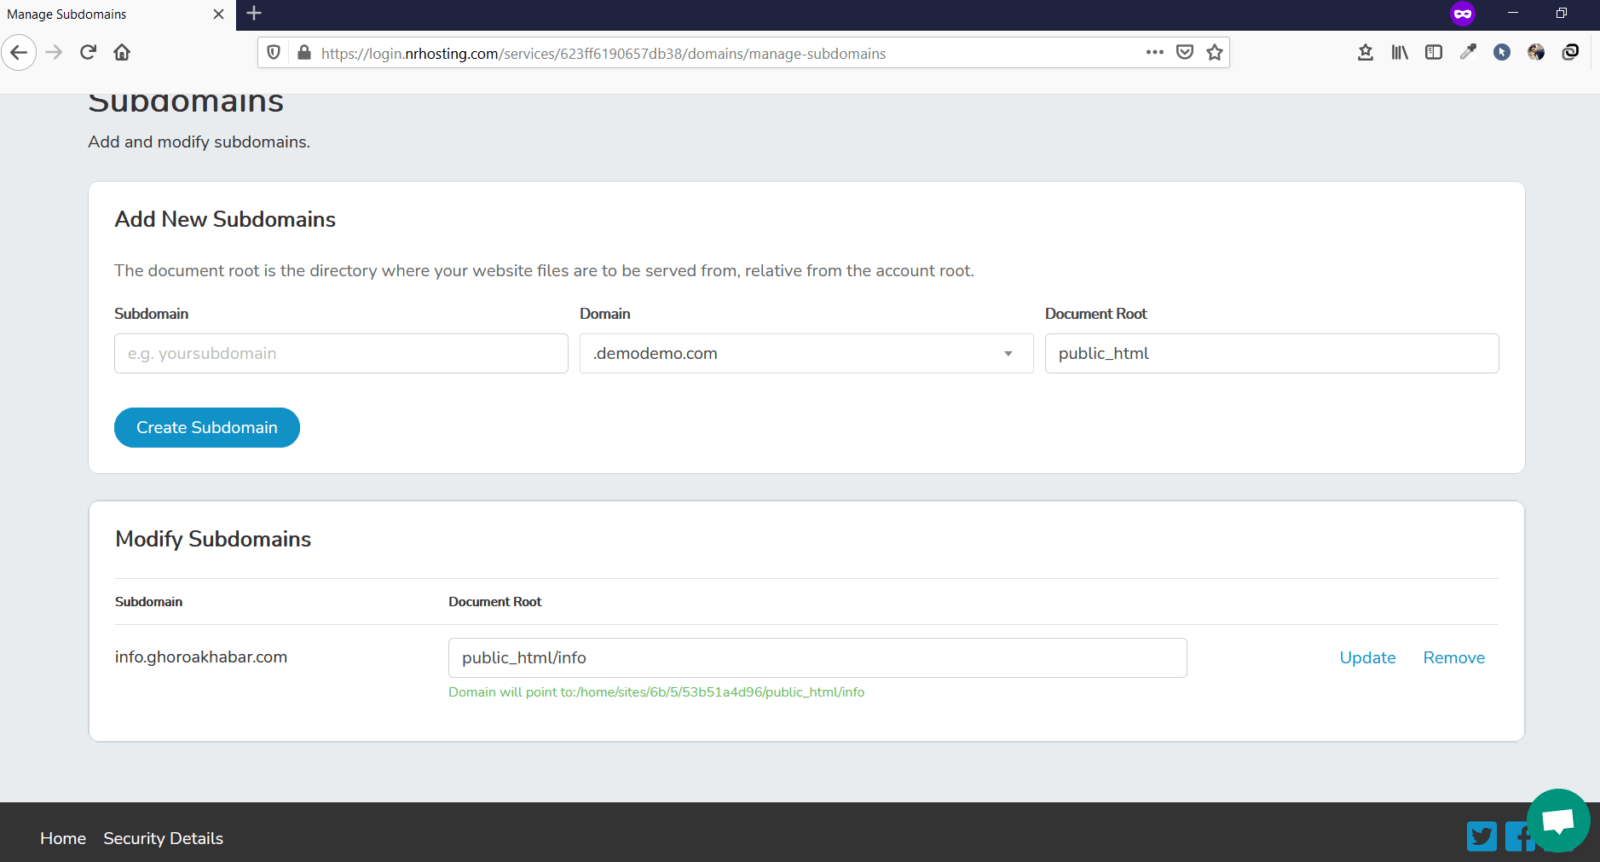
Now, move on to file manager, and look for a folder named “info” inside public_html. If you see that the folder “info” is not inside public_html then create a folder and name it “info.”
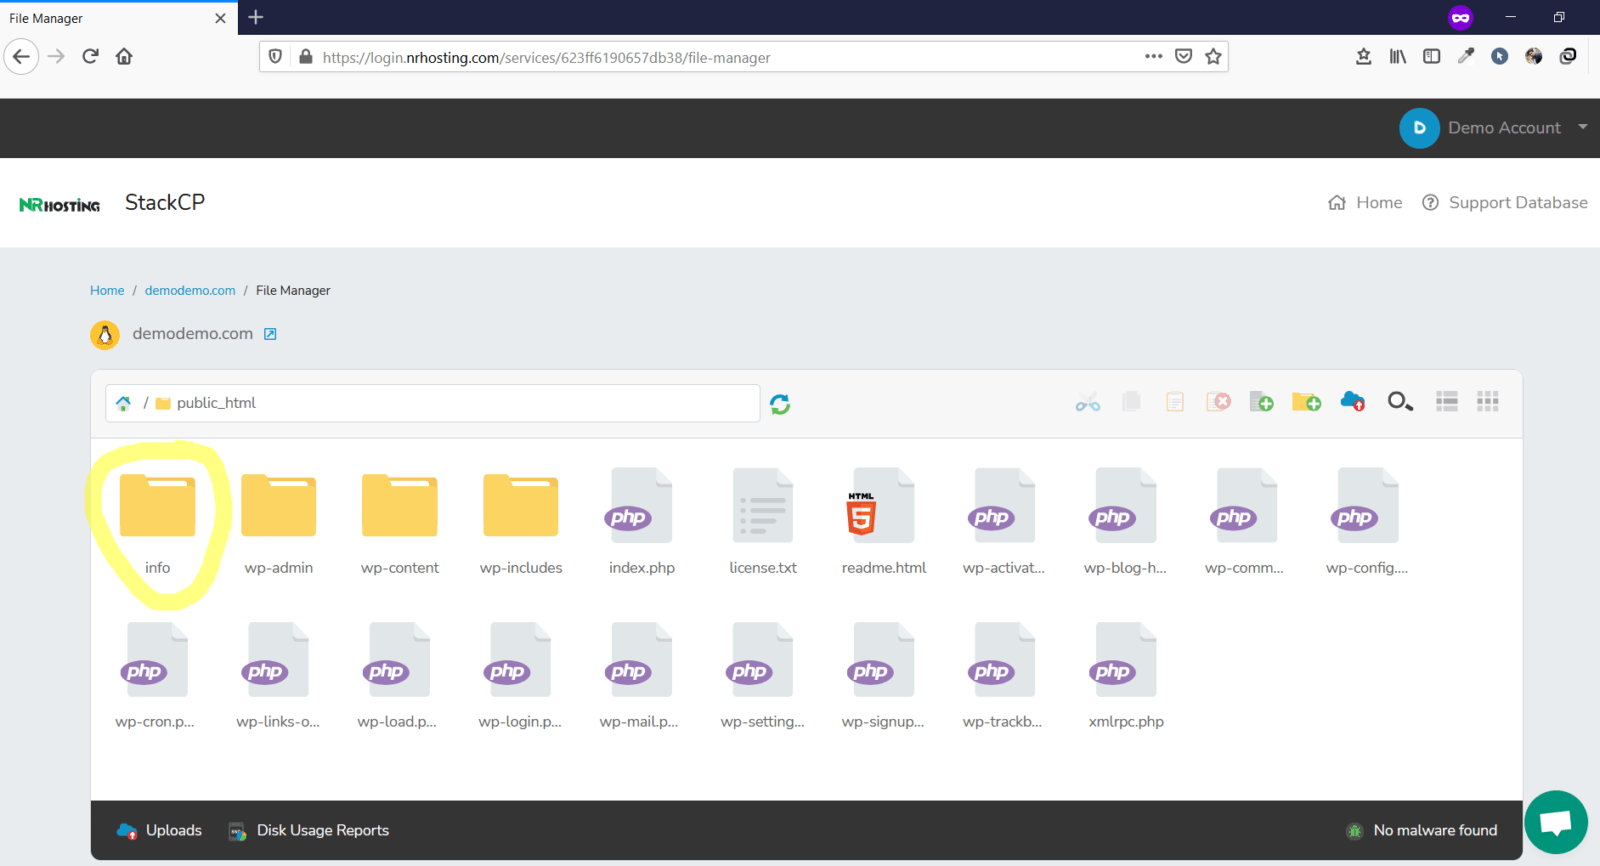
That’s it. Subdomain created successfully.
How to Install WordPress?
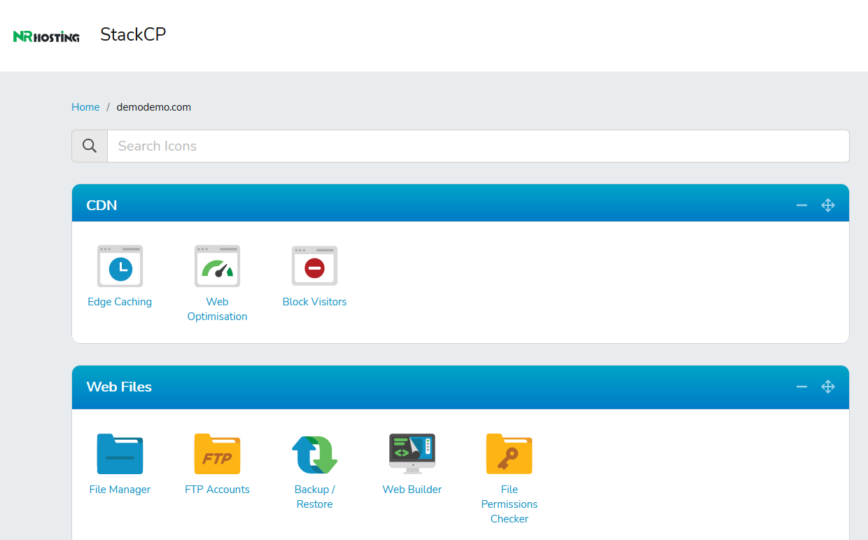
Now, it’s time to Install WordPress. For that again hit the home and you will have a screen as below.

Once you are back to this screen, scroll down until the following screen appears.
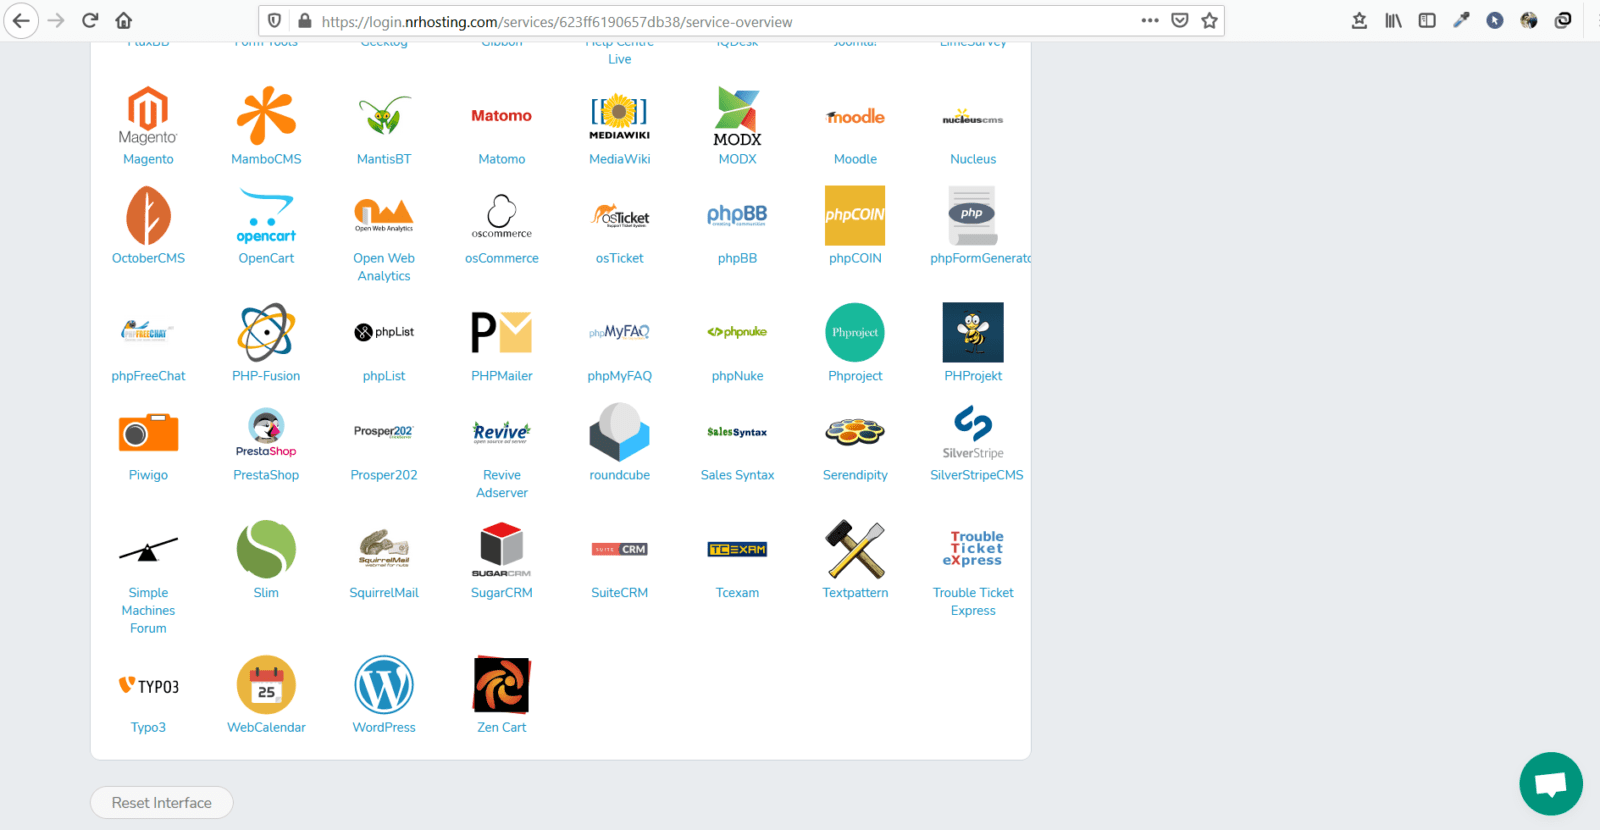
Now clcik on the WordPress Icon.
Once you hit the WordPress Icon the following screen will appear.
Click on the dropdown menu and select the domain where you want to install WordPress.
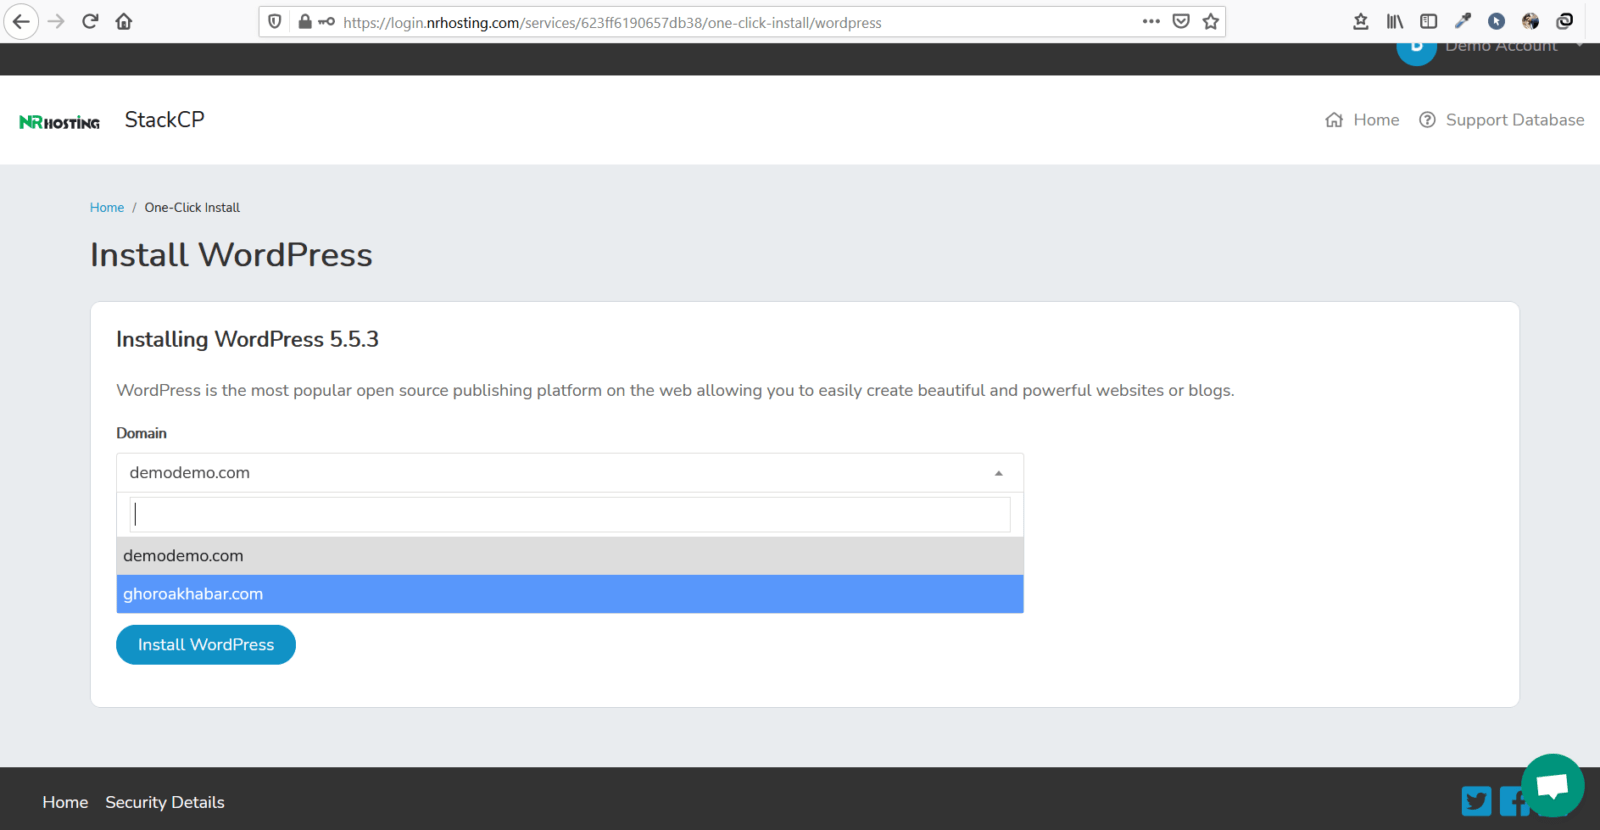
Then hit the “Install WordPress” Button.

Once you install WordPress the following page will appear.
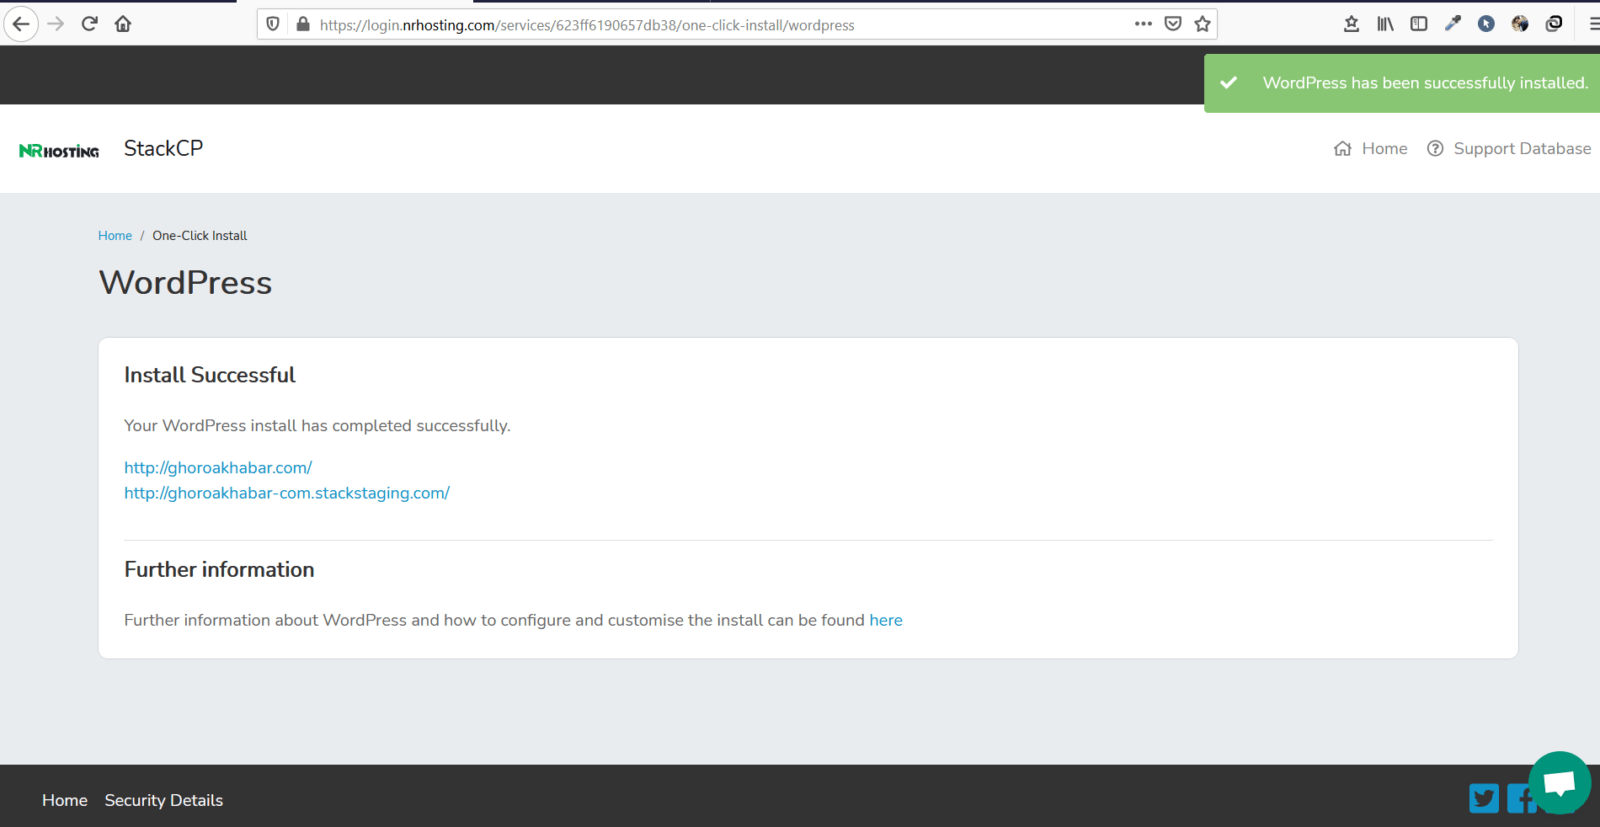
WordPress is successfully installed.
N.B: Whatever you do never ever click on the 2nd link – http://ghoroakhabar-com.stackstaging.com.
Wait for 30 mins and then click on the first link – http://ghoroakhabar.com
A screen as shown below will appear.
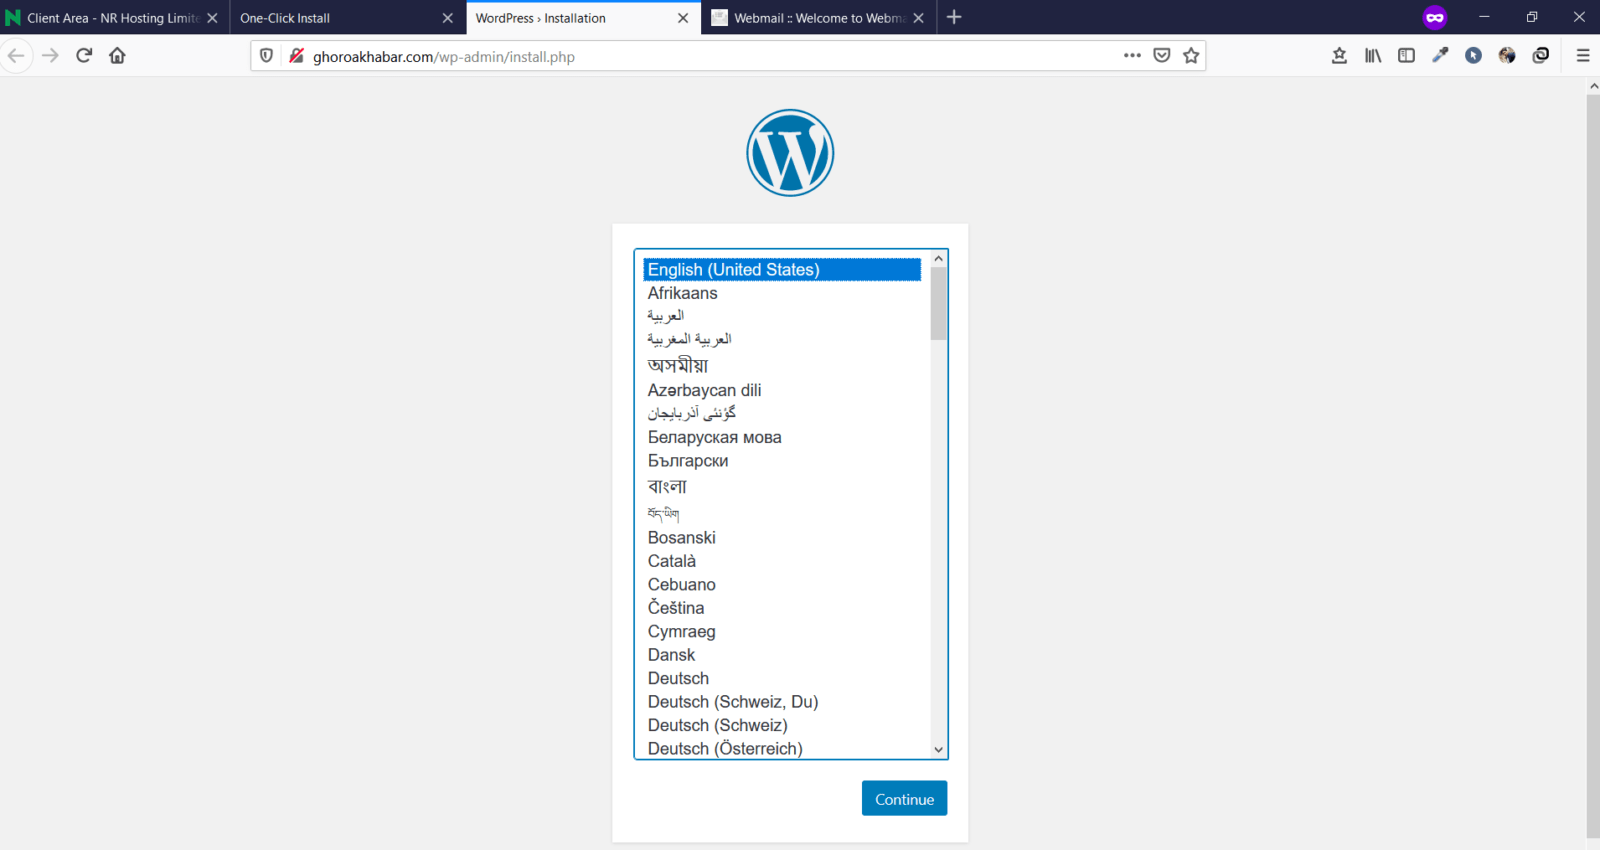
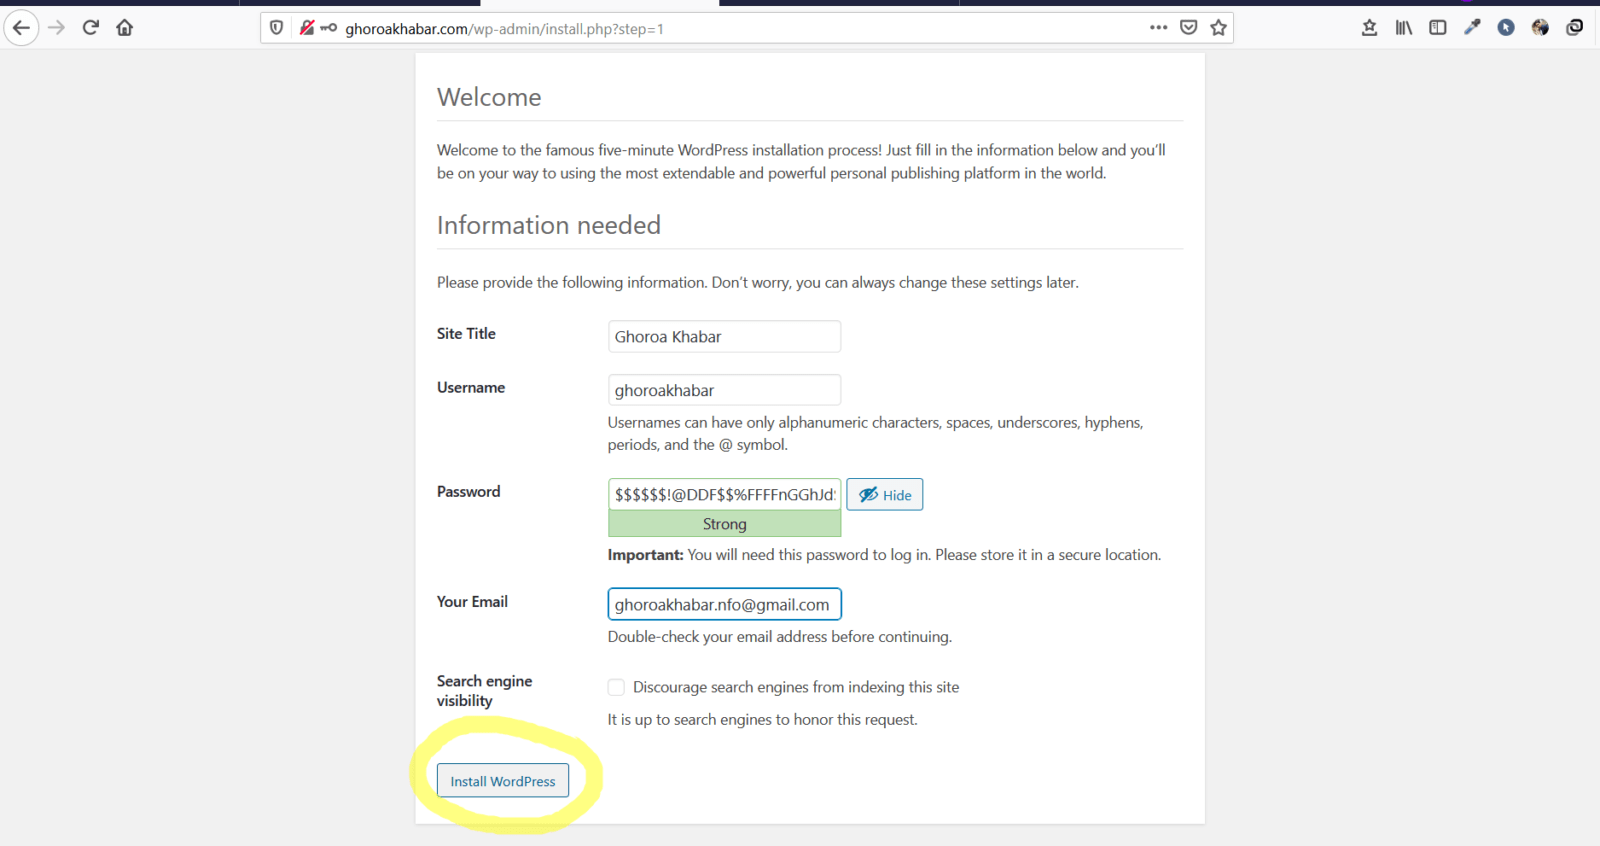
Next, select the language and then hit continue. The following screen will appear.
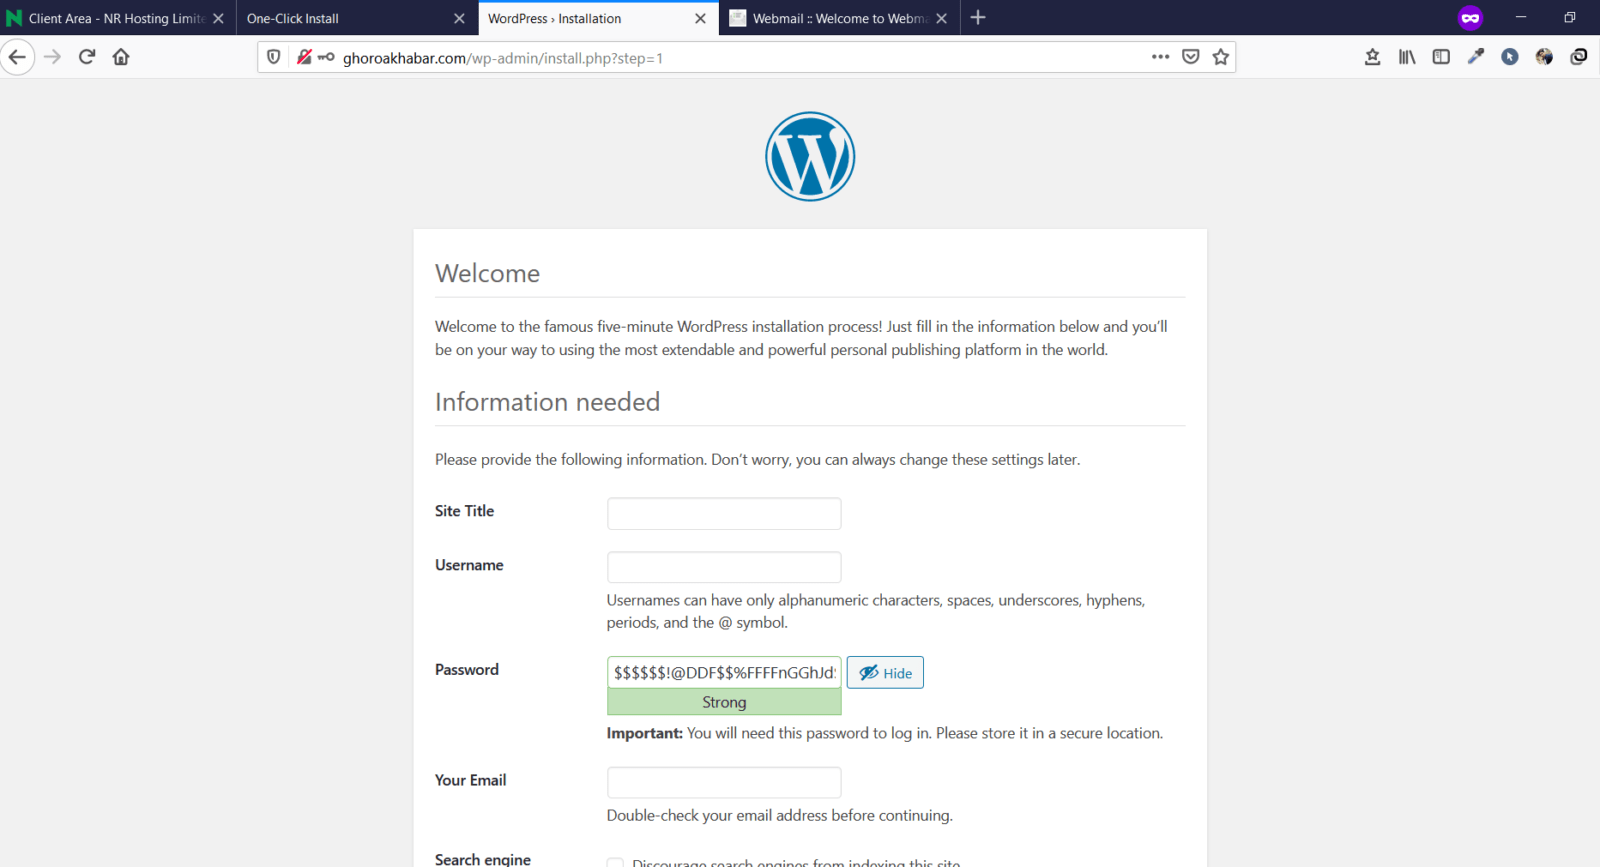
Write your site title, password and your email.
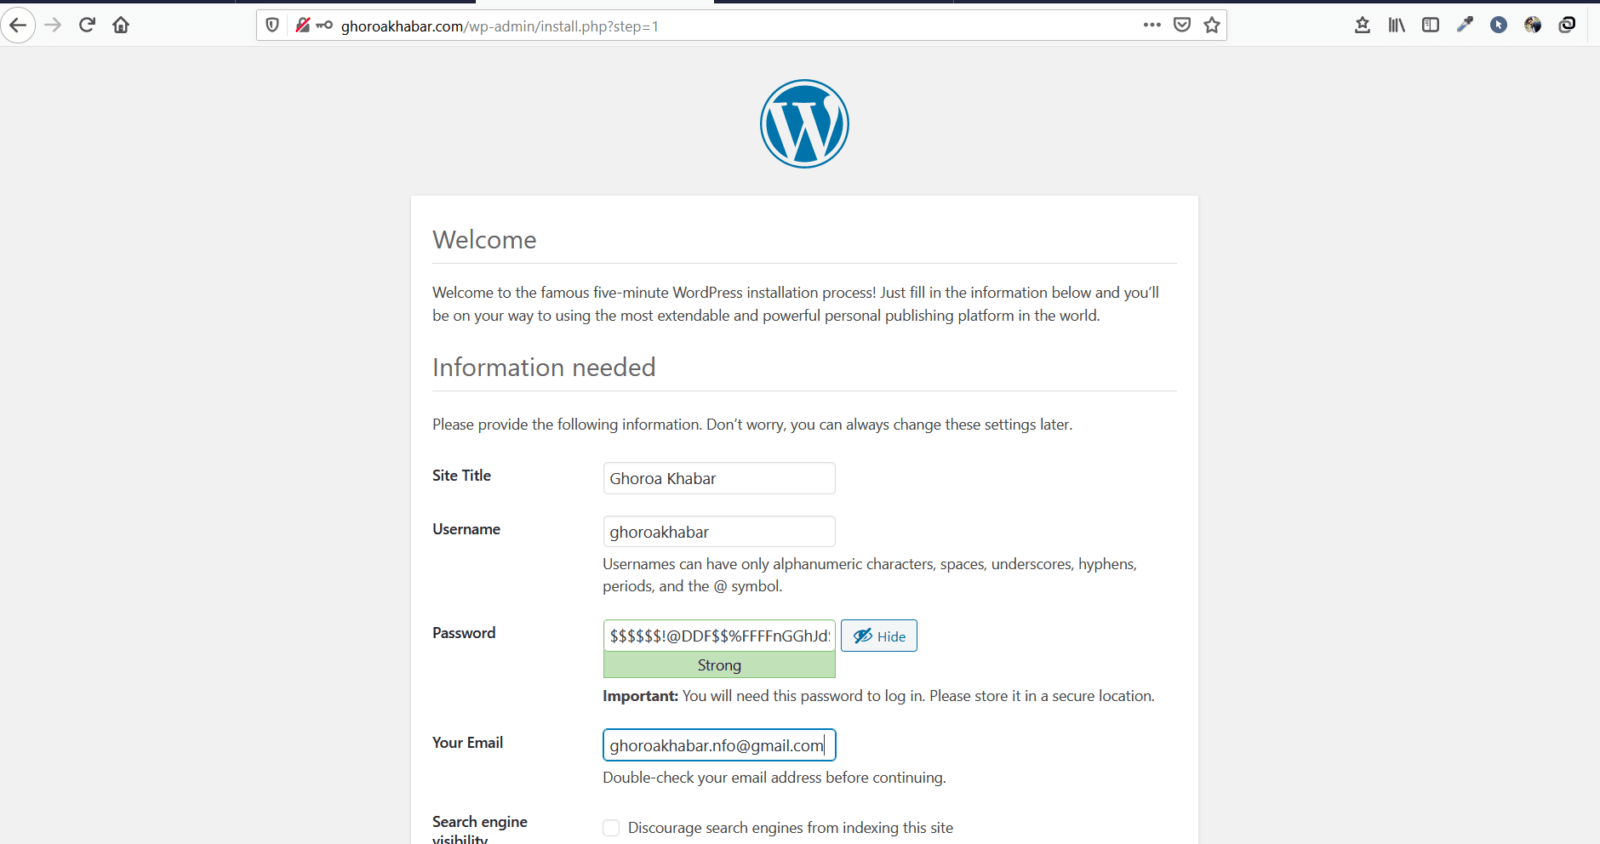
Next, hit the “Install WordPress” button.
Once you have installed WordPress properly the following screen will appear.
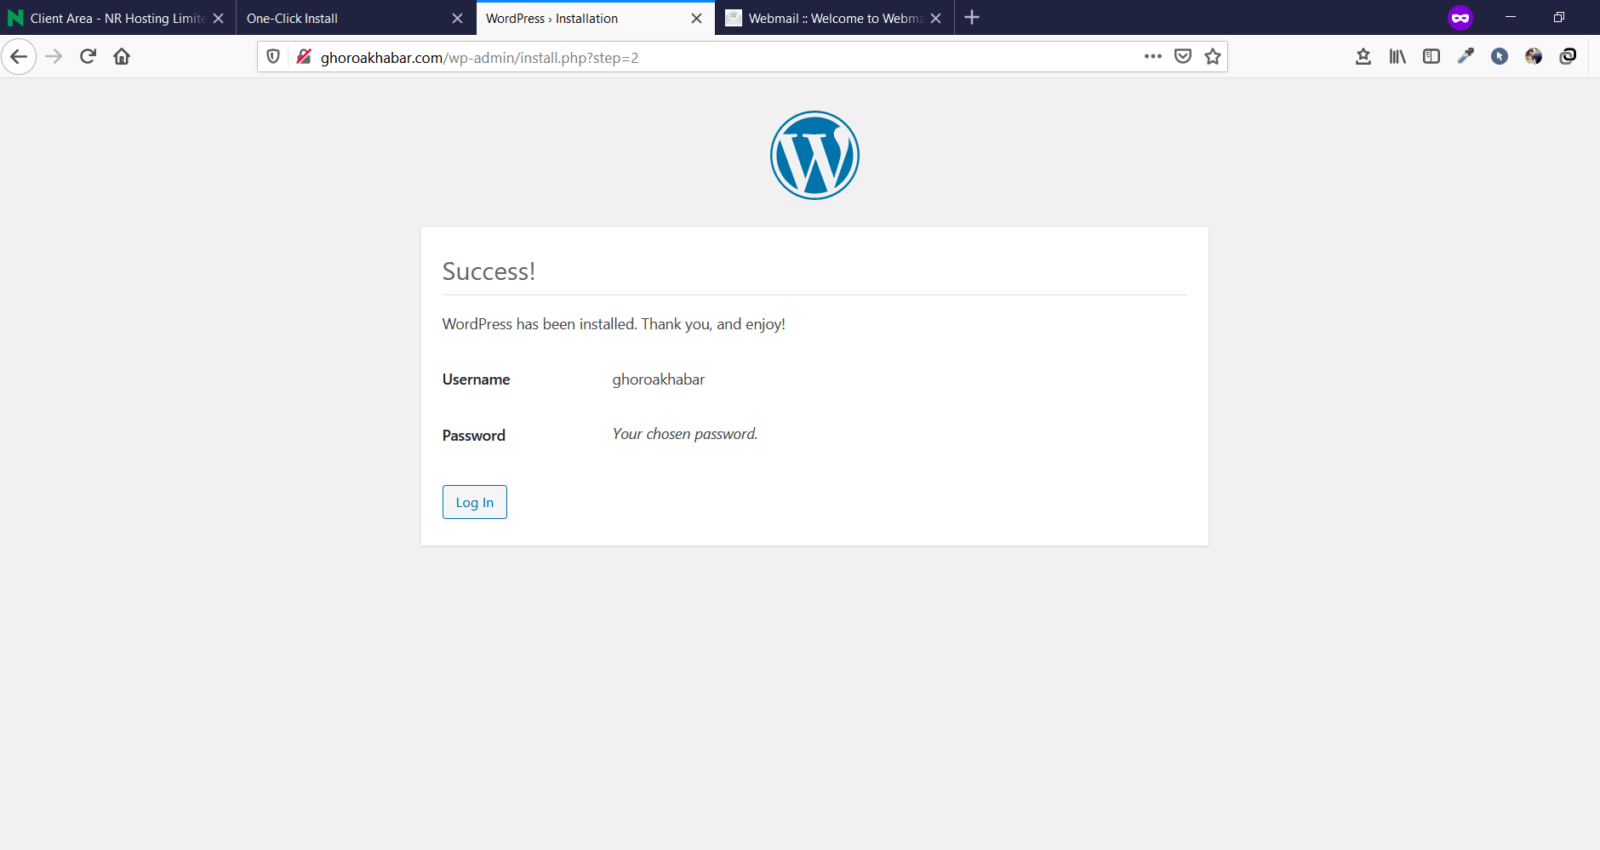
Hit the login button.
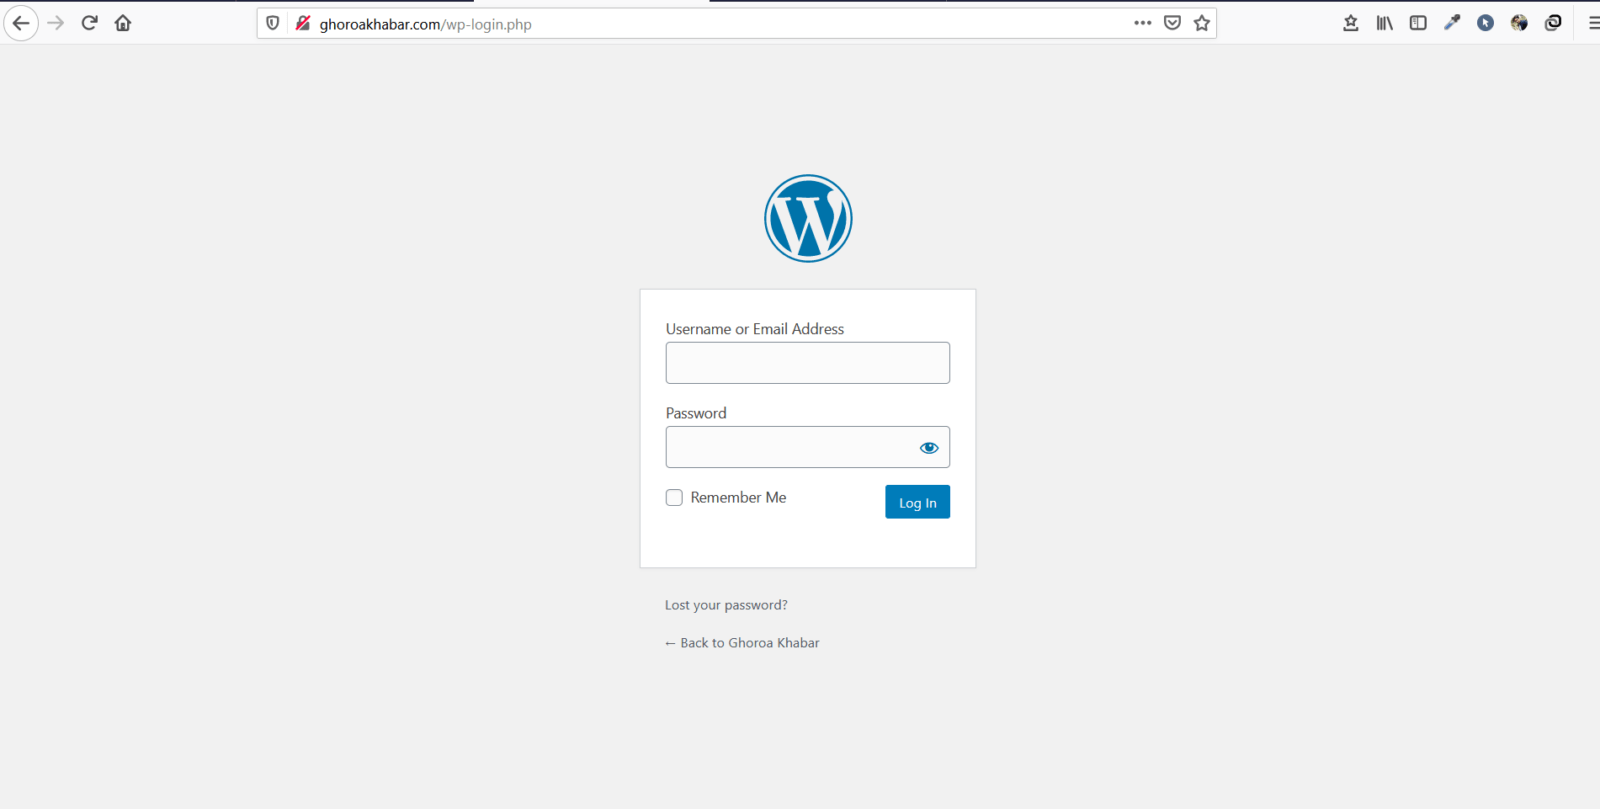
Input your username and password.
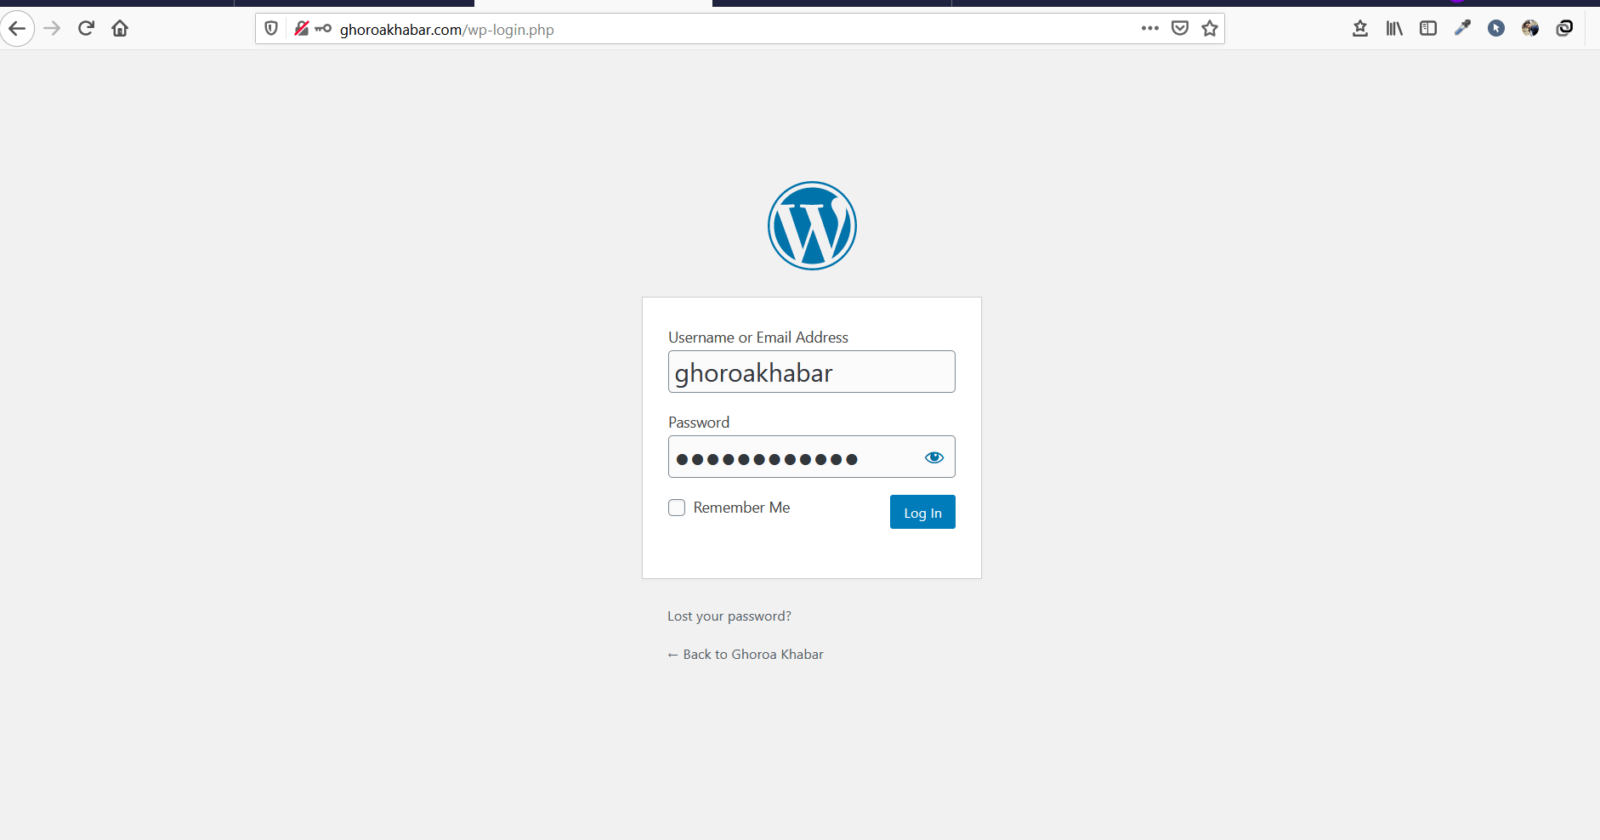
Then hit login and the following screen will appear.
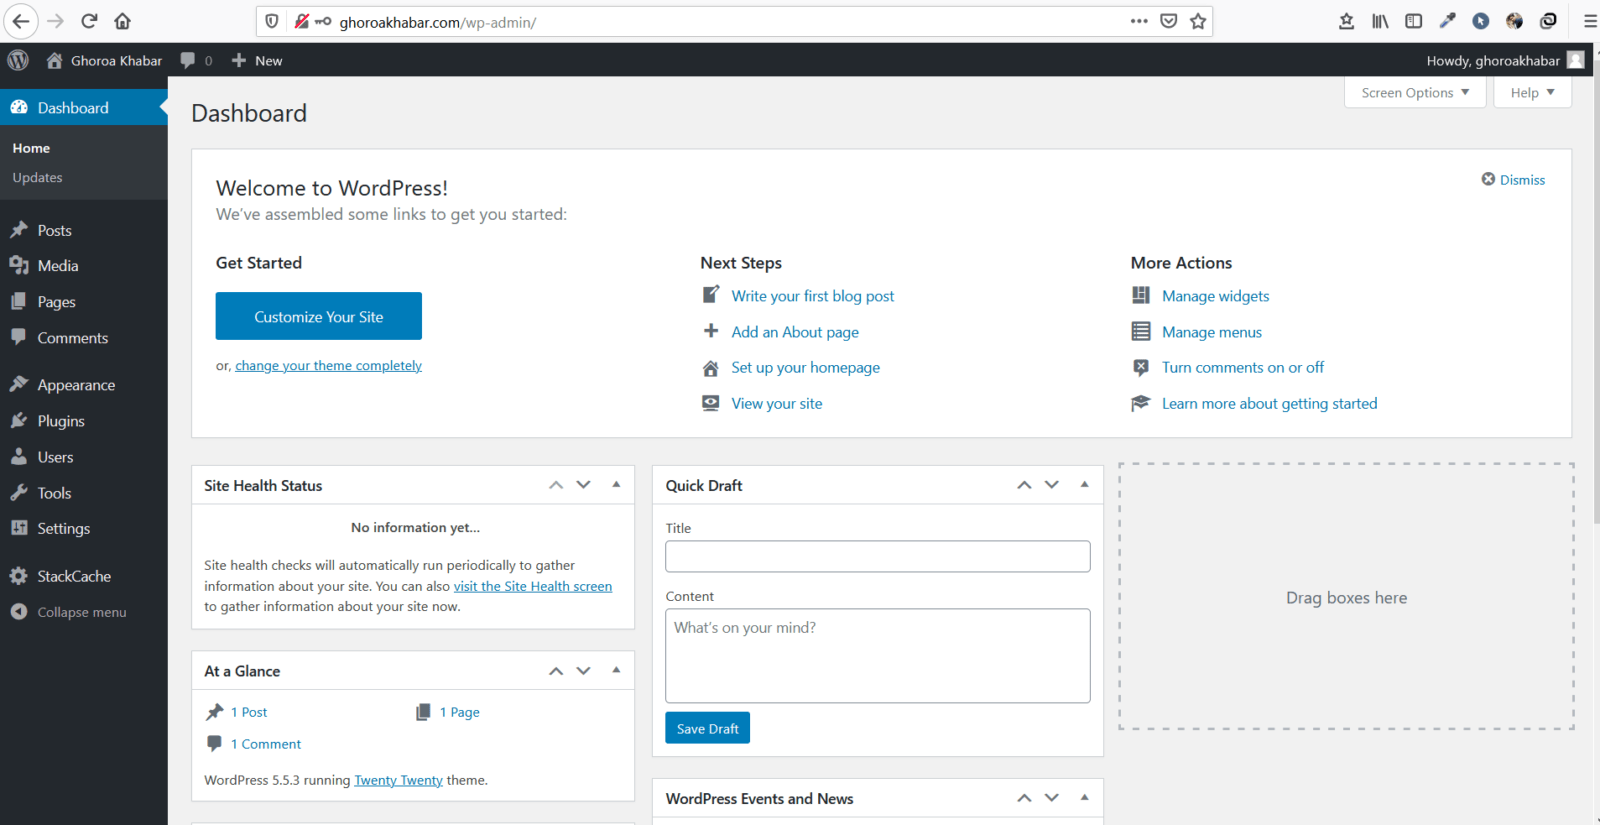
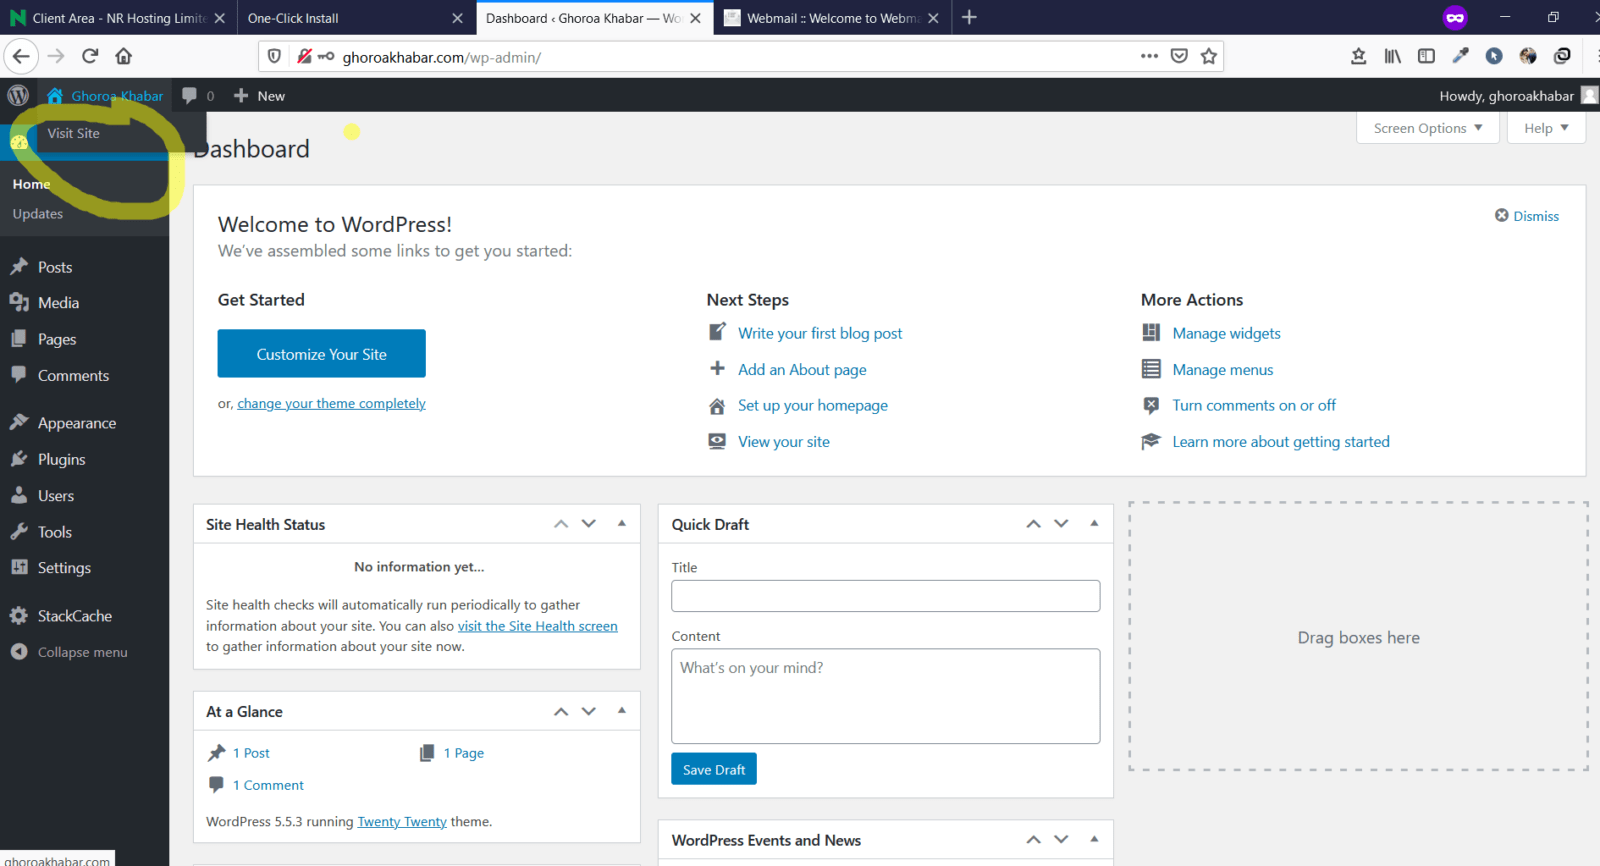
Click on”Visit Site.”
The default WordPress Homepage will appear.
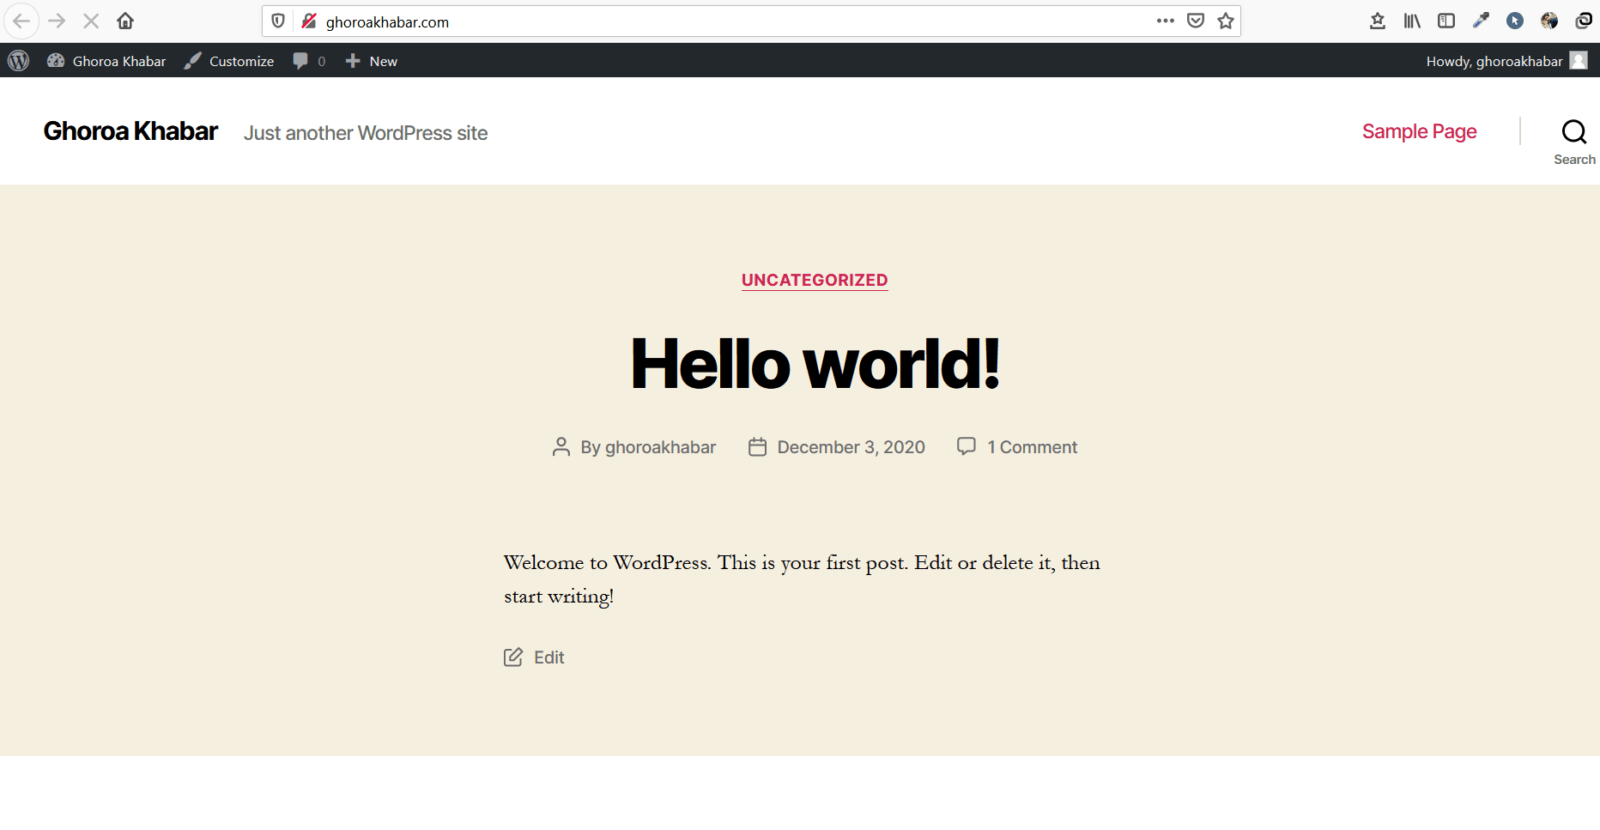
That’s it. Your are done installing WordPress.
How to activate SSL?
Once you have successfully installed WordPress you need to activate the free SSL that we offer. For the SSL activation you have to login to your Hosting Control Panel – https://login.nrhosting.com/login?r=%2F/login?r=%2F.
Once you login to your hosting control panel look for the segment where it says Security. Inside the security segment you will see the SSL/TLS option.
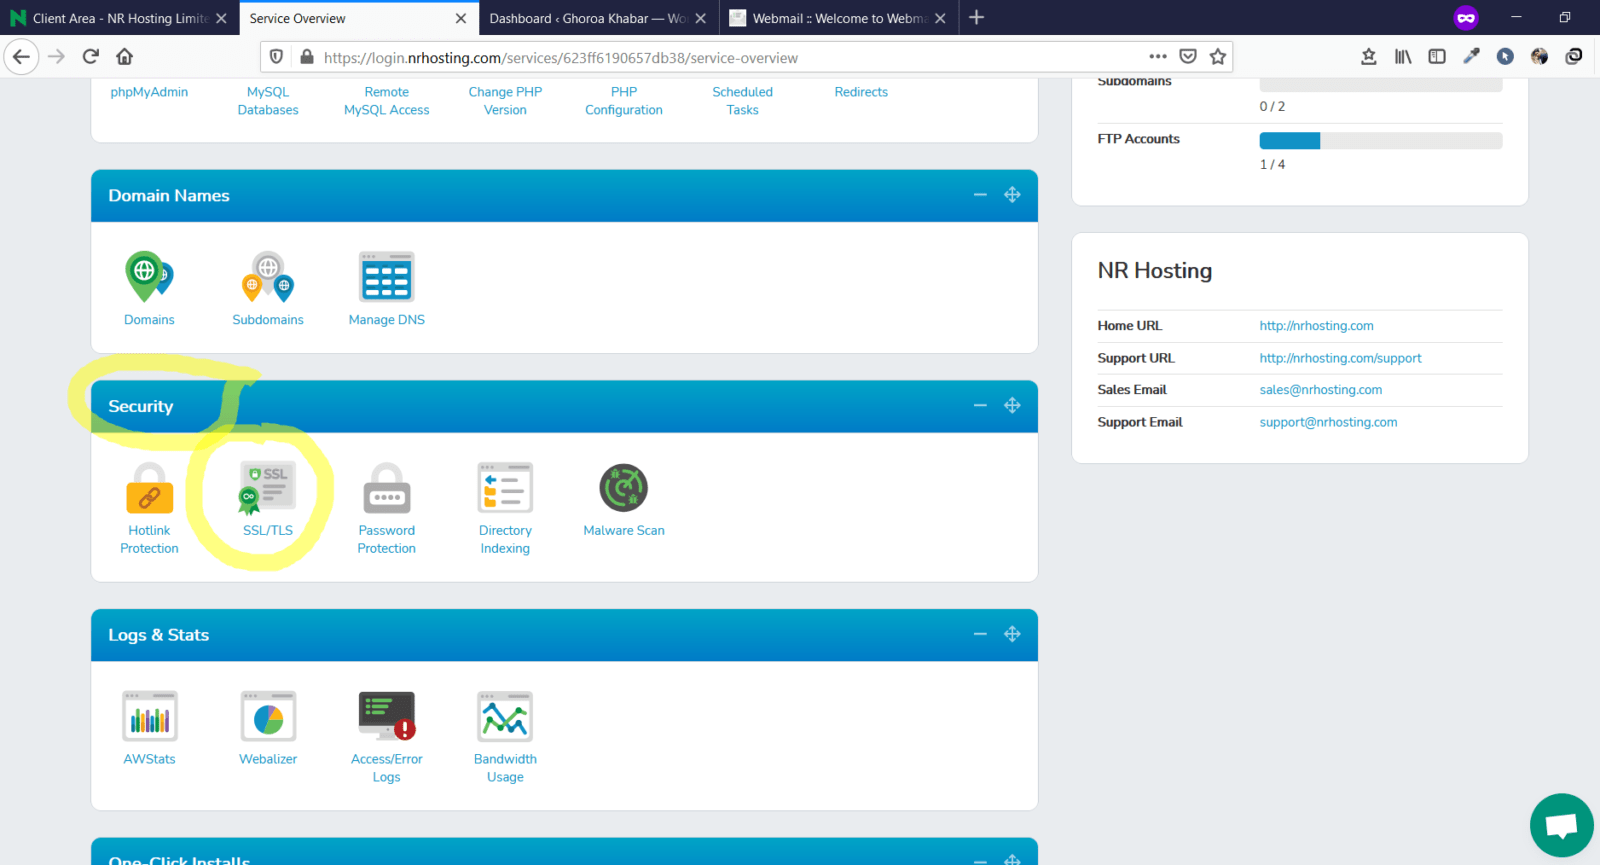
Click on SSL/TLS
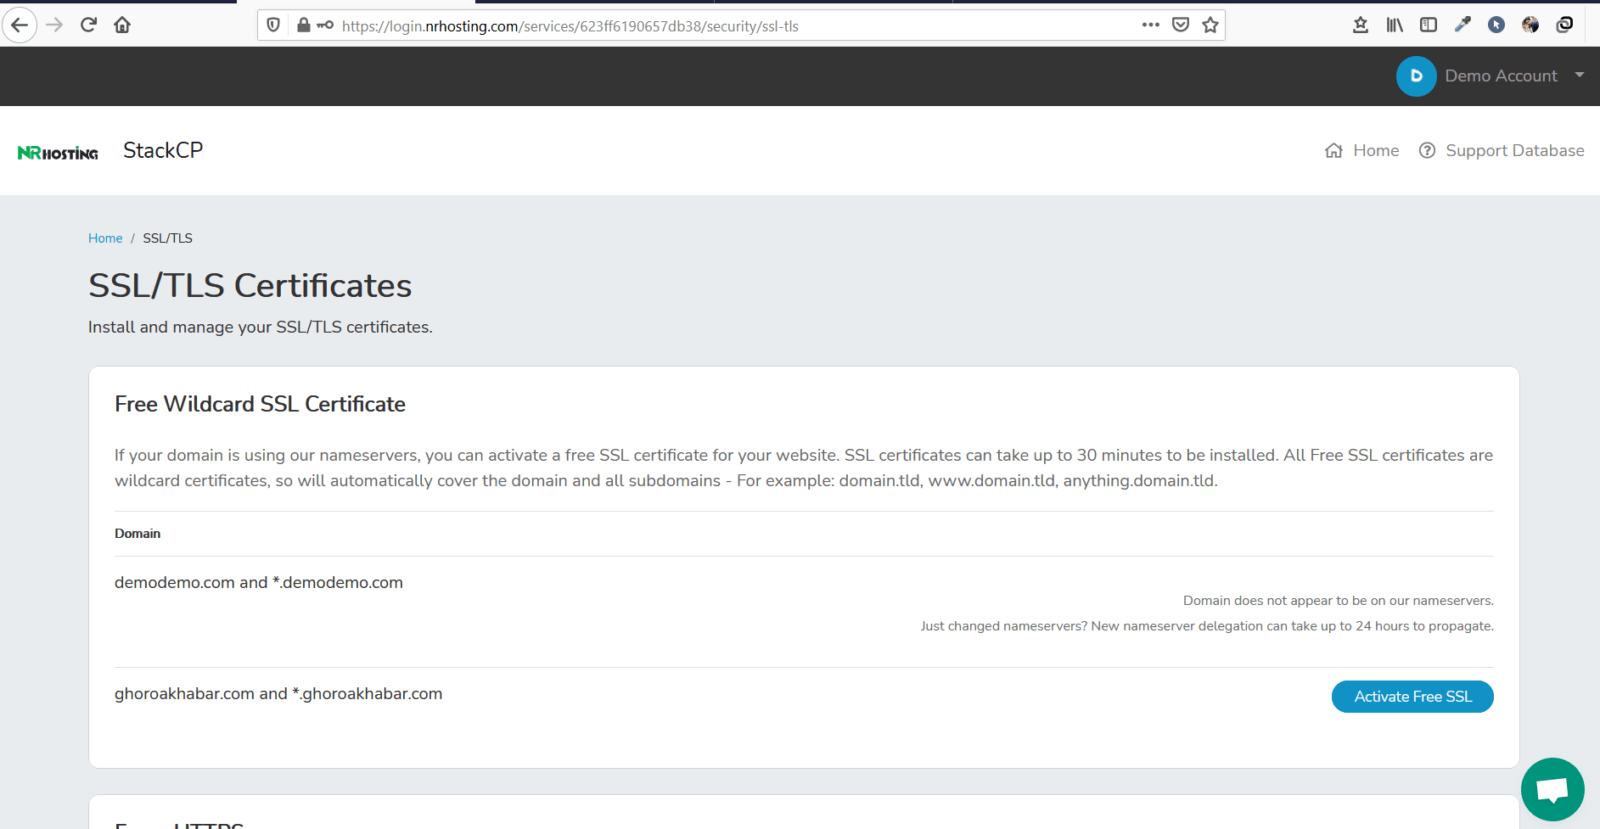
Hit the Activate Free SSL button
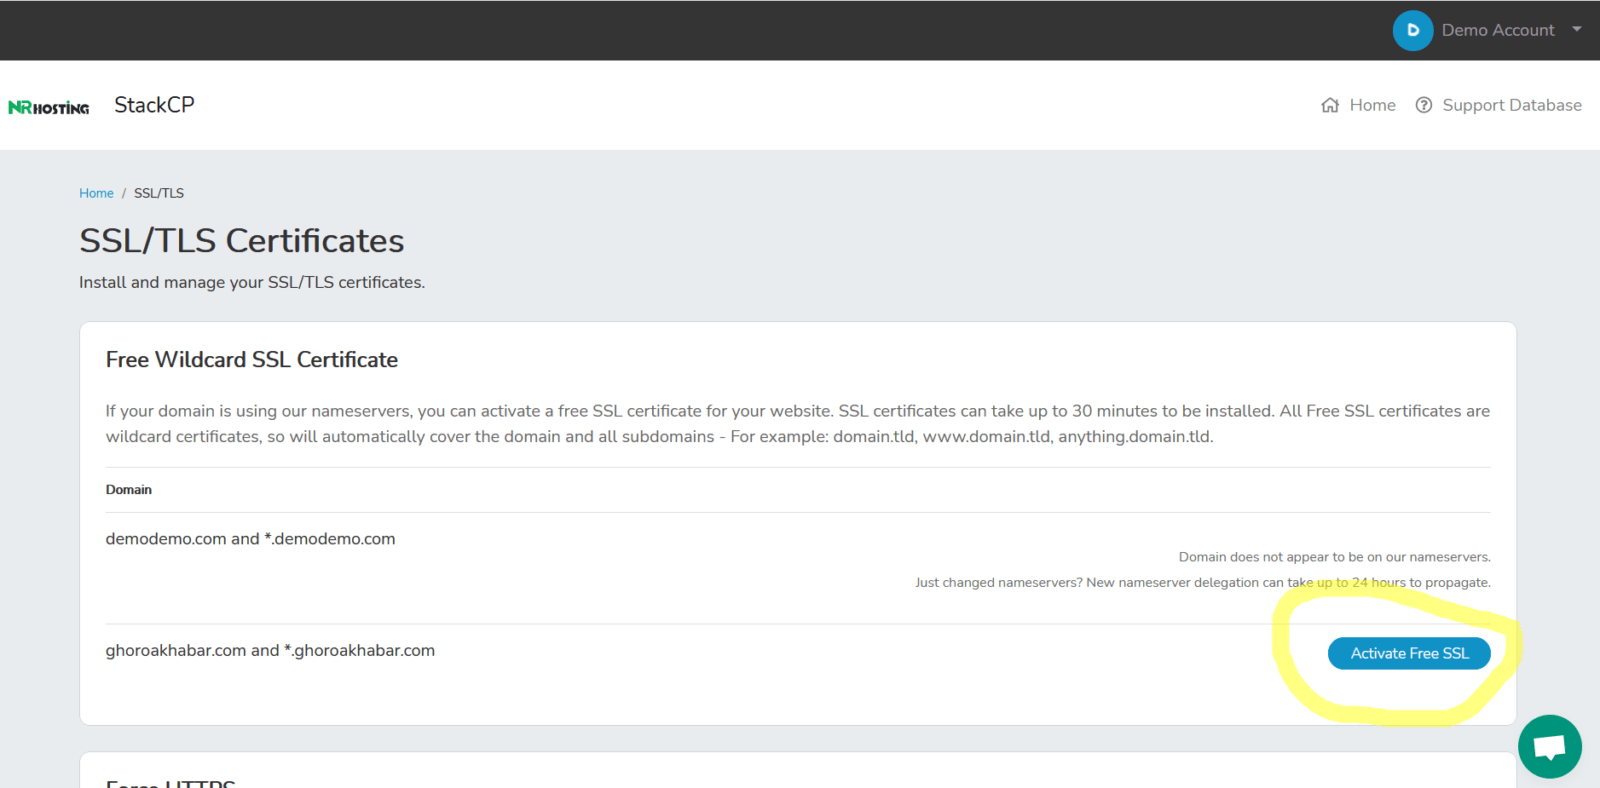
Next, a screen such as below will appear.
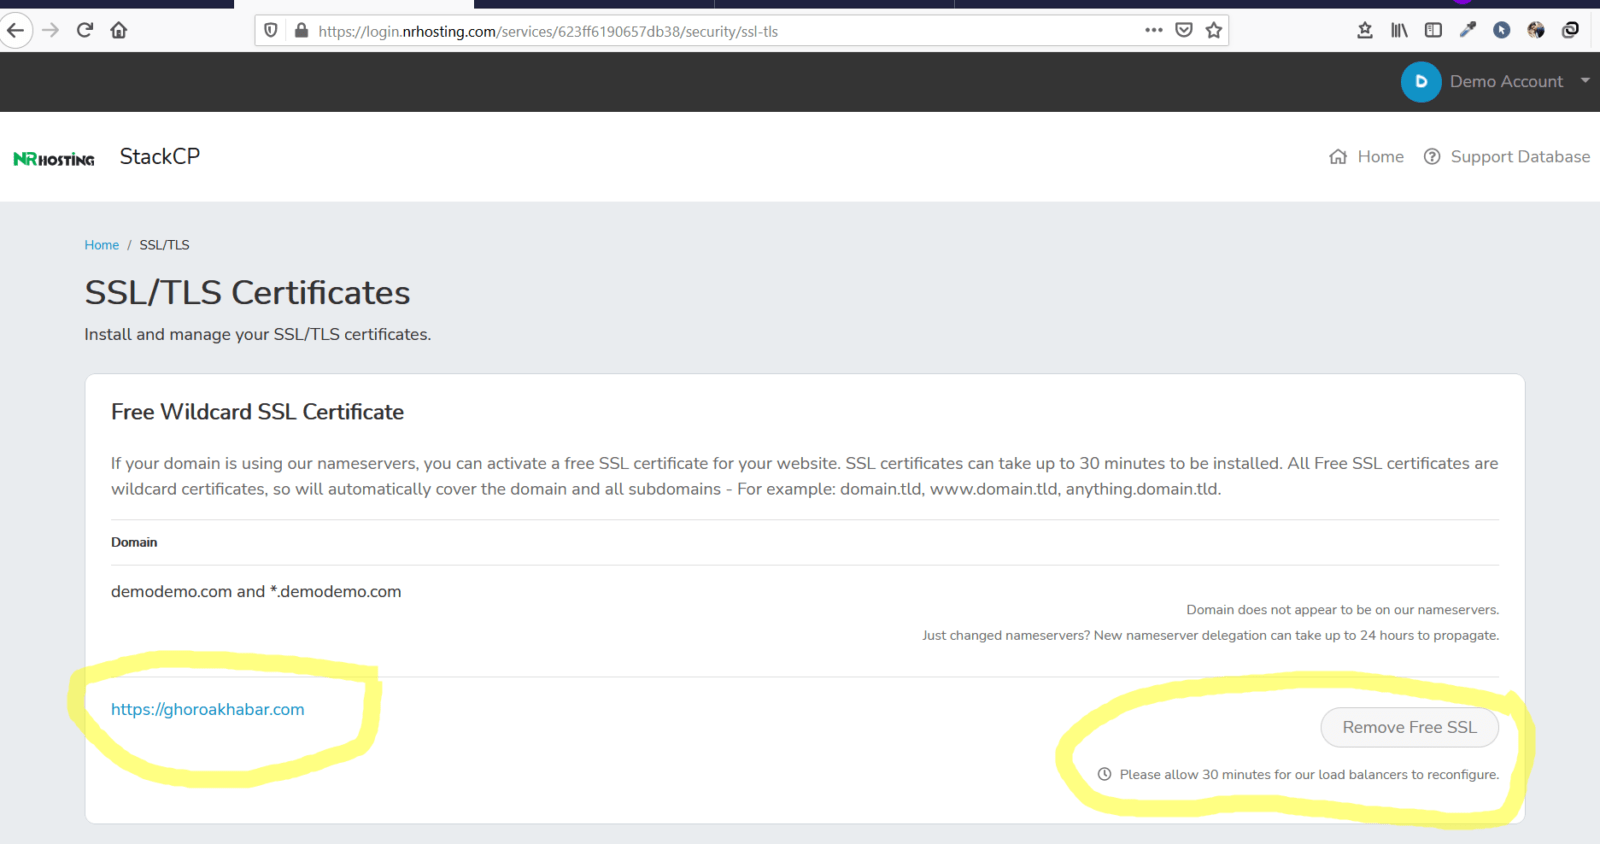
N.B: After activation the SLL please wait for at least one hour for it to be functioning properly.
Next, login to your wordpress dashboard. (http://ghoroakhabar.com/wp-admin/)

Take your cursor to plugin section and hit “Add New” option.
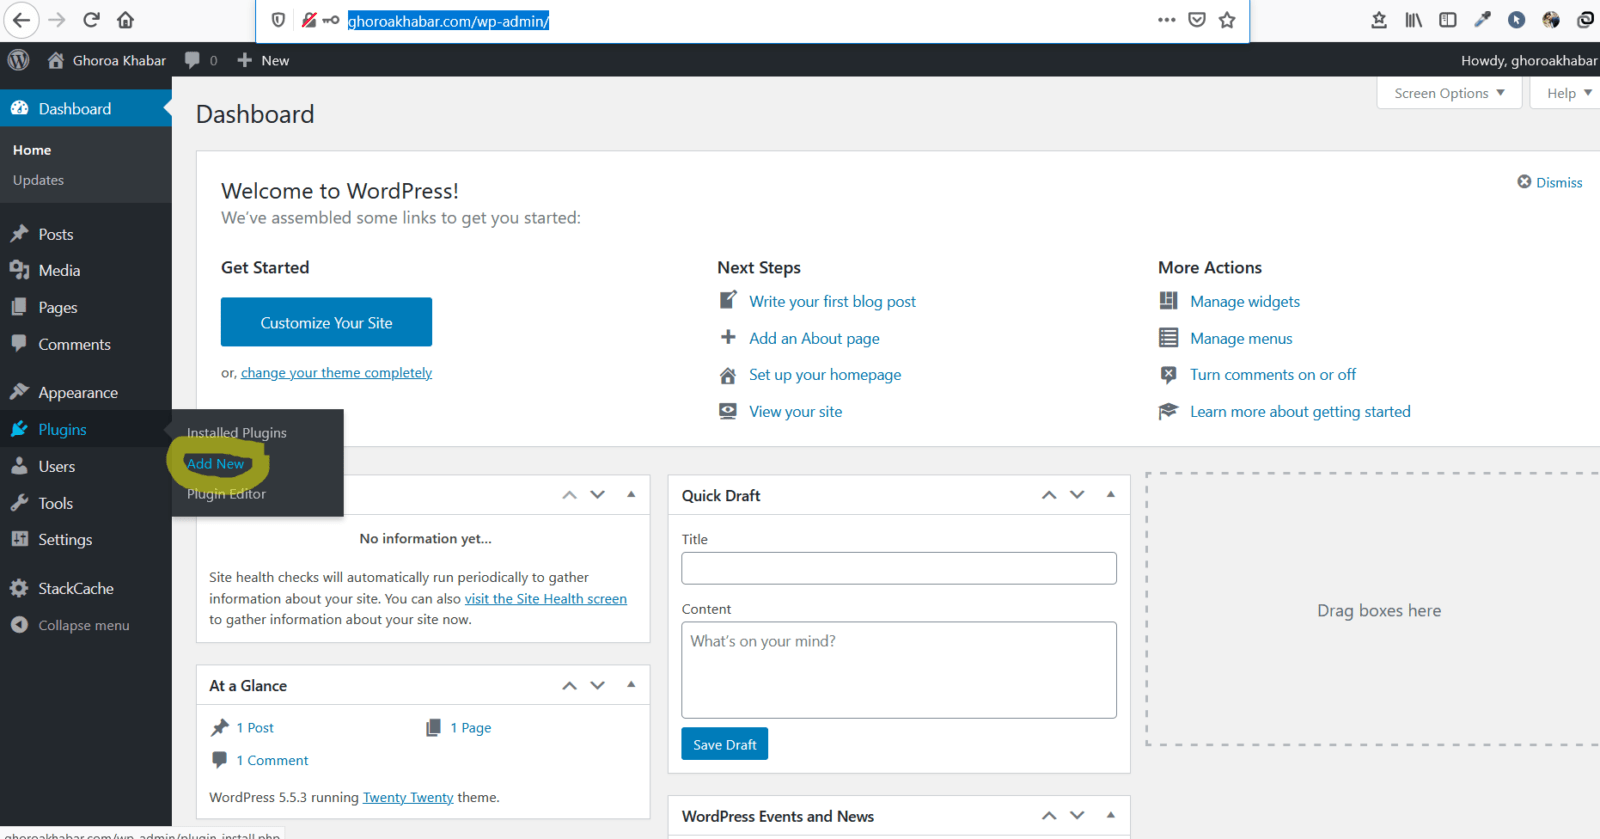
Once you hit Add New, the following page will appear.
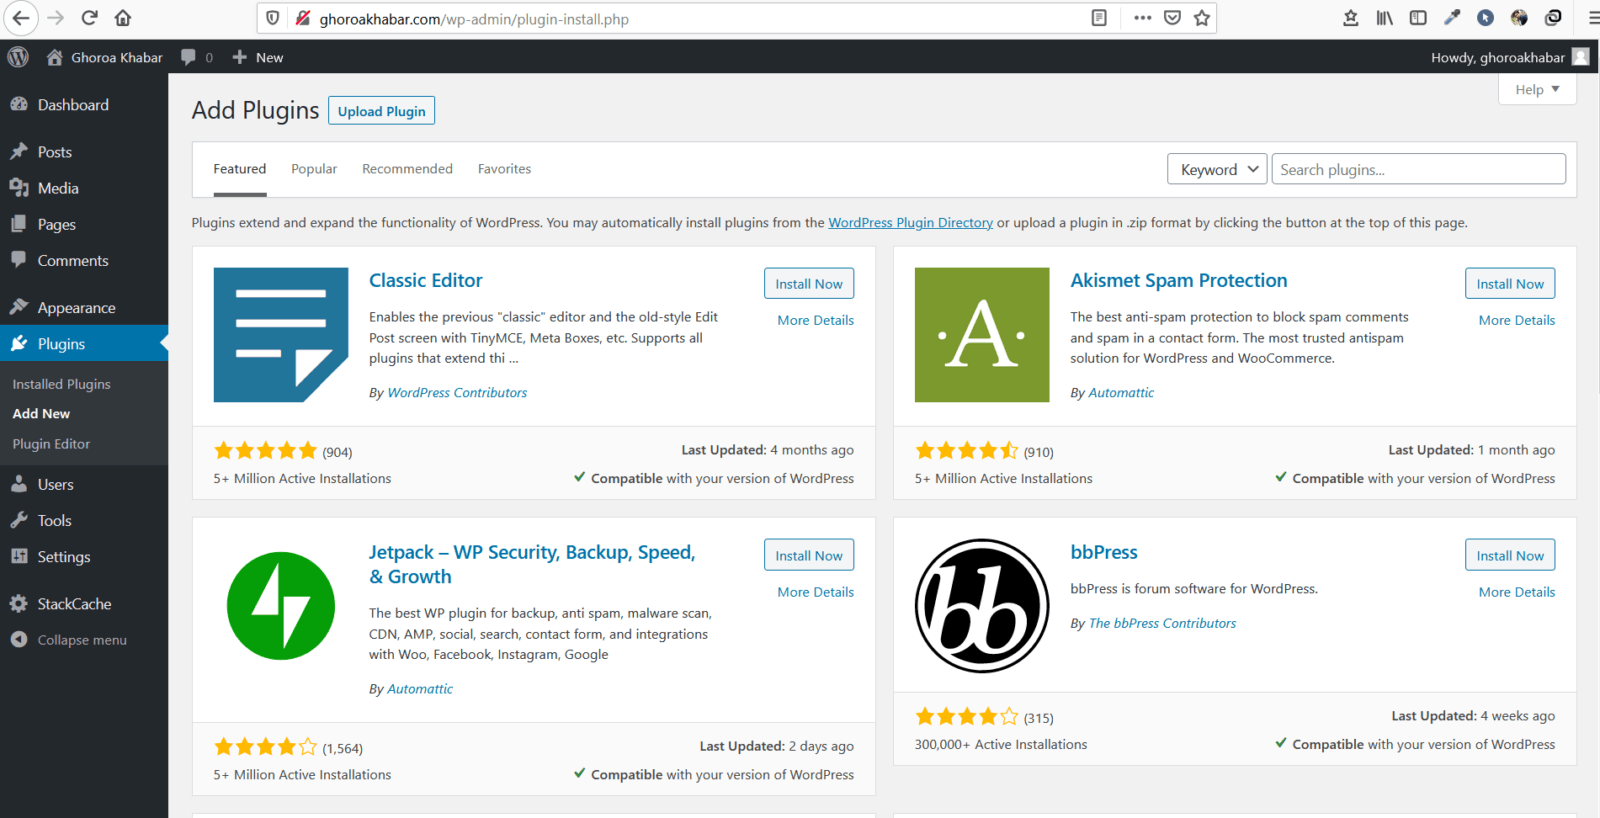
In the serch option look for the plgin named “Really Simple SSL.”
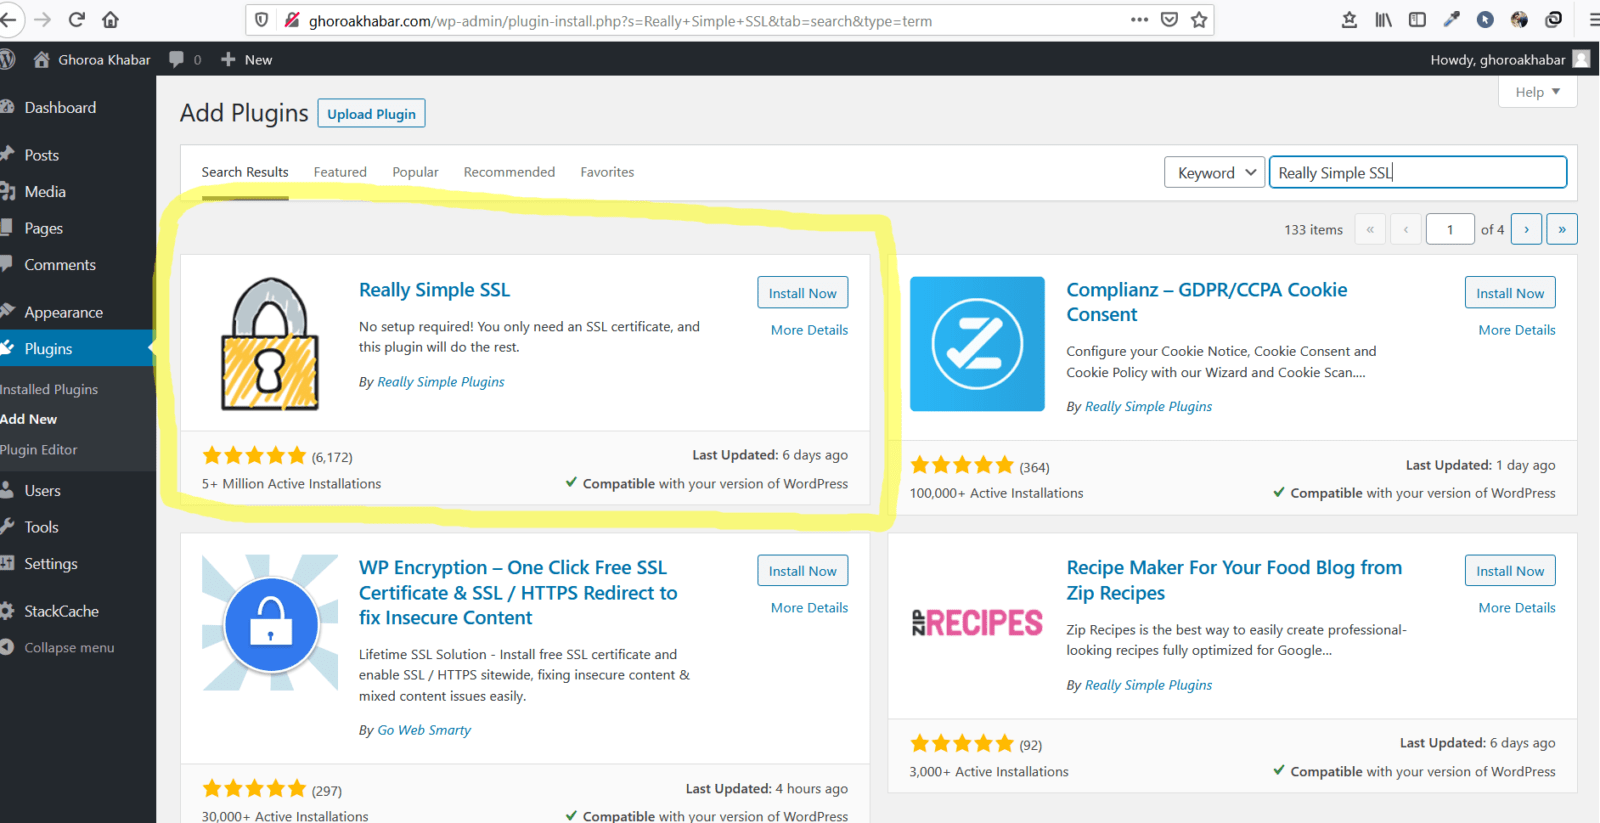
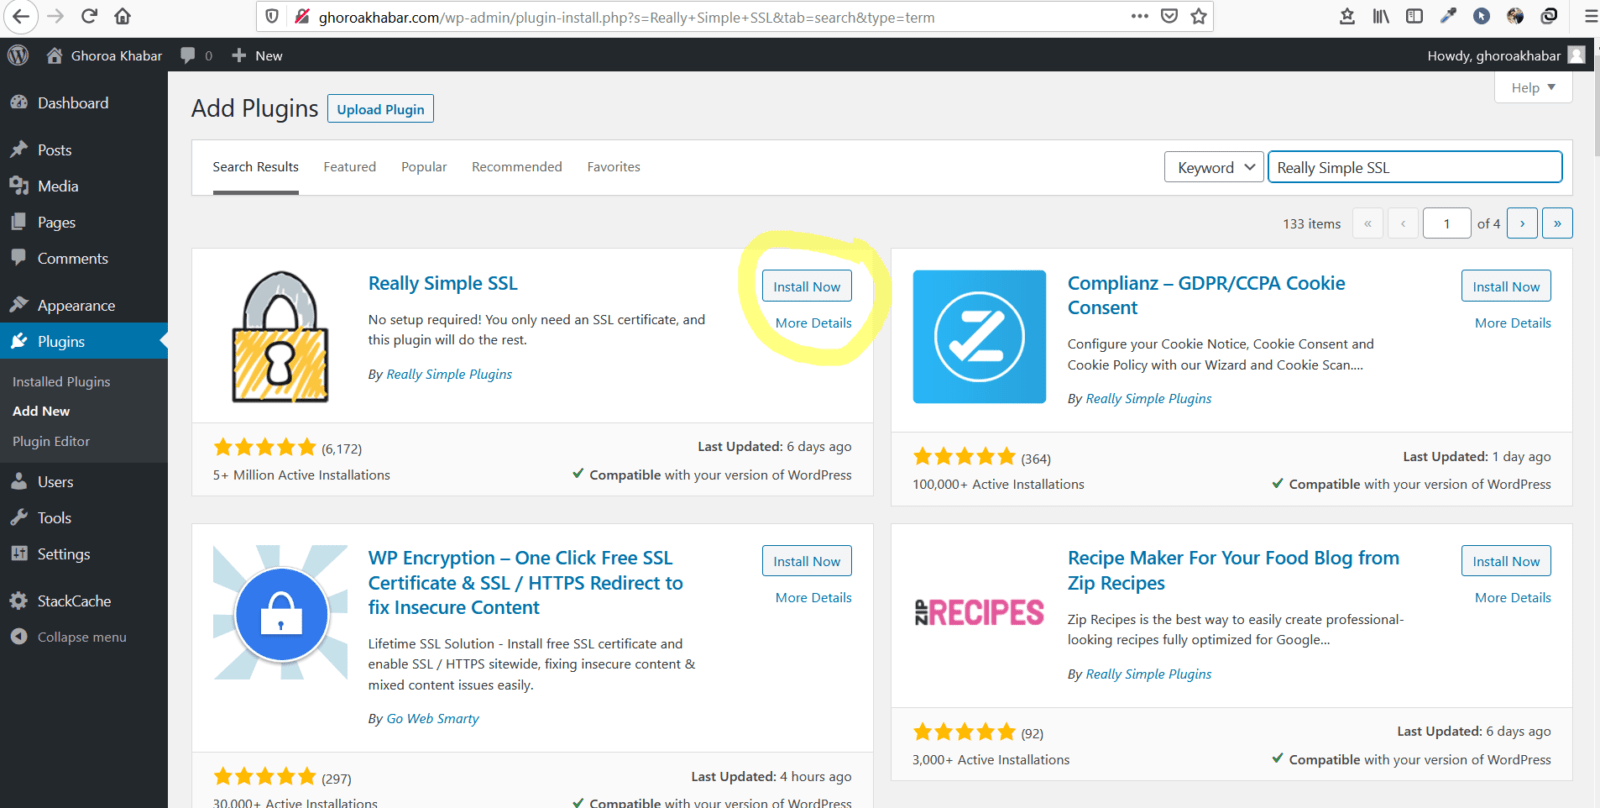
Next, hit “Install Now.”
Next click “Active Now.”
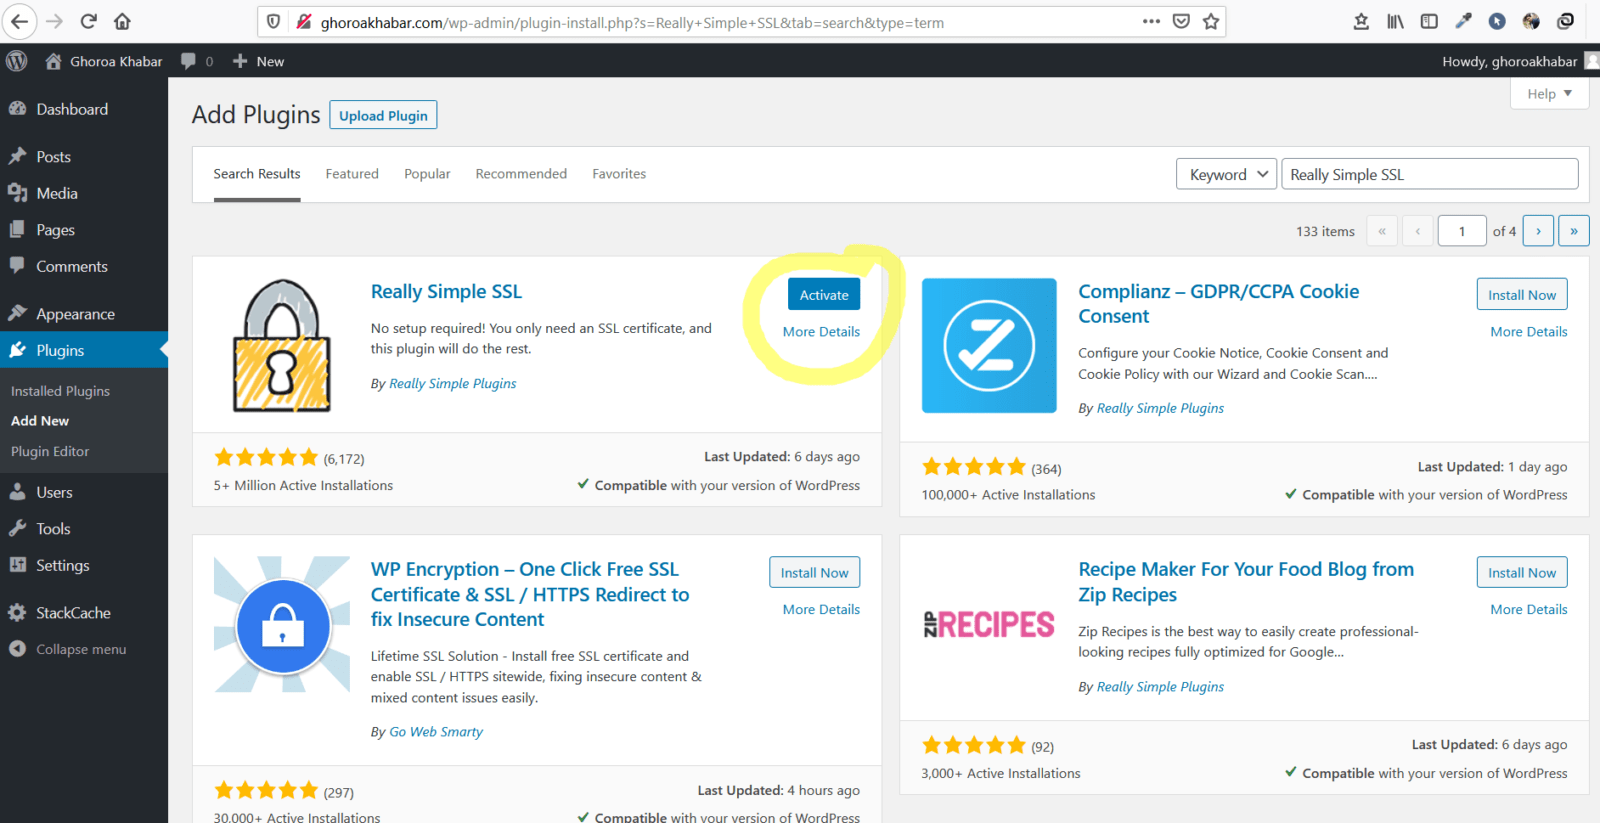
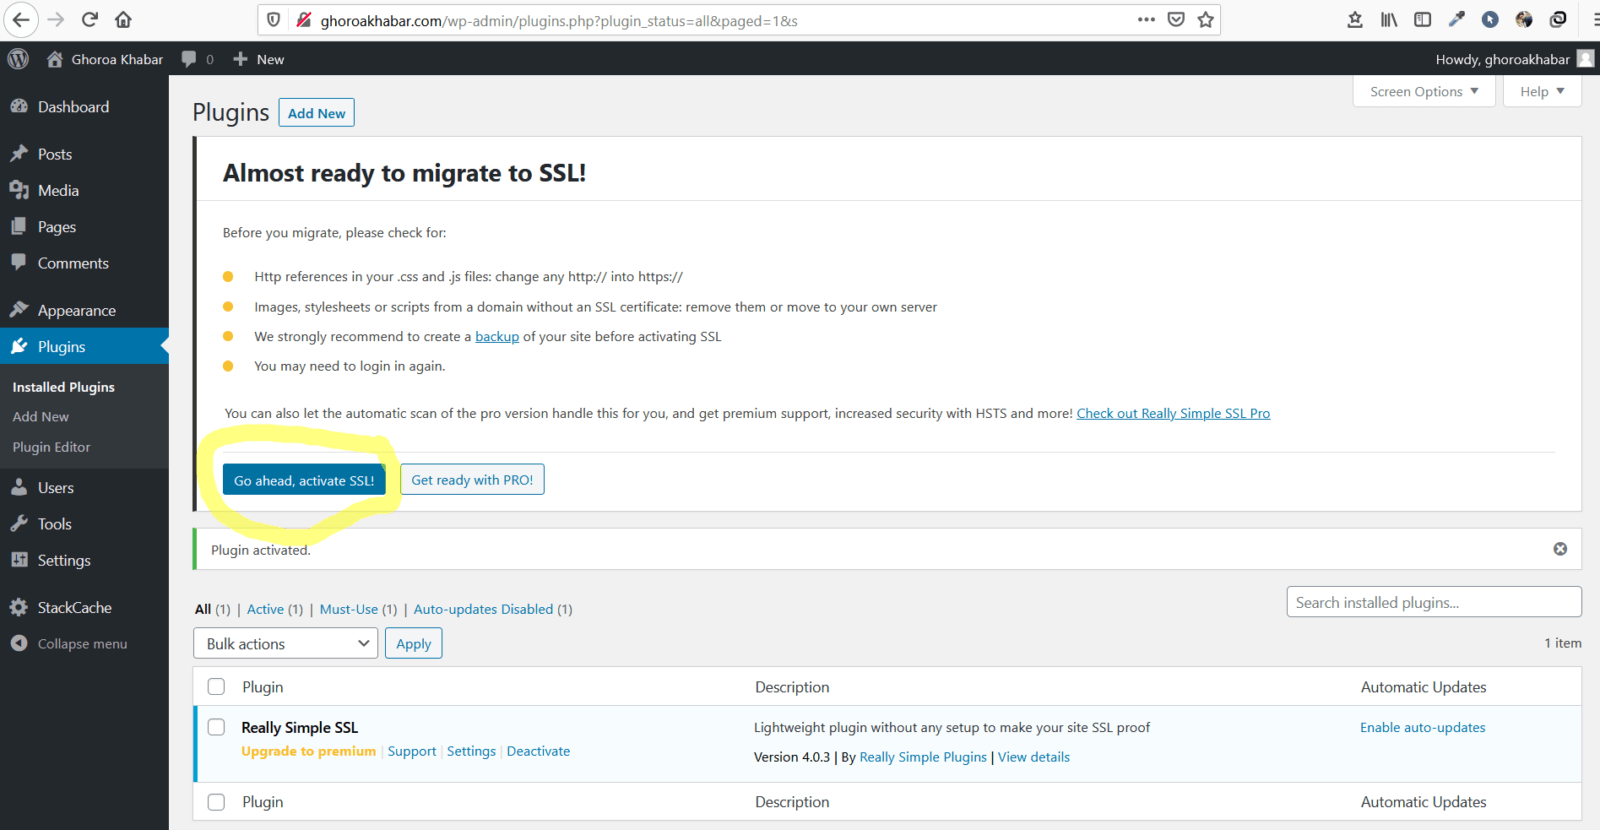
Next, the following screen will appear.
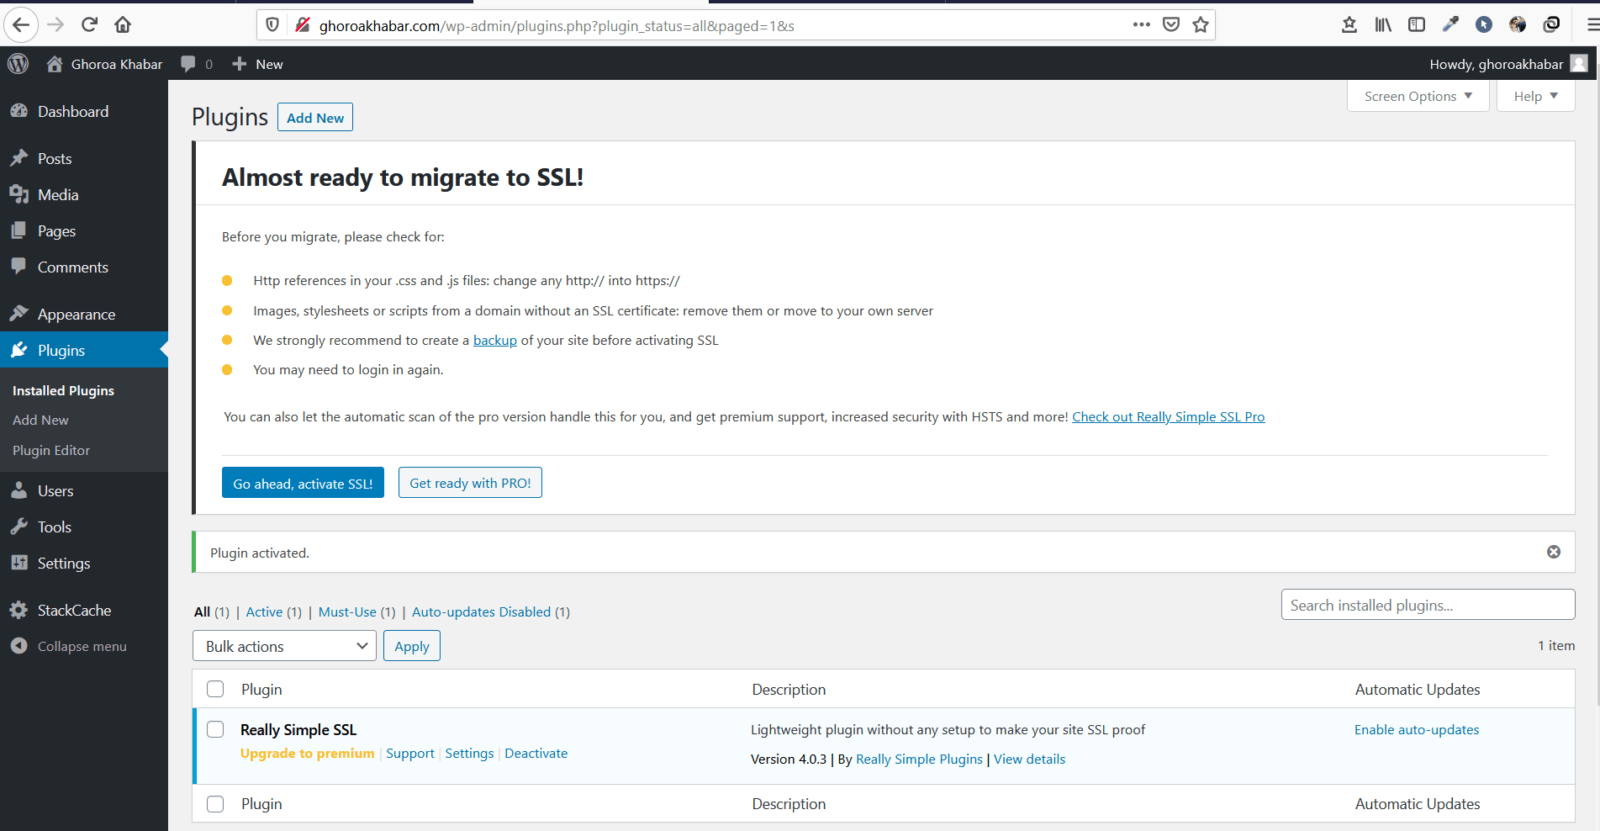
Now hit the “Go ahead, activate SSL.”
Now wait for 30 minutes and then hit your web url with https – https://ghoroakhabar.com/
How to open email account(s)?
Ok. To open email accounts hop into the control panel homepage and look for the Email segment.
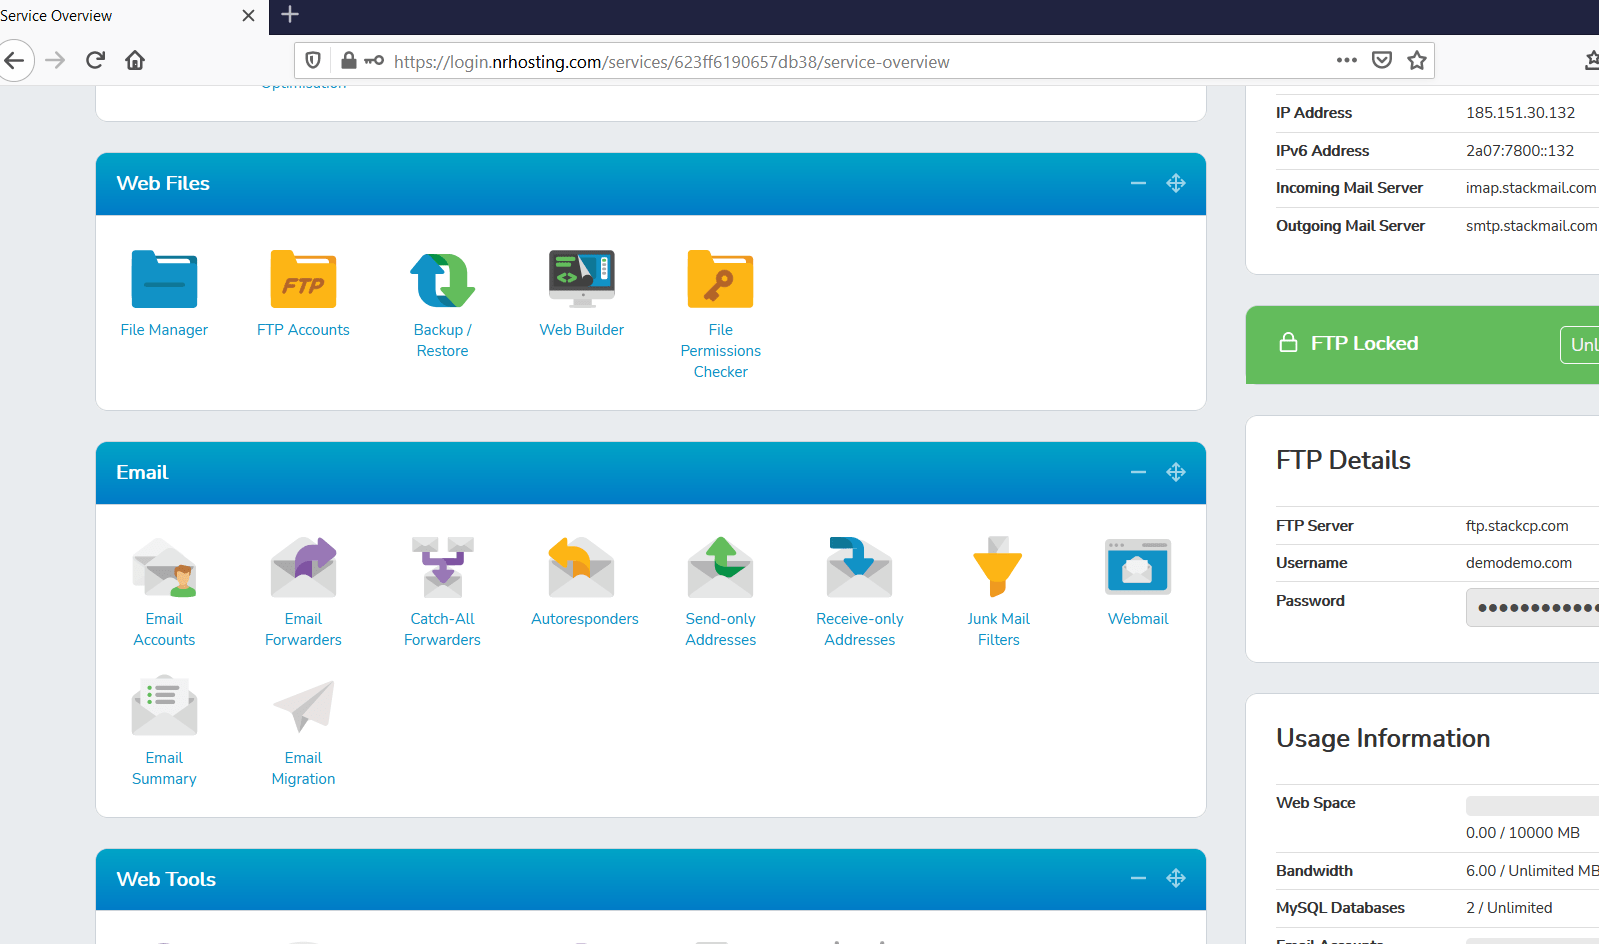
Next, hit the Email Accounts.
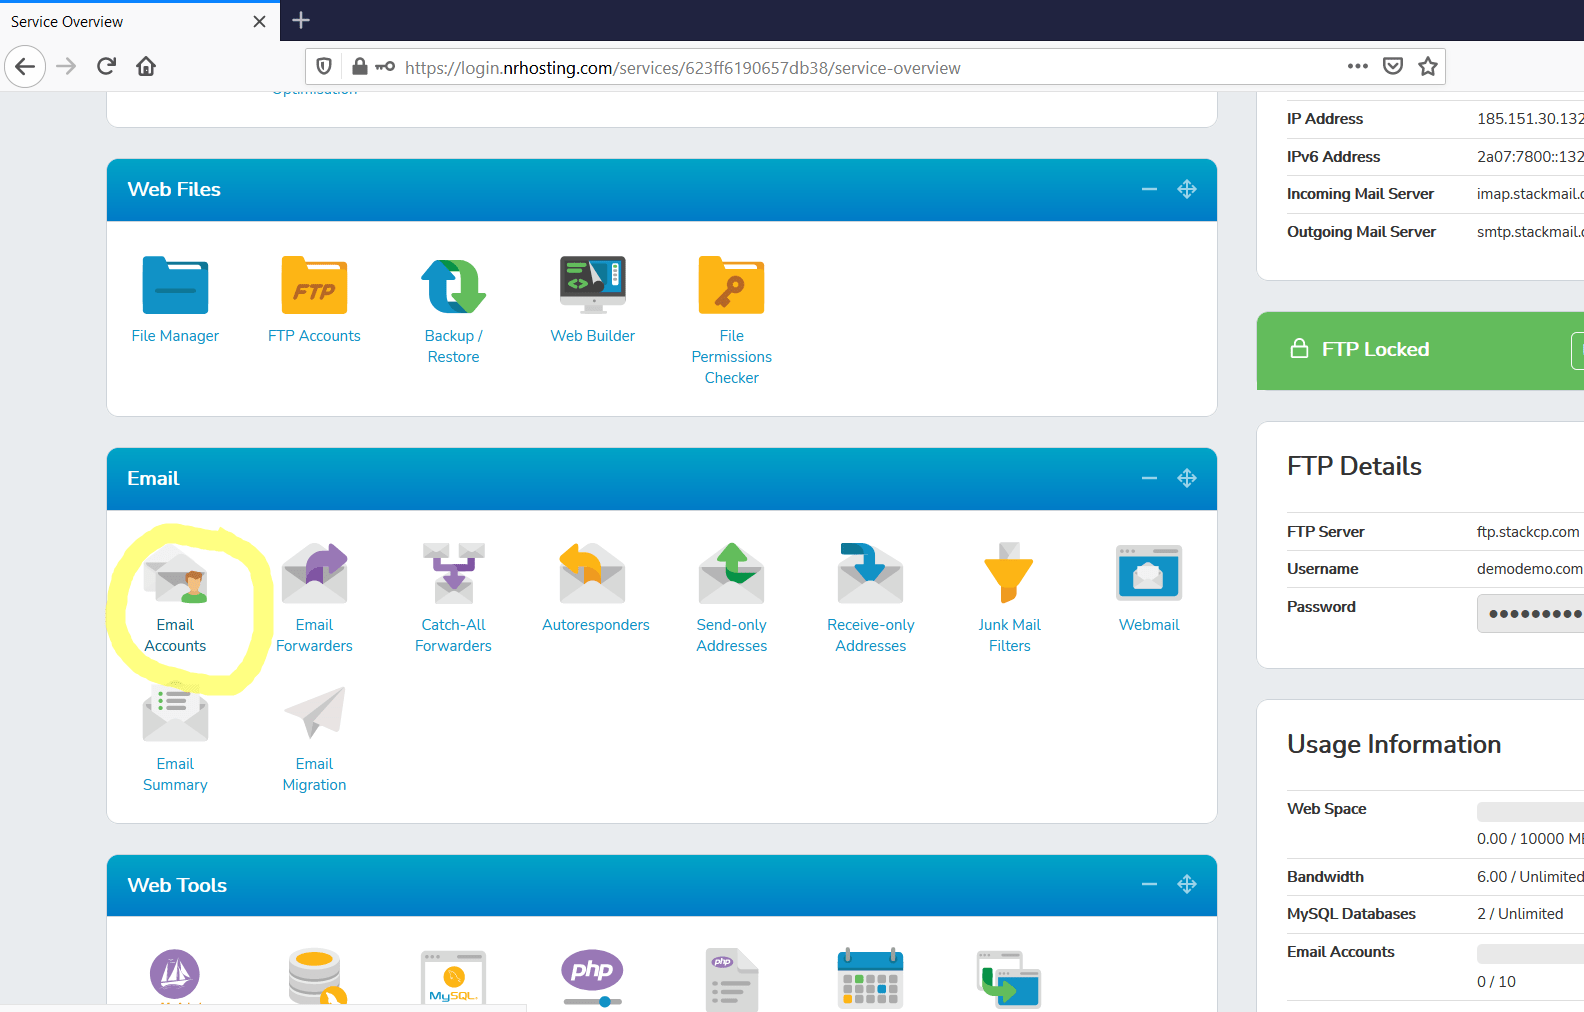
You will see a screen as shown below.
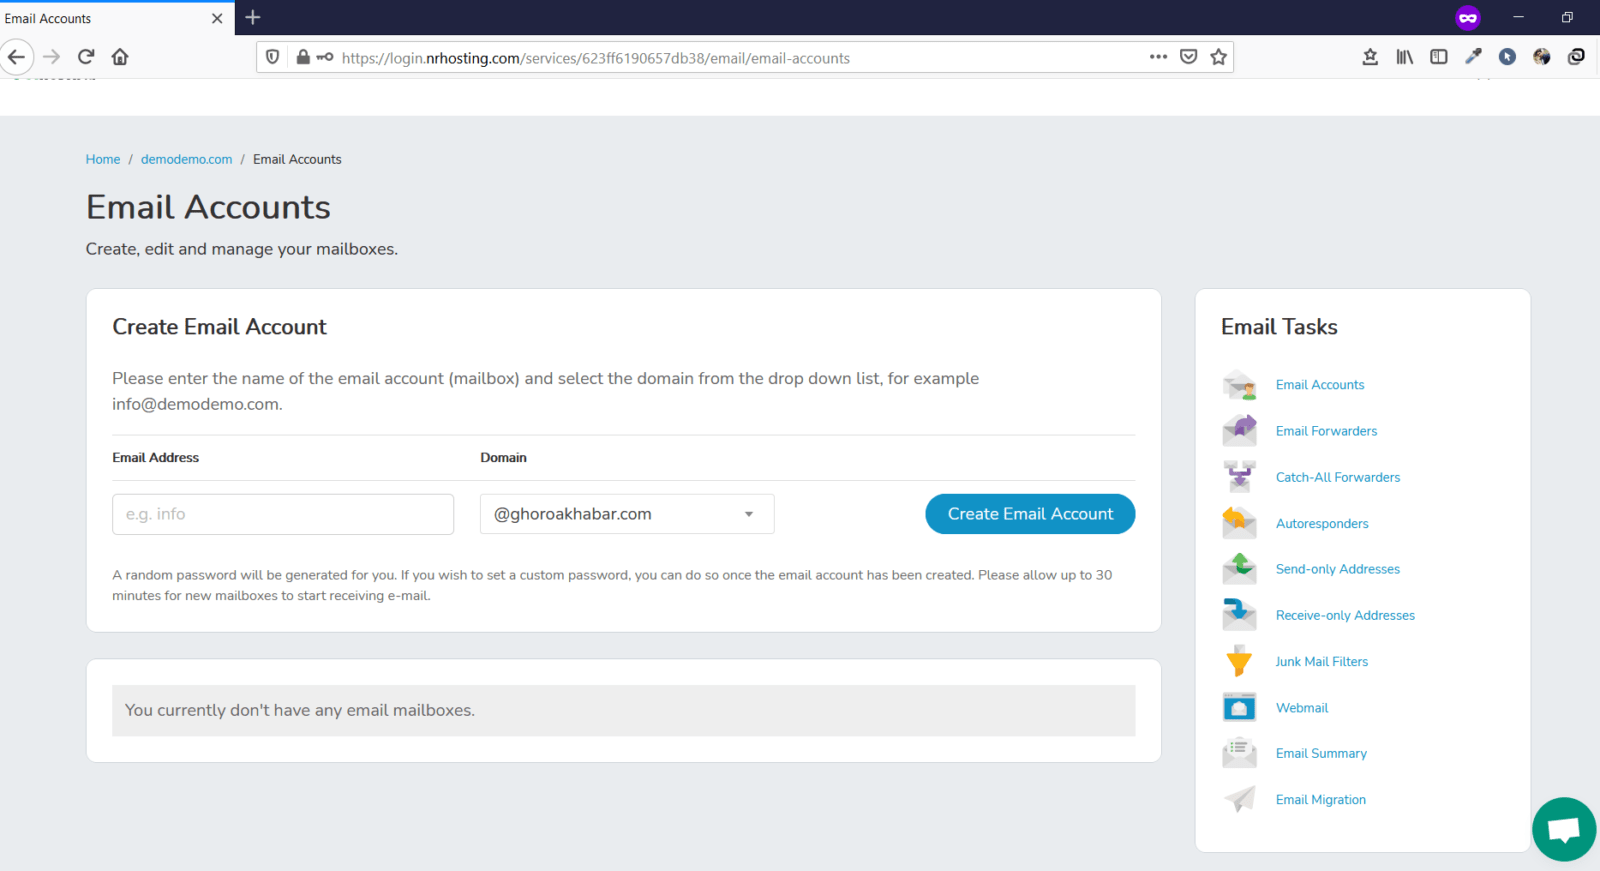
Now type the desired email you want as shown below.
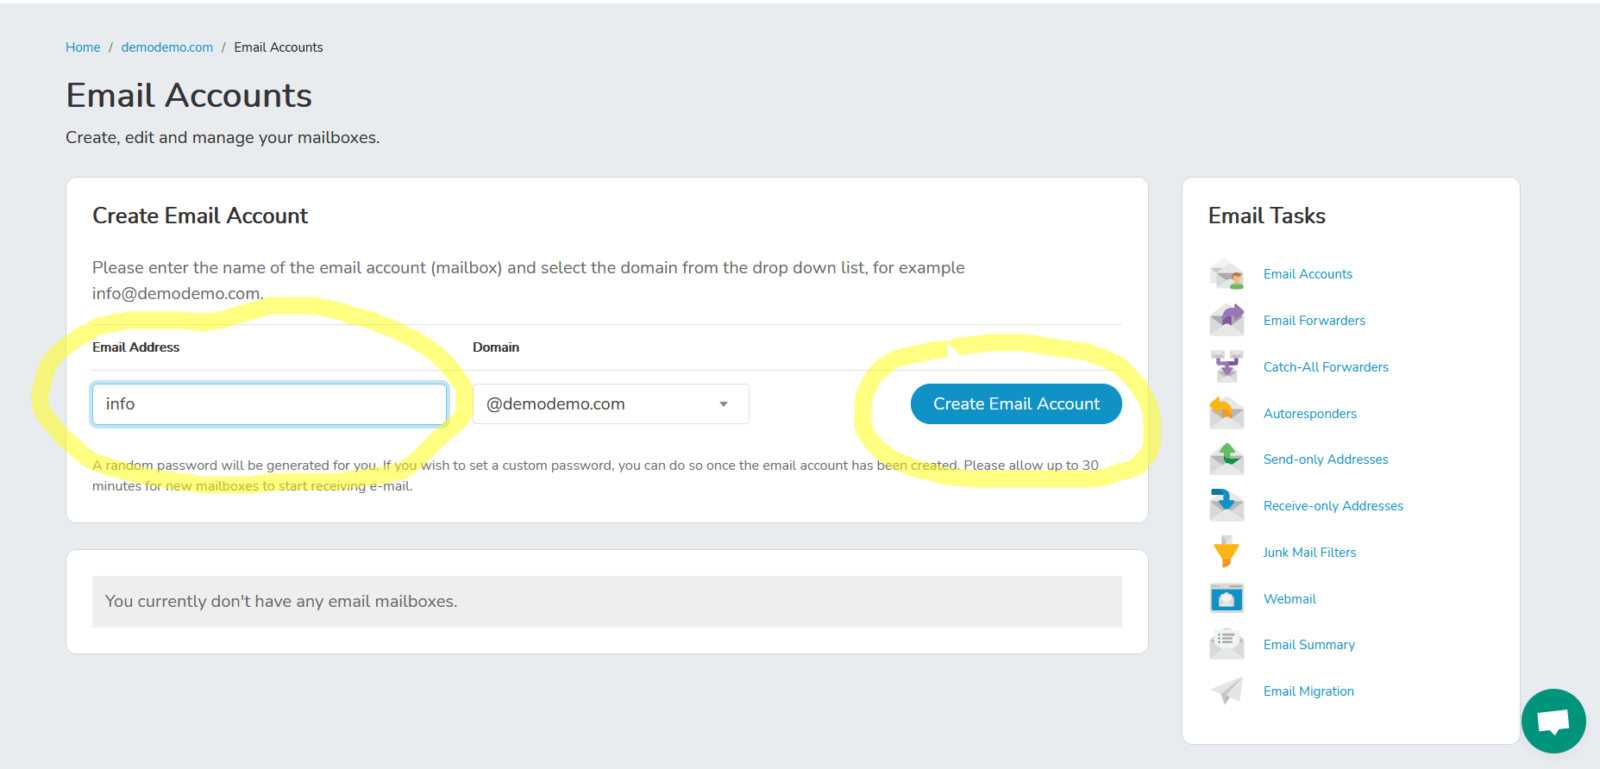
Once you create your account the following screen can be seen.
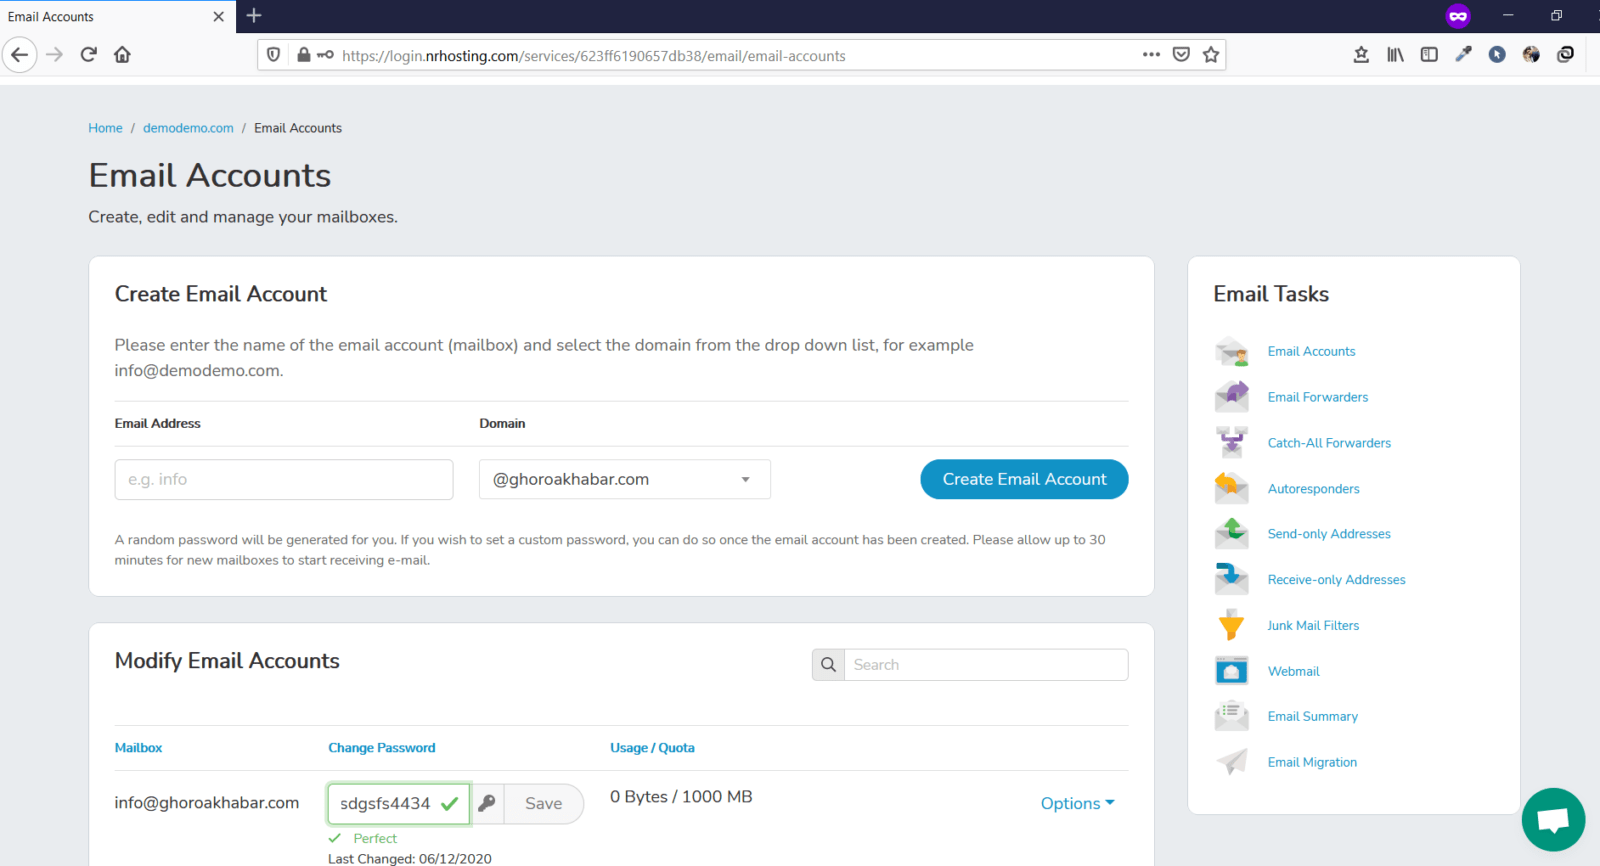
Give your own password and hit save and the mailbox will be created.
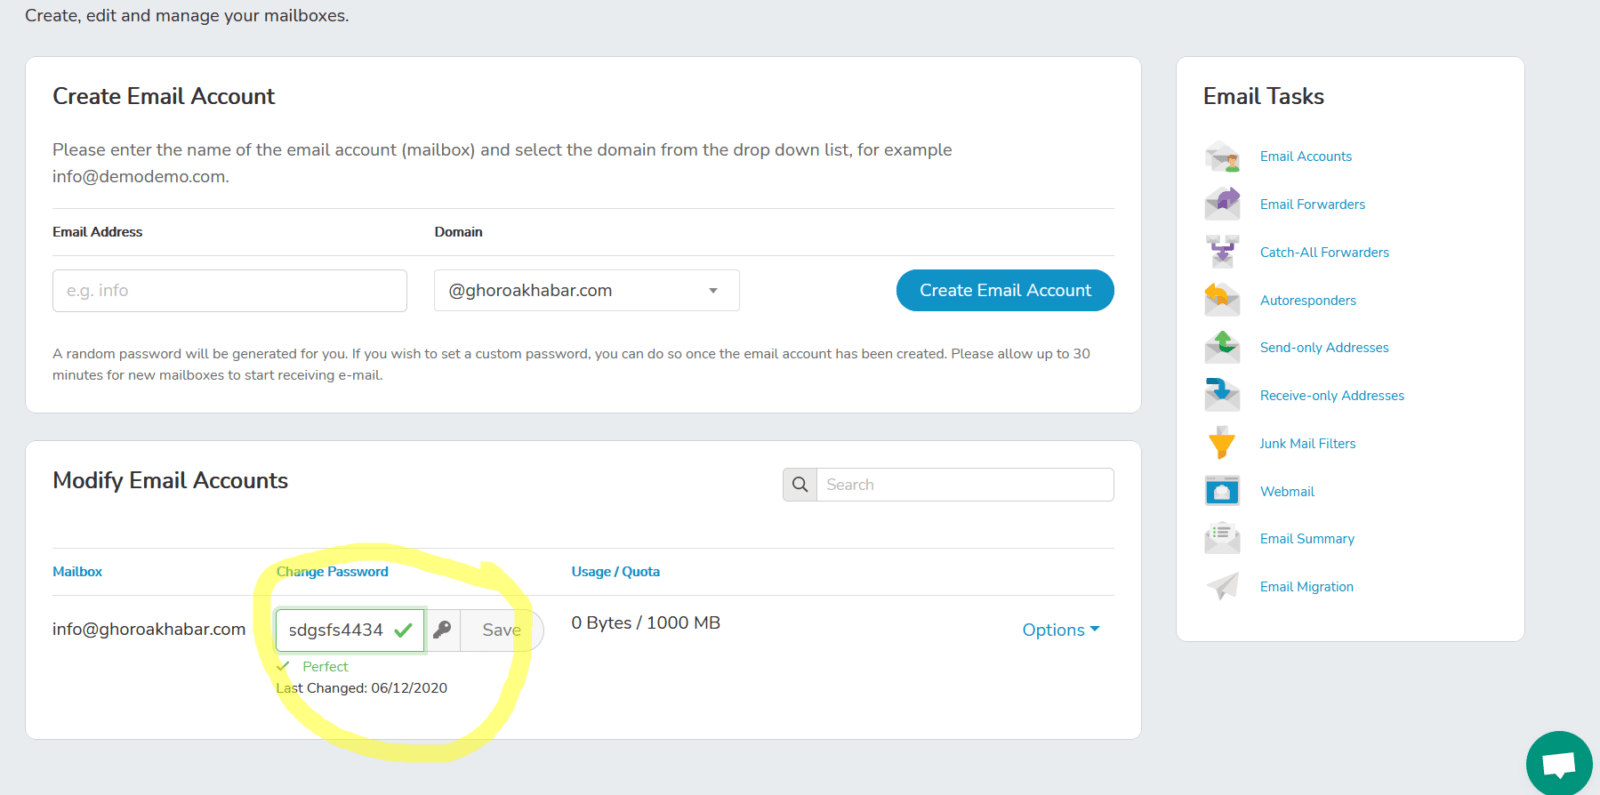
N.B: Once you have created your email account wait for at least an hour before you start using it.
Now to access your webmail hit the following link.
Webmail Login Url – https://webmail.nrhosting.com

Now input your username and password.
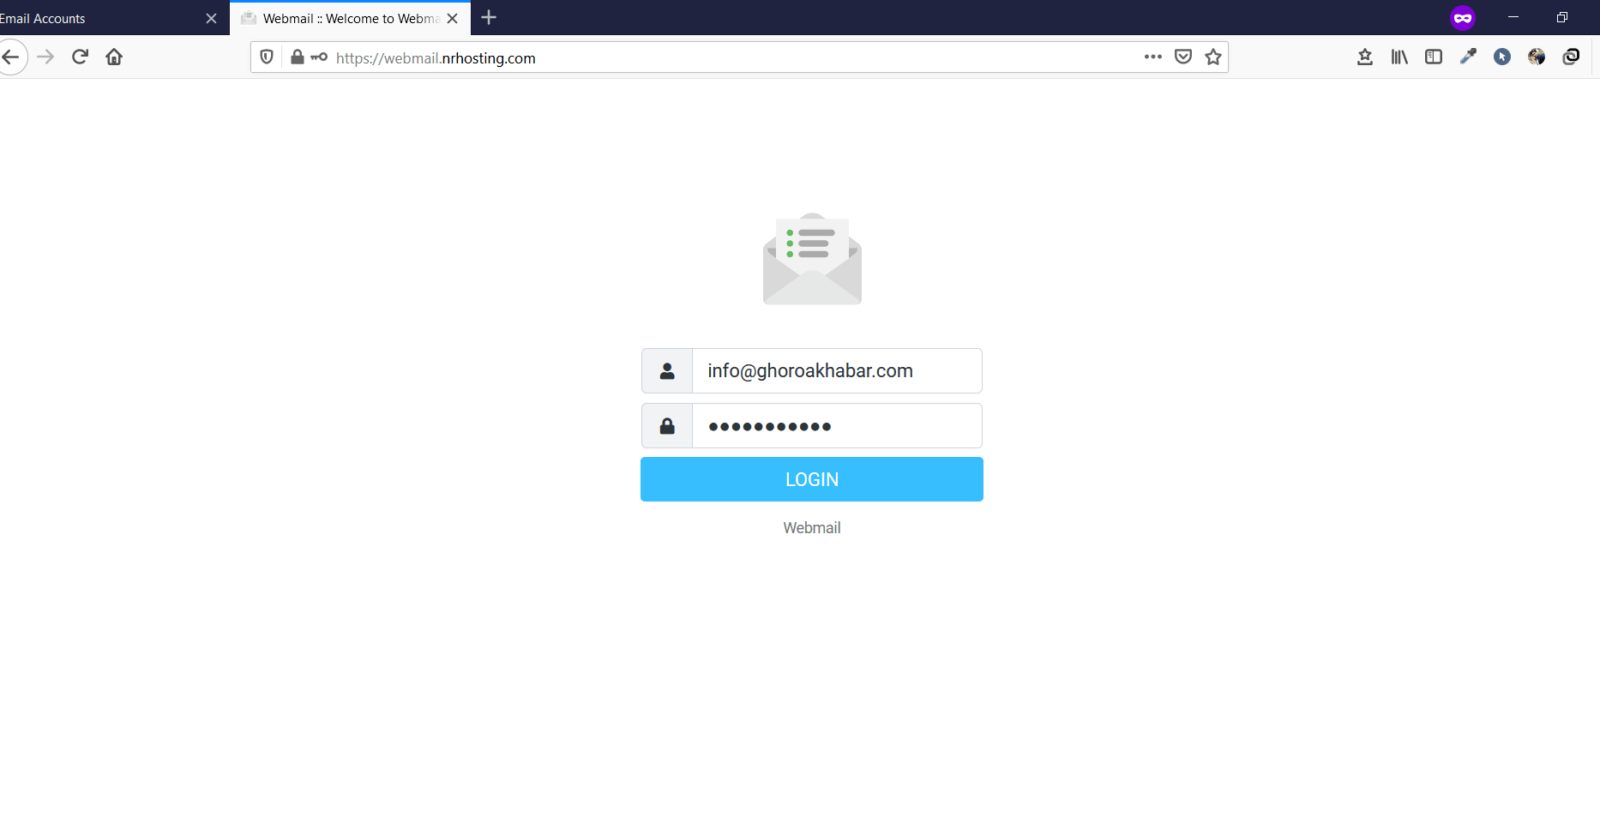
Hit login
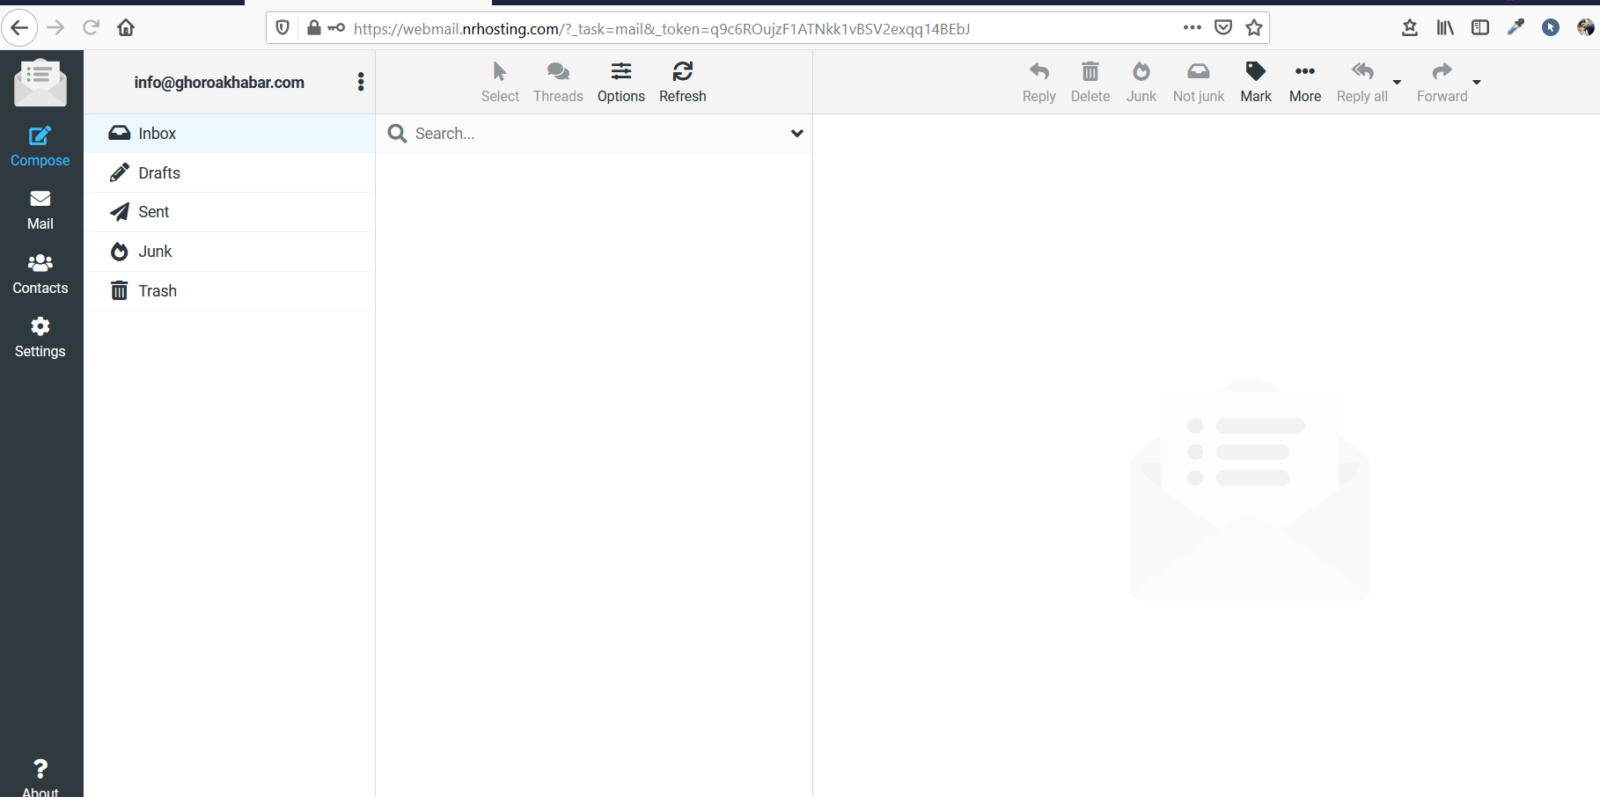
All is good and you are now ready to use your created email account.
How to delete WordPress?
In this segment we will see how to delete wordpress for a site. I have 2 sites in this control panel. One is demodemo.com and the other is ghoroakhabar.com.
First, let’s delete the WordPress for ghoroakhanar.com. To do so click on files manager.
Once you click on File Manager the following screen will appear.
Next, clcik on public_html
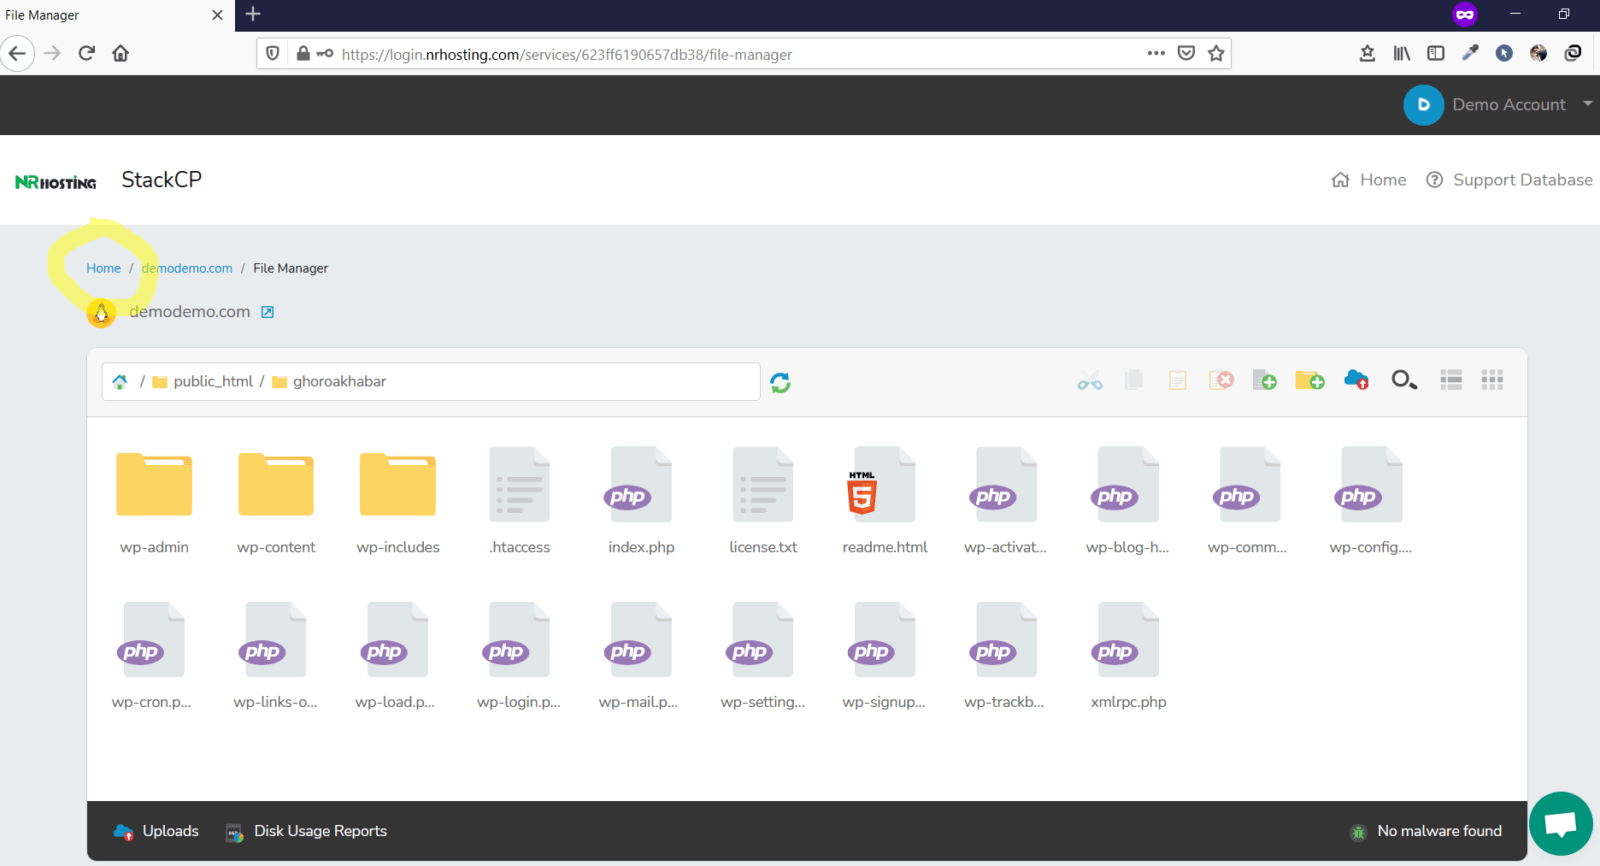
The following screen will appear.

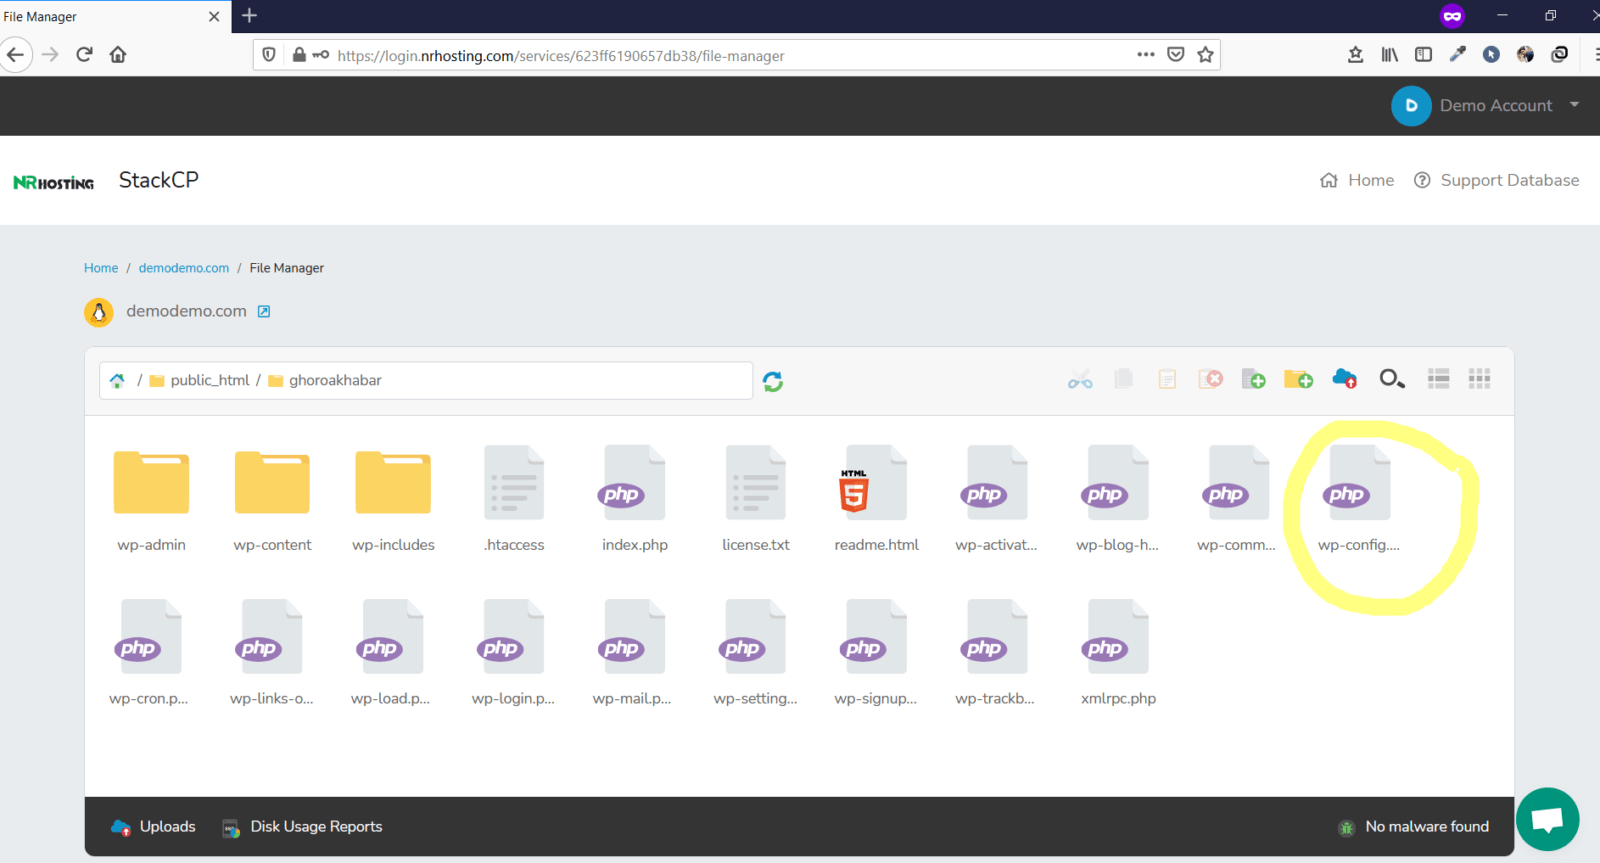
Next click on the folder named ghoroakhabar.
The following screen will appear.
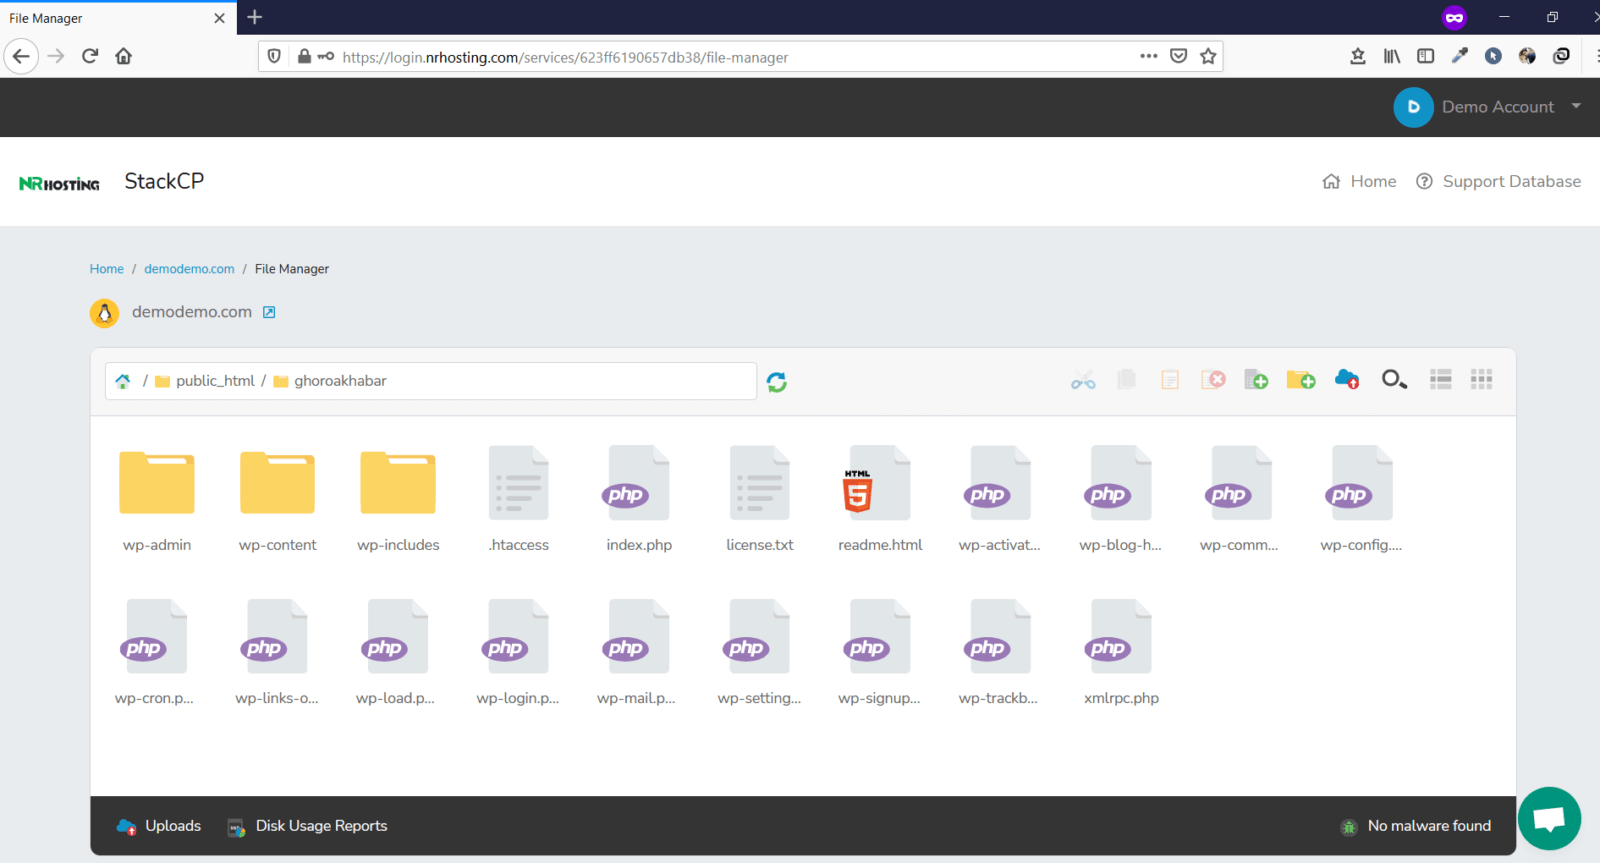
Next, clcik on the wp.config file.
Once you click wpconfig filea nd scroll down a bit then you will see the following screen.
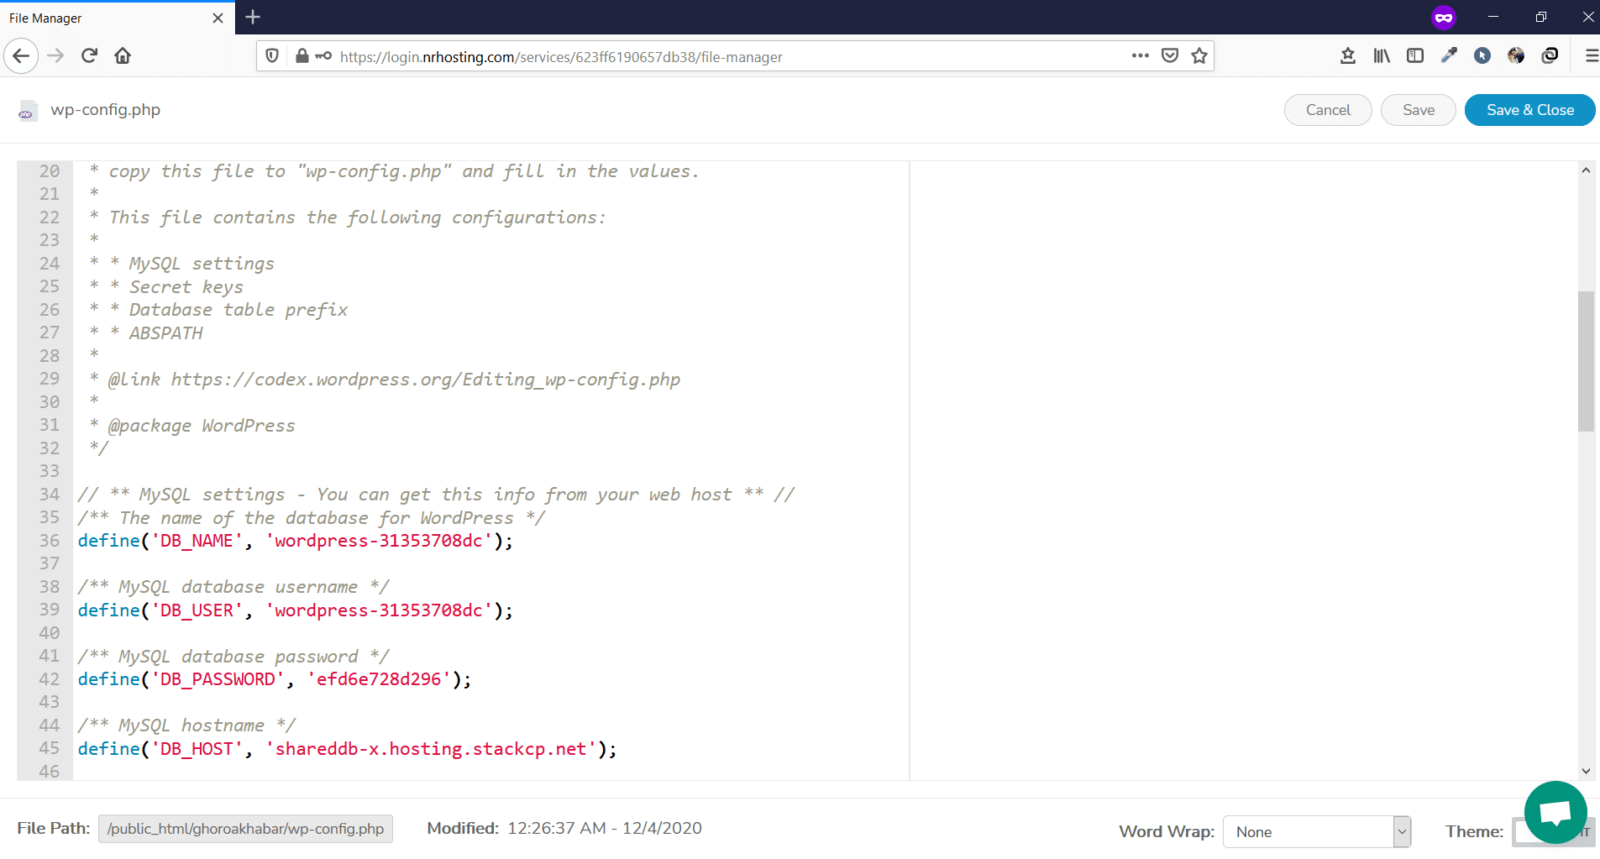
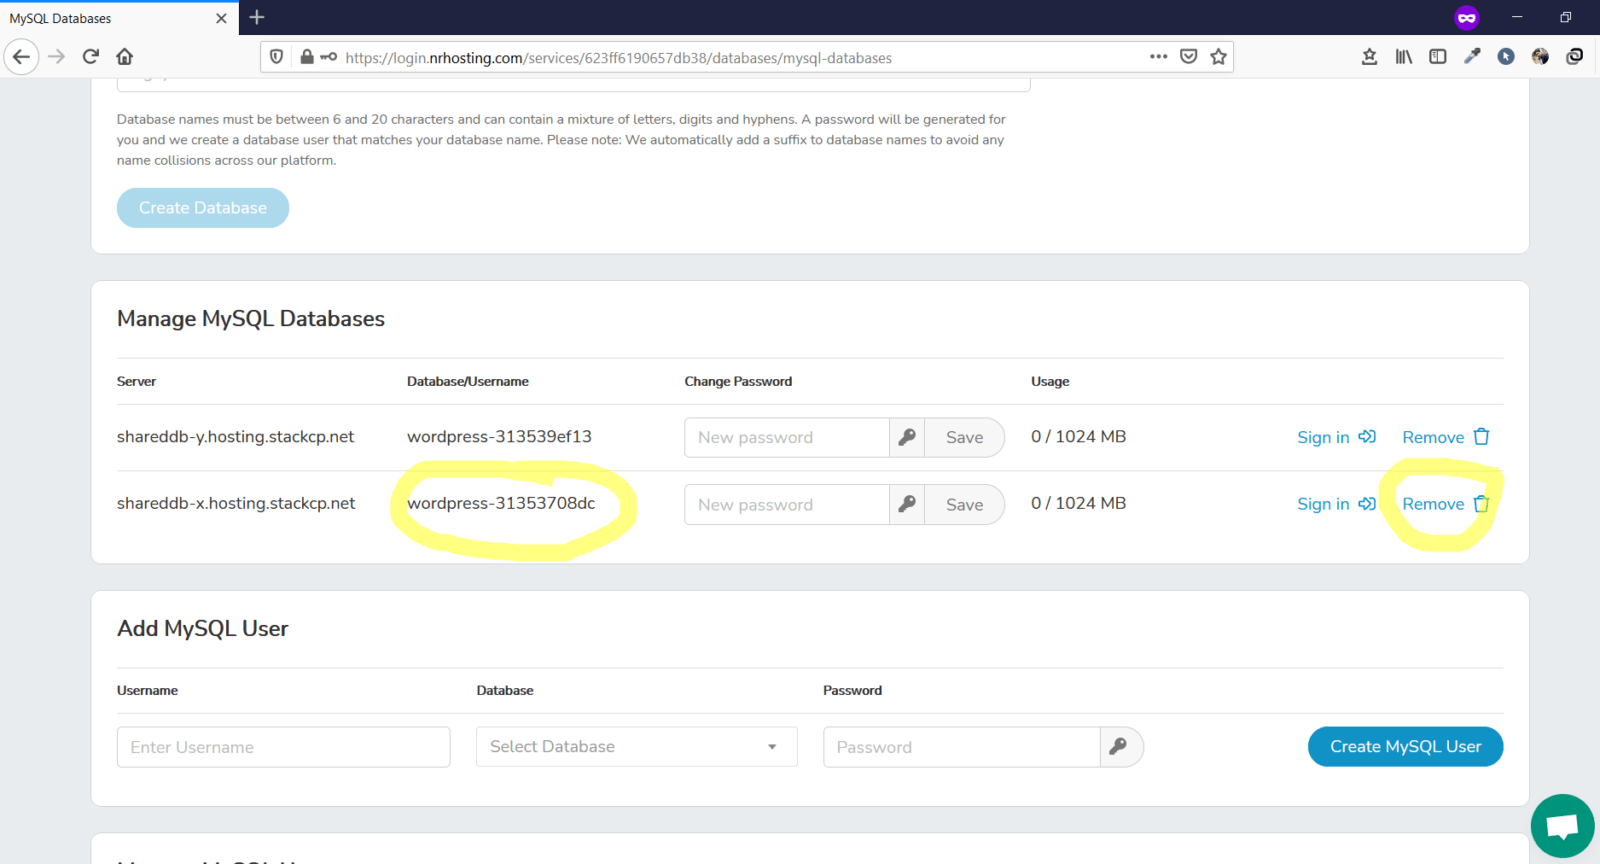
Identify the Database Name. In this case its wordpress-31353708dc.
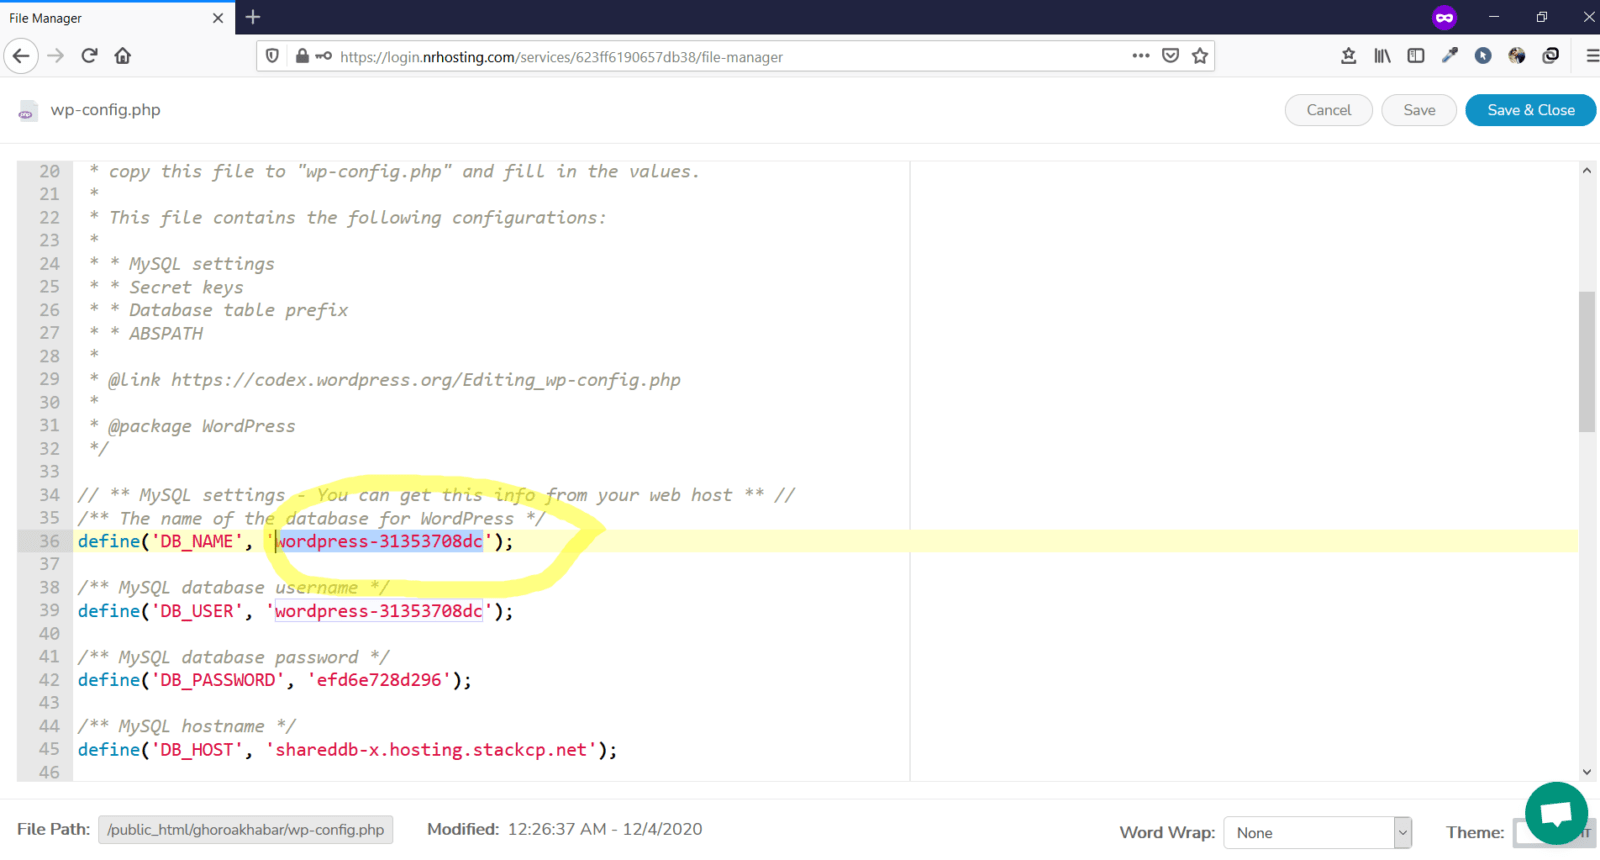
Now, you must be thinking why did we open the wpconfig file? When you have only one website hosted you do not need to do this but when you have multiple websites hosten then this procedure is required. Multiple websites means multiple databases. So to identify which database is connected to which website this needs to be done. Hope you are clear.
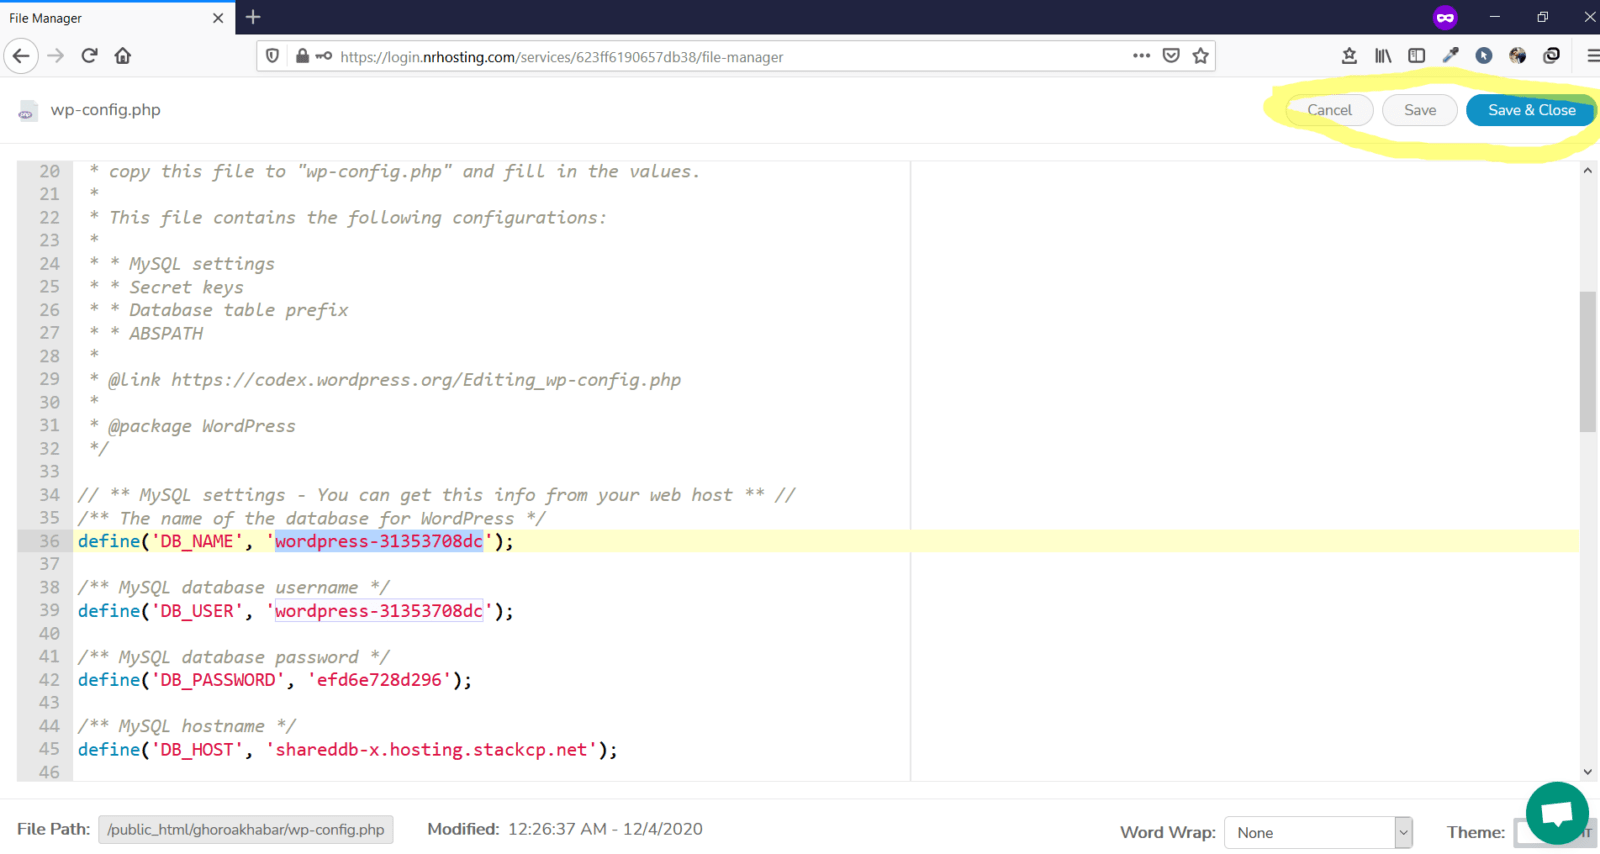
Now close the file and hit the home menu at the top.
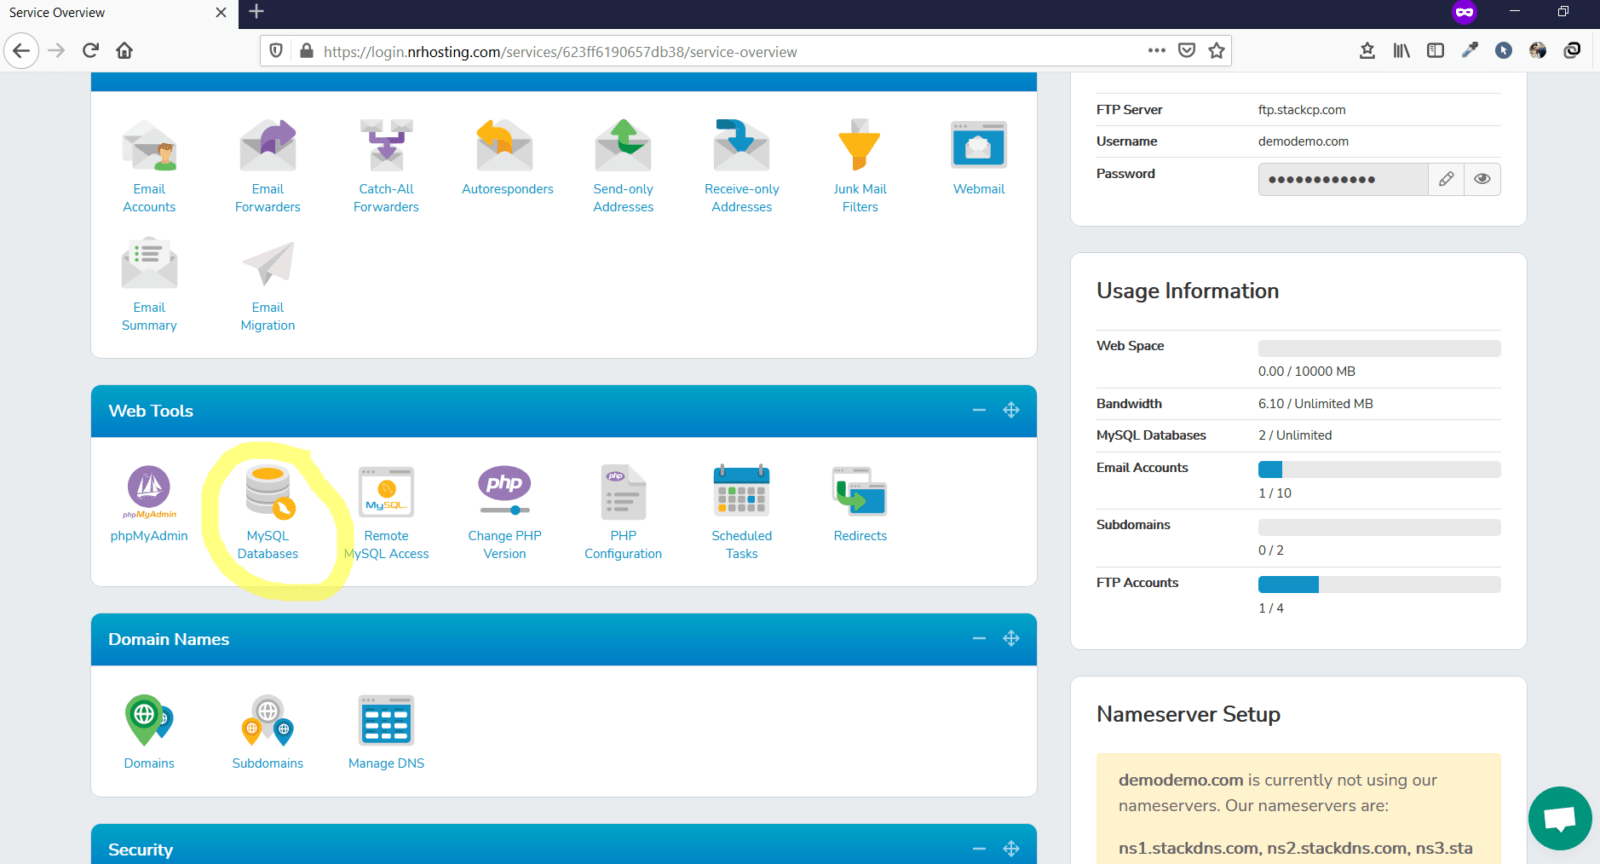
Once you hit the home button and scroll down a bit you will see the following screen with the web tools segment.
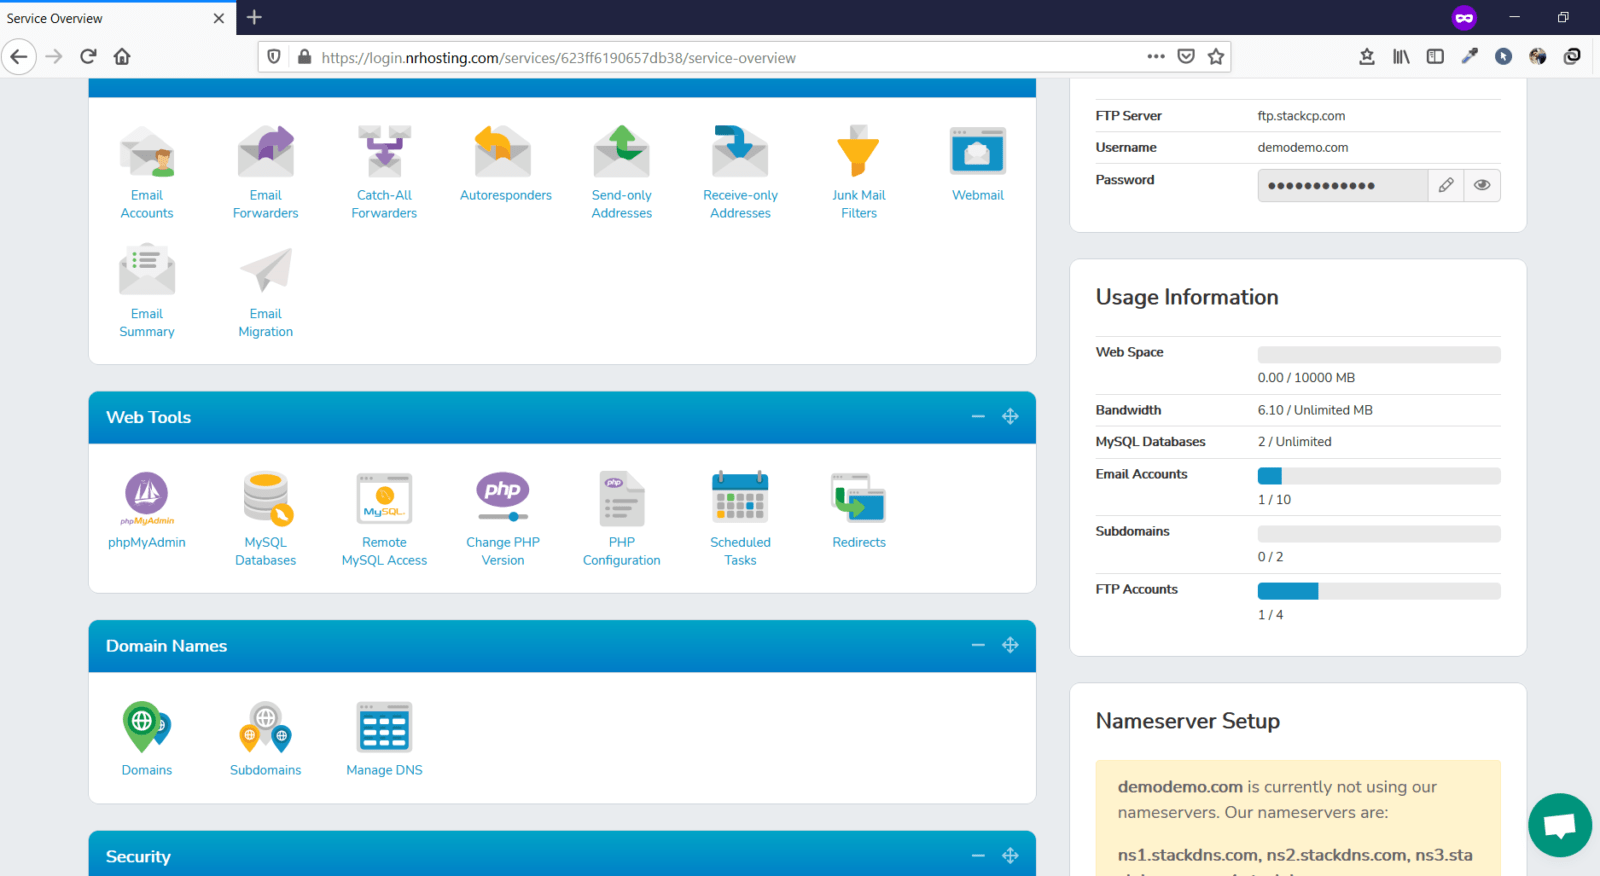
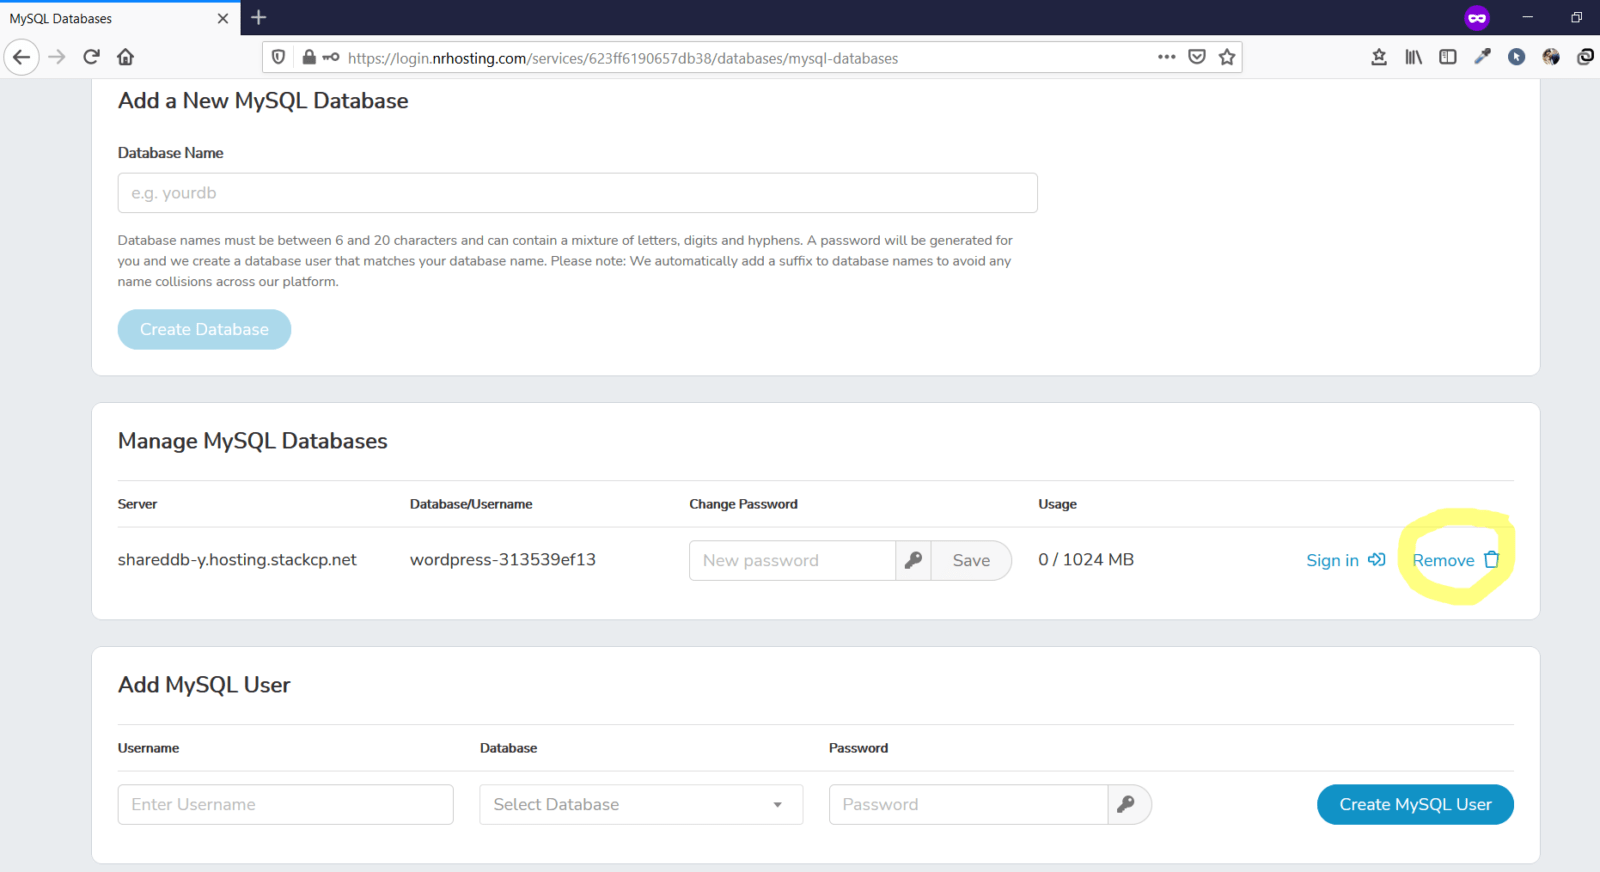
Now, click on MySQL Databases and you will see the screen below.
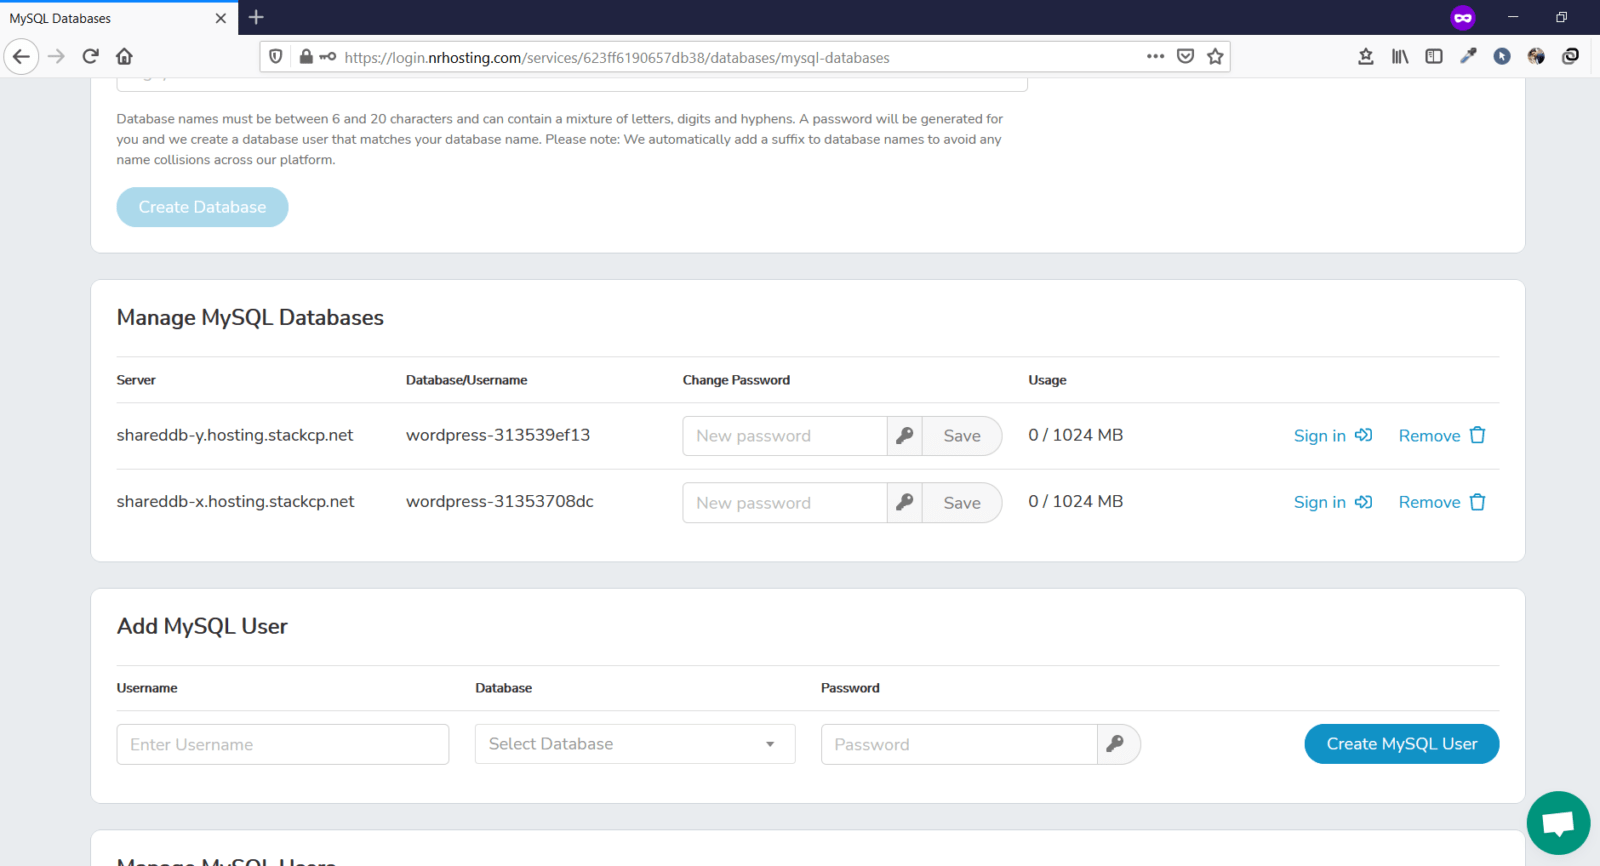
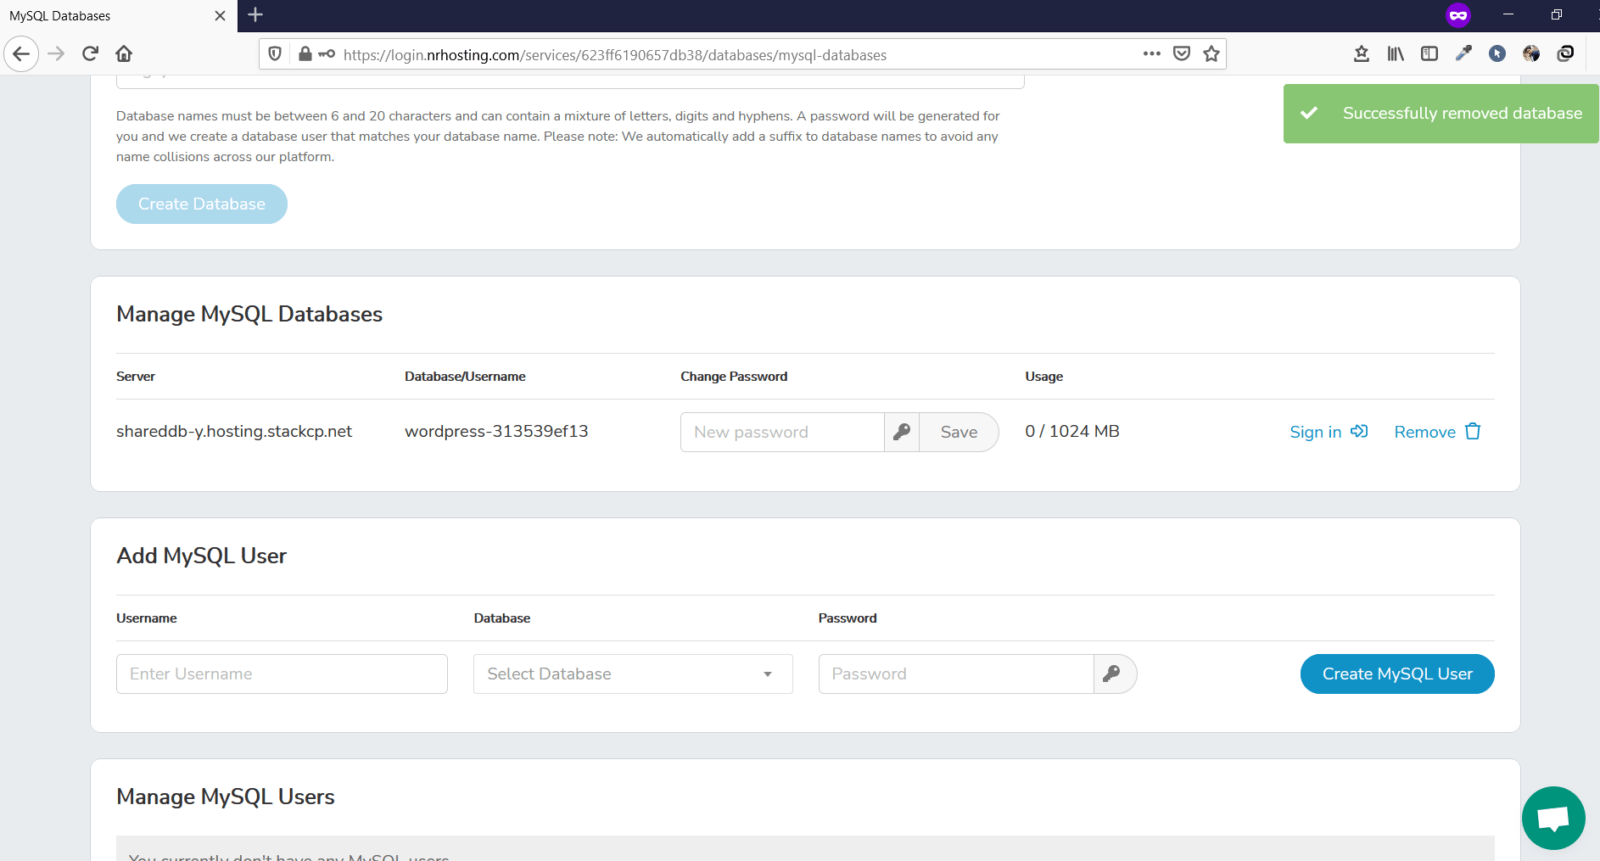
Now, from the wpconfig file we have seen that the database ending with 8dc is connected with ghoroakhabar. So, we will remove it.
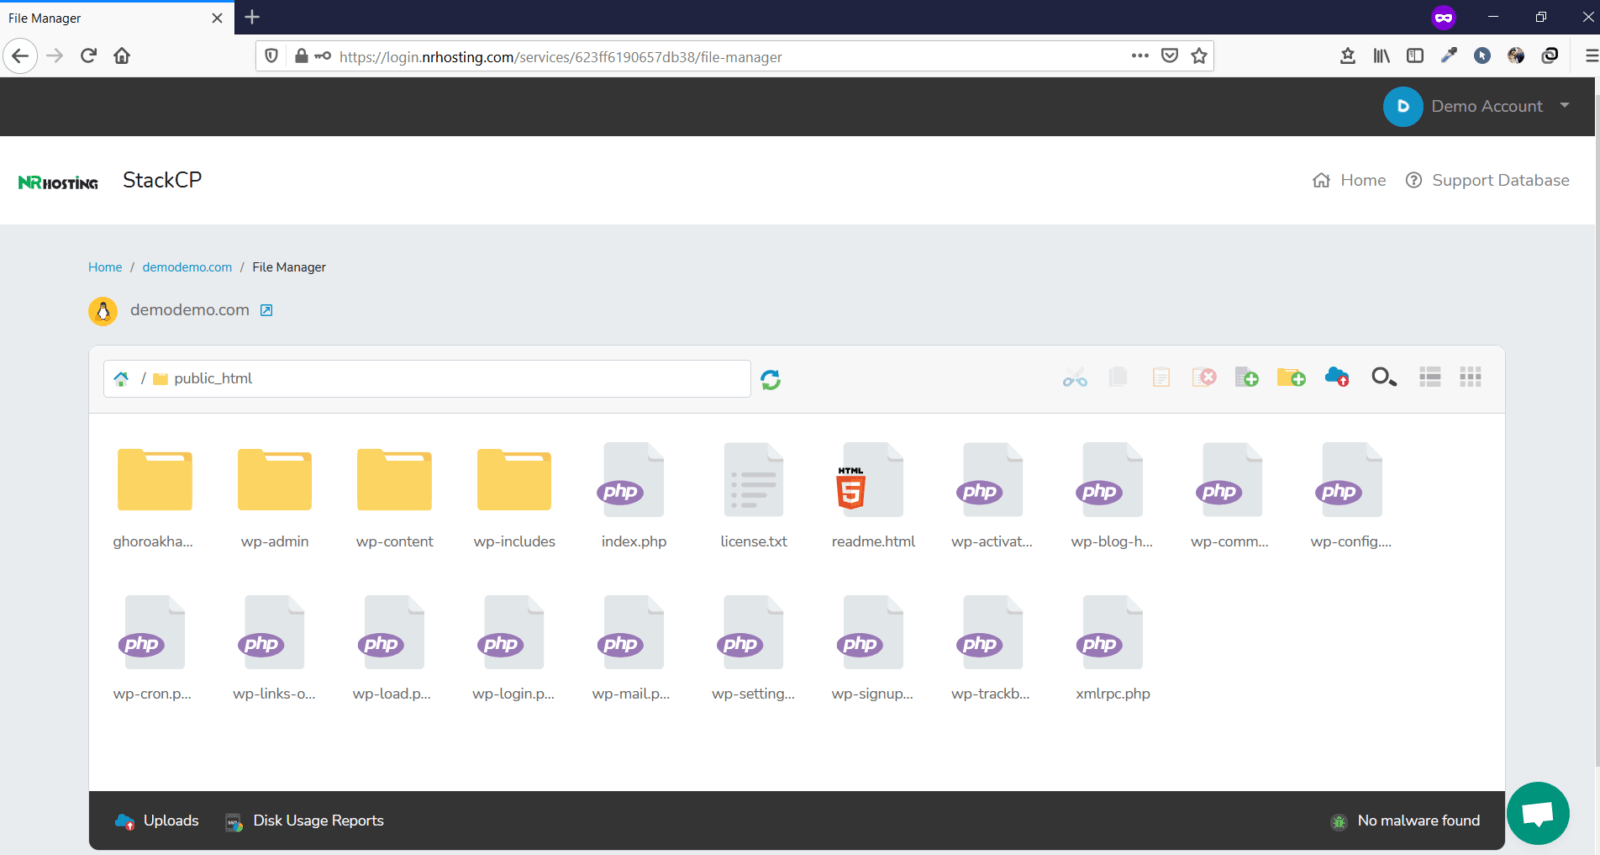
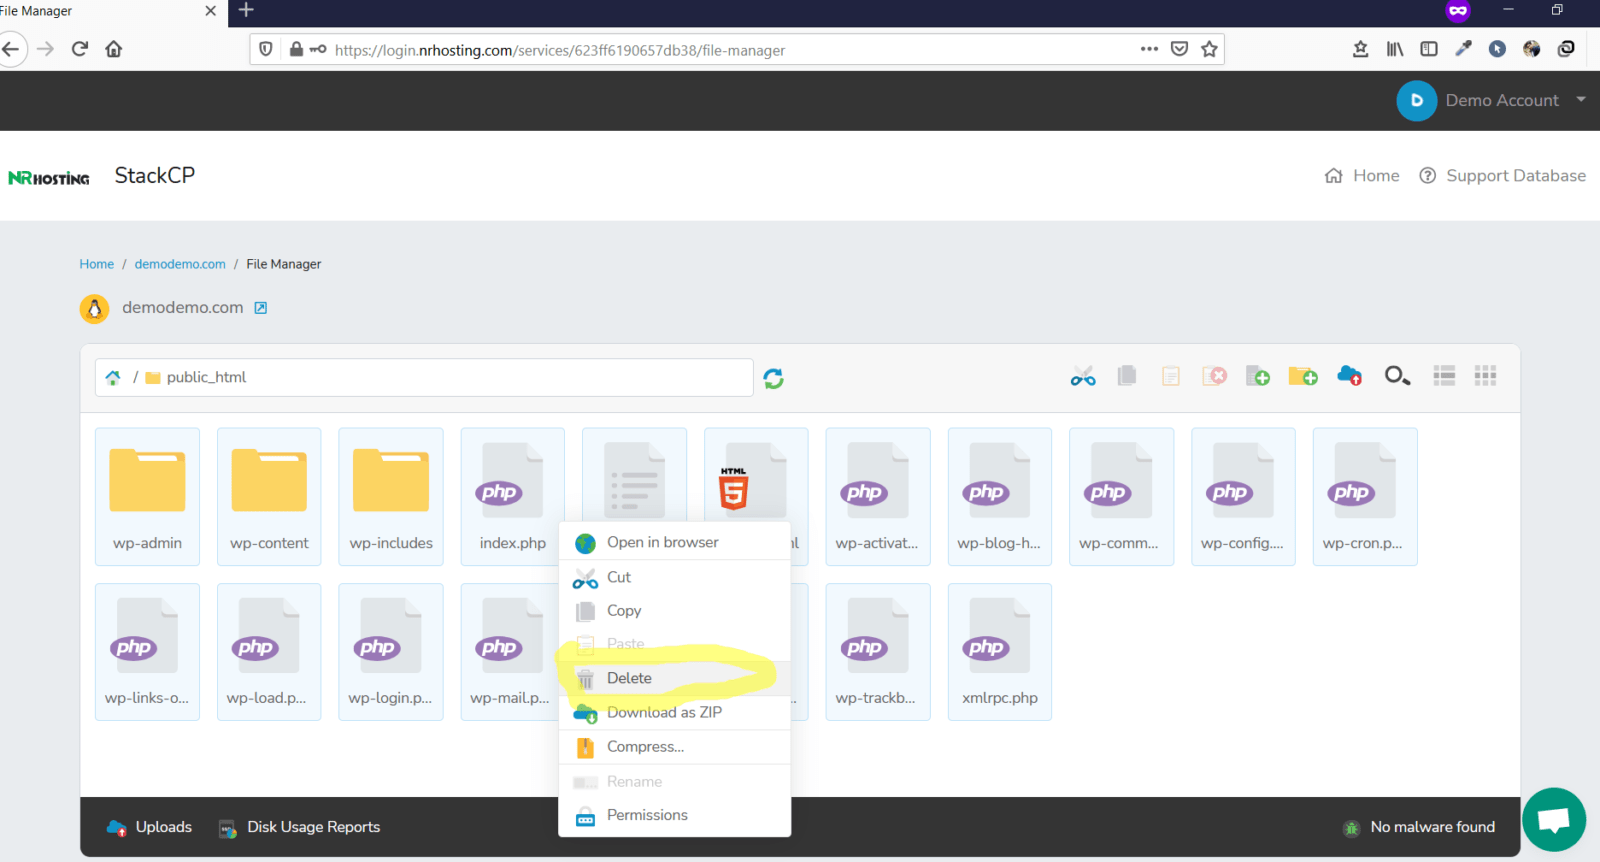
Now go to the file manager, clcik on it… public_html folder will appear. Click on thr public_html folder and then you will see the following screen.
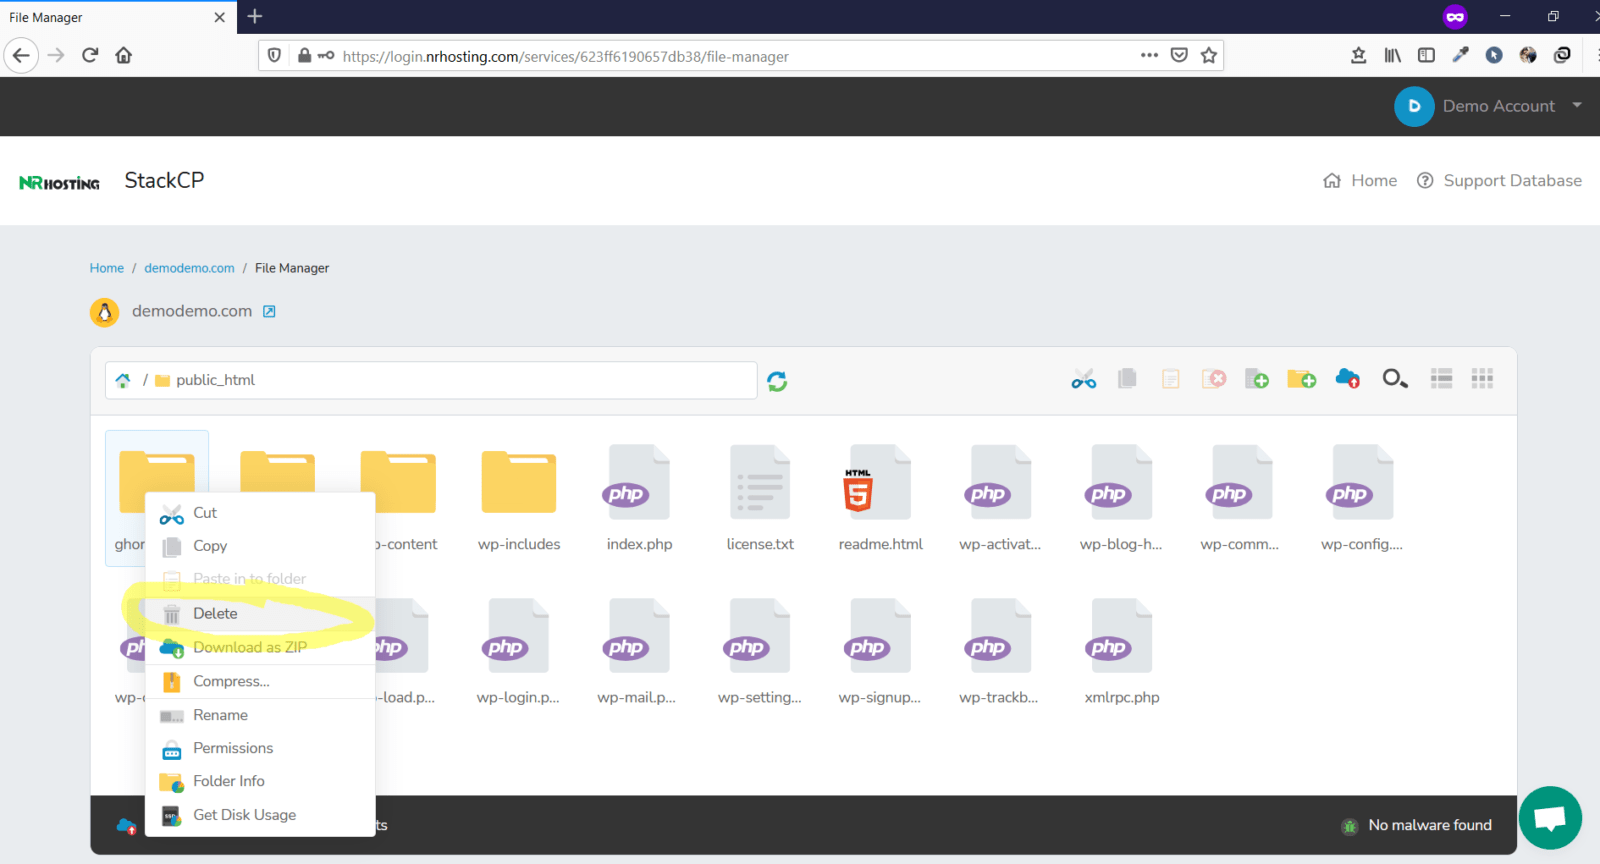
Now, delete the folder named ghoroakhabar. You do so by right mouse click on the folder and git delete.
Now that we have deleted the files and database of ghoroakhabar.com, the wordpress is deleted.
N.B: Once you have deleted WordPress, please wait for at least 45 minutes before reinstalling the WordPress again.
Now let’s say you have only 1 site hosted then what to do? Very simple. First delete the only database that you have.
ANd then delete all the files inside public_html. To do so select all the files and right mouse click and hit delete.
That’s it… As easy as drinking water.
How to open a support ticket?
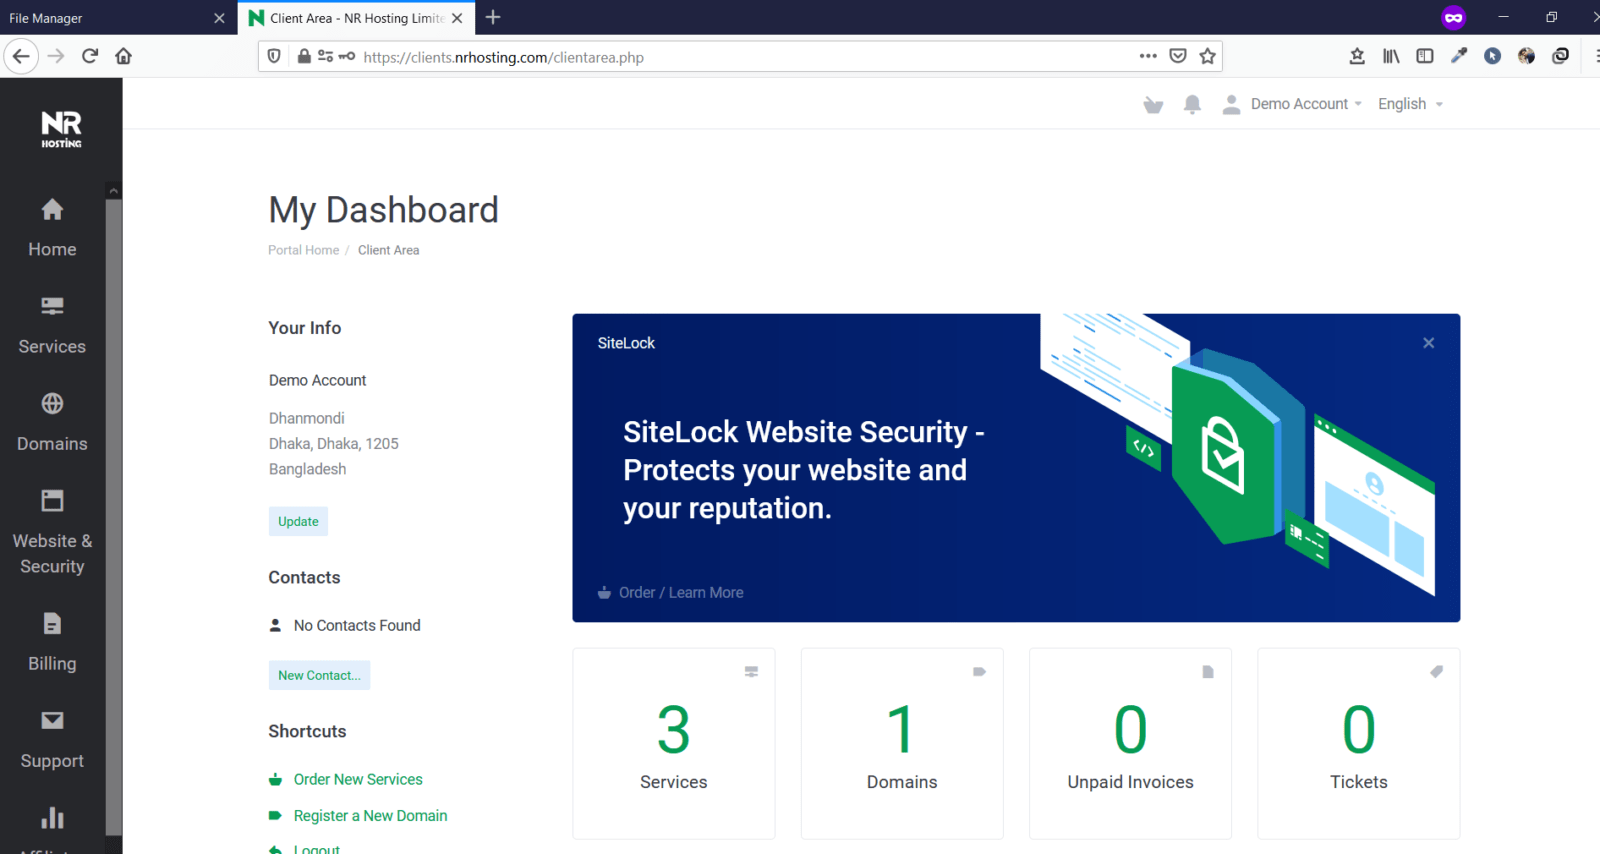
Click on the following link to login to your account – https://clients.nrhosting.com/login/login
Provide your username and password and hit login.
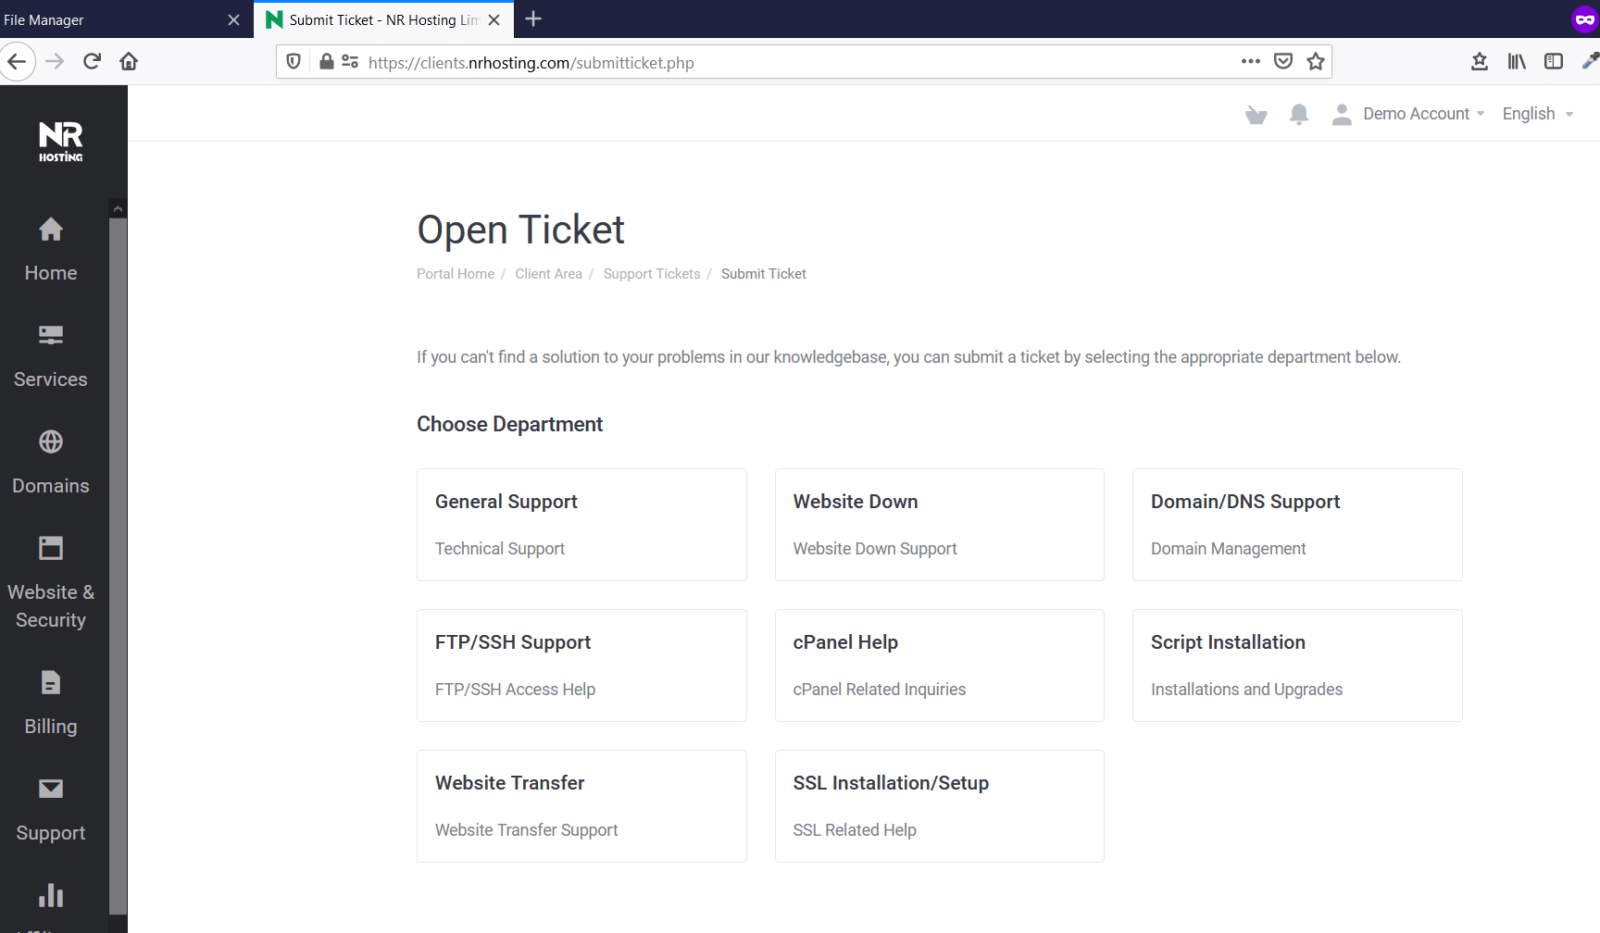
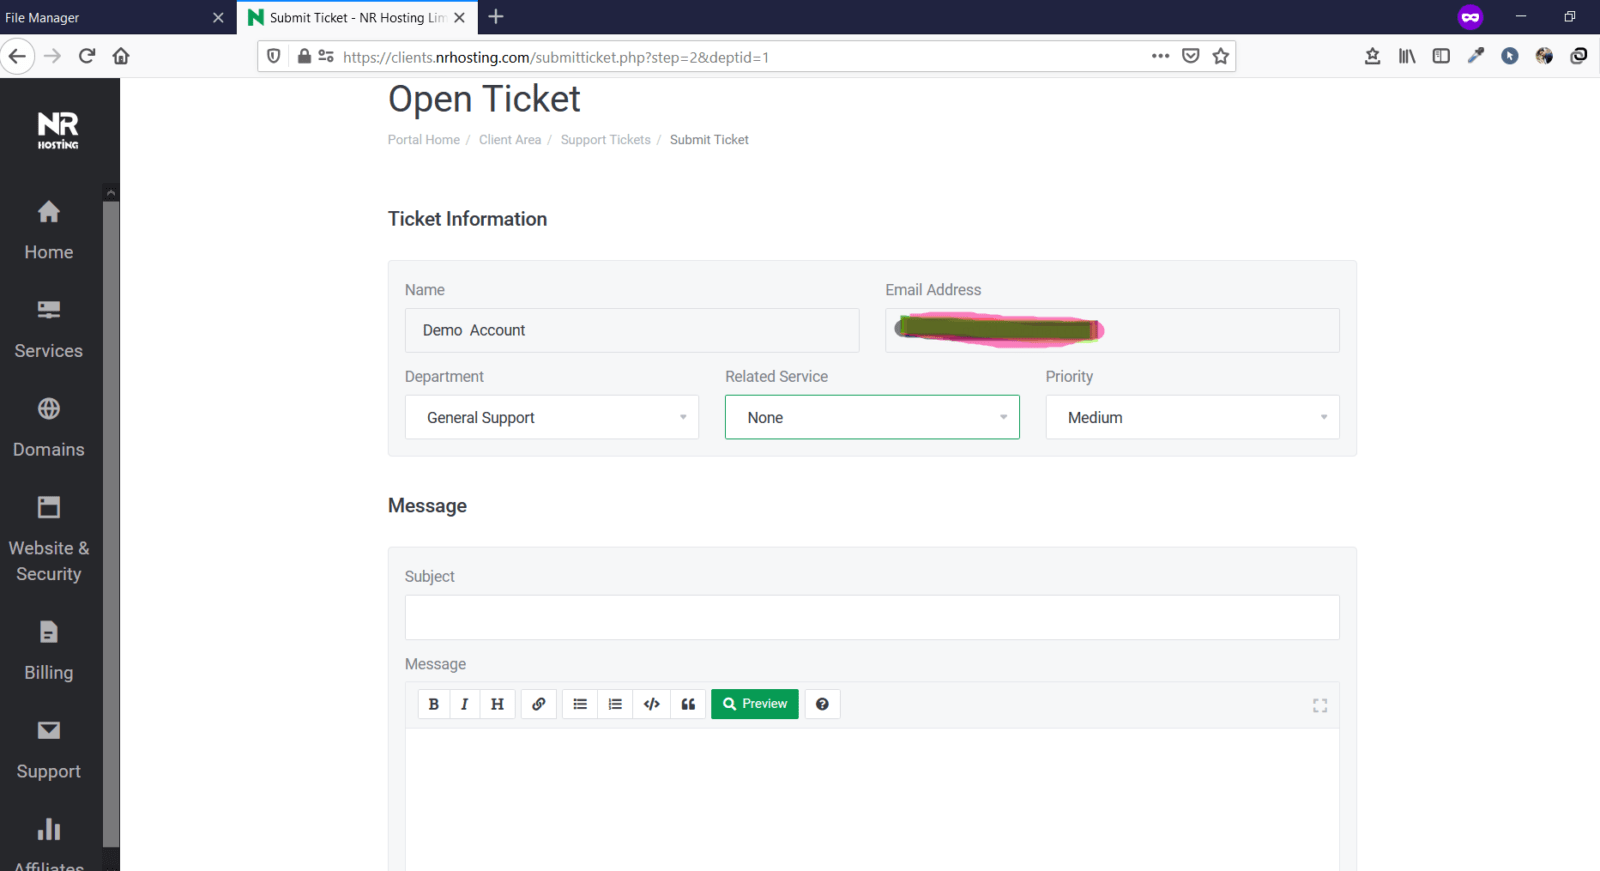
On the left of your screen you will a segment named “Support.” Place your mouse on it and hit Tickets.

Select the department.
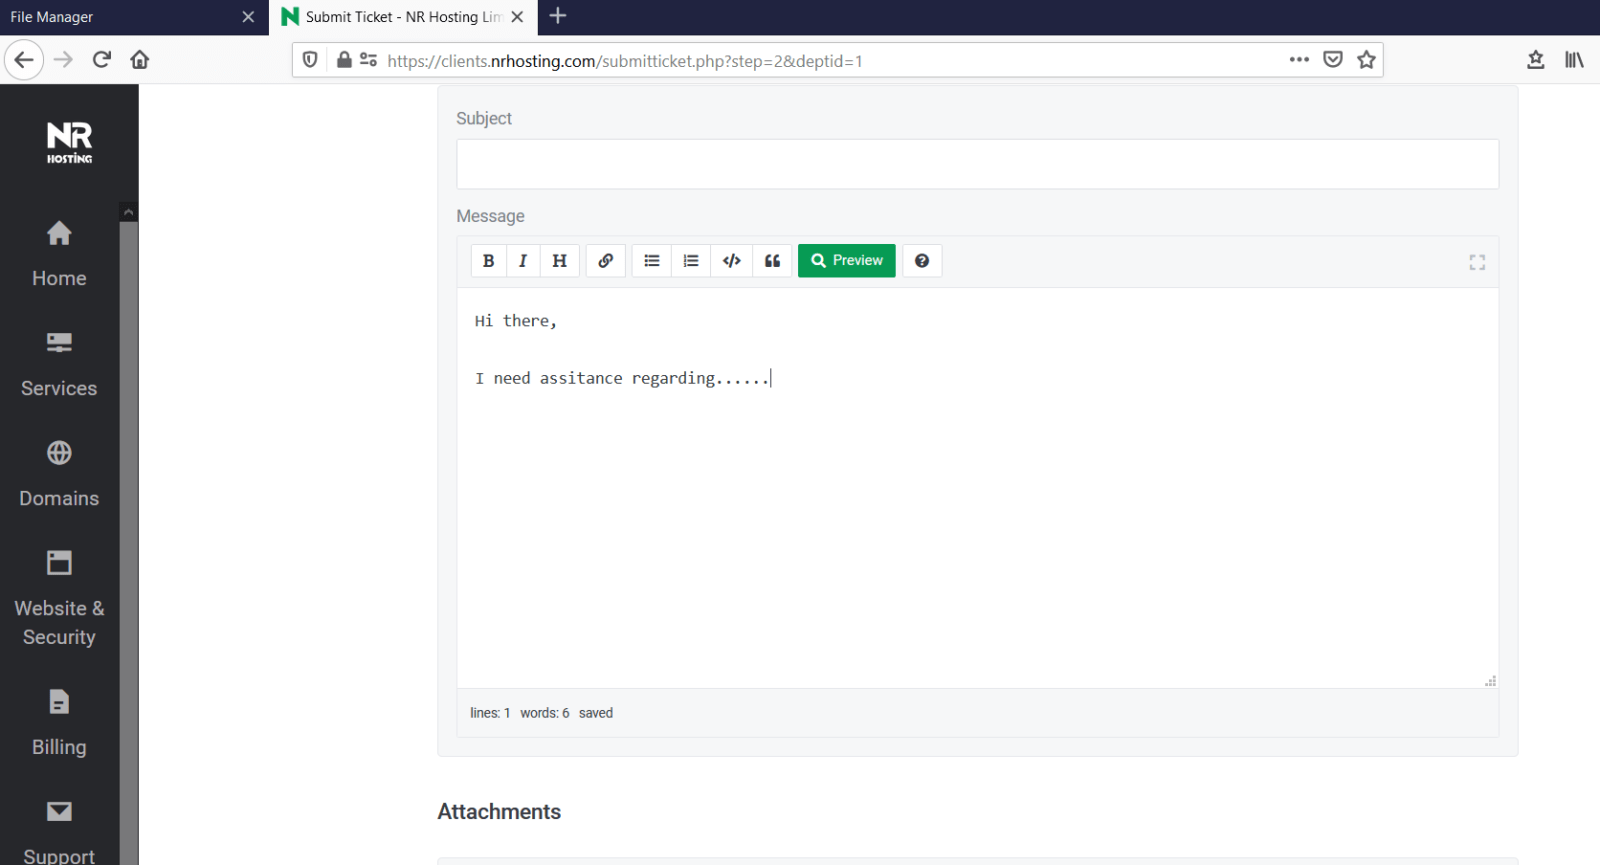
Write your support message and then hit the submit button.
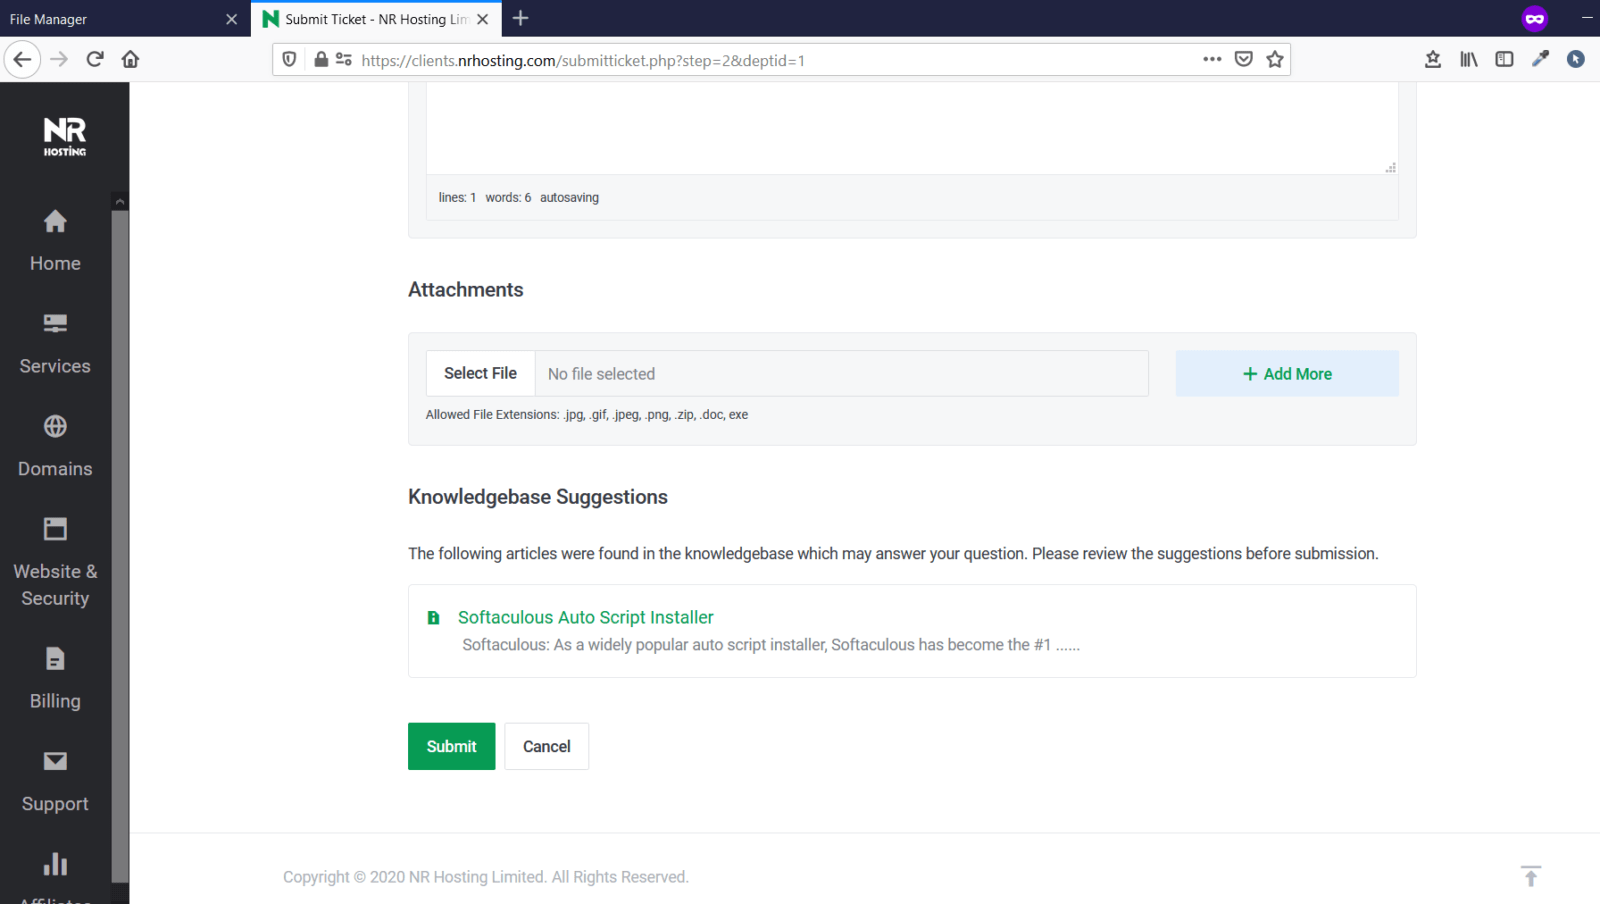
That’s it your ticket will be submitted. Now wait for at max 24 hours before you hear from us.
Thanks. Welcome aboard to NR Hosting Limited.